Ticket
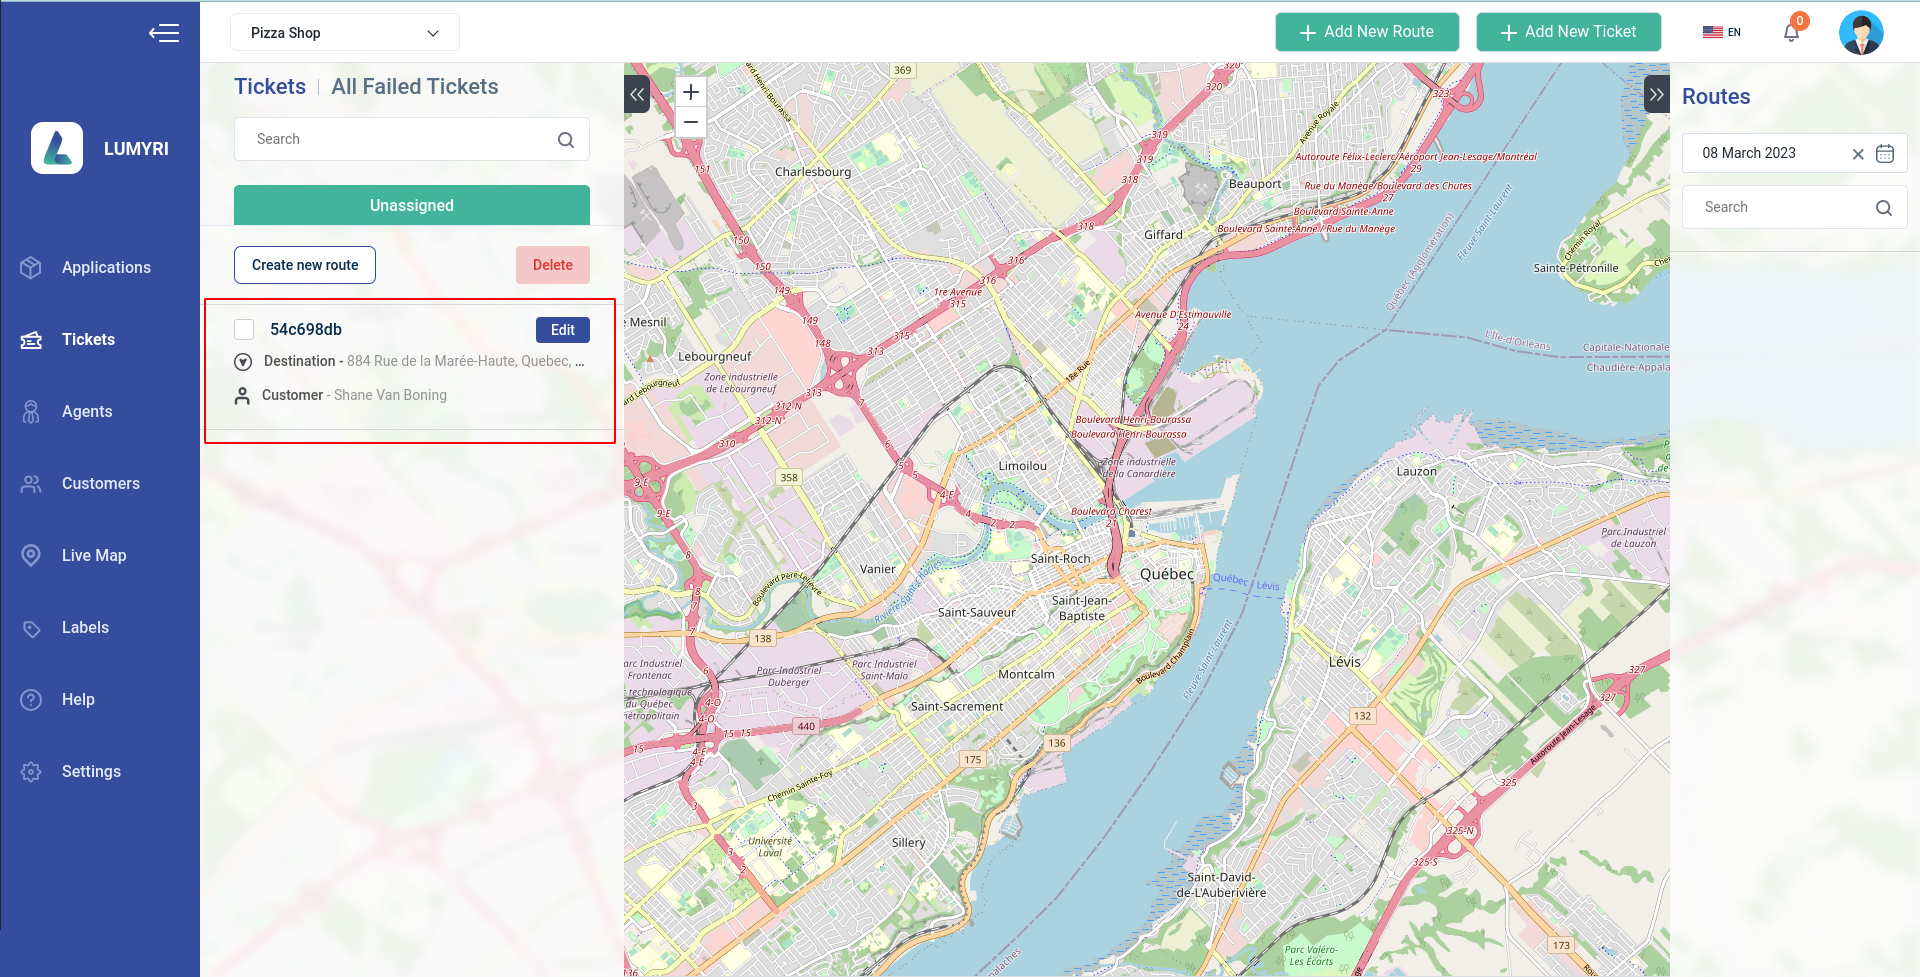
Introducing tickets: A ticket is a package that will be delivered to the customer by an agent. Depending on the situation, the ticket will be delivered on any given day. The admin creates the ticket and it is assigned to a route, then delivered to the customer by the company's agent.
1. Add new ticket
Adding a new Ticket is the first step towards delivering excellent customer service. In this guide, we'll walk you through the steps to add a new Ticket.
Steps to Add New Ticket:
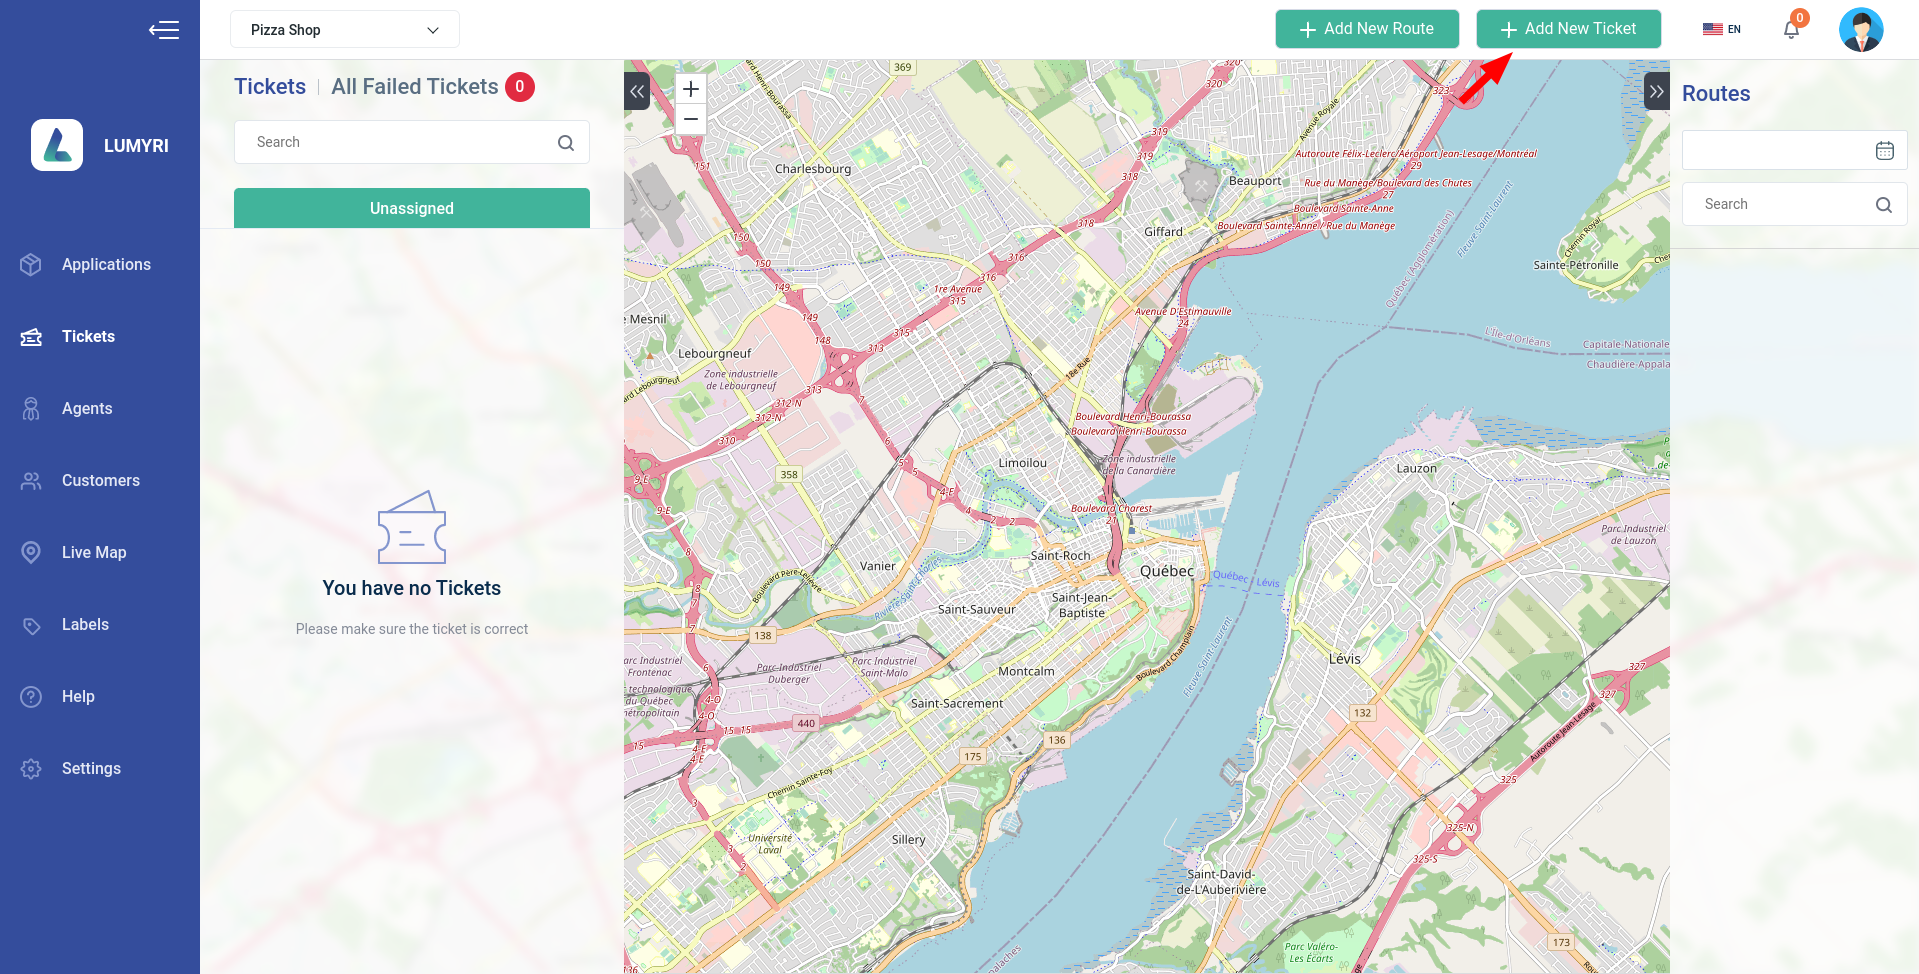
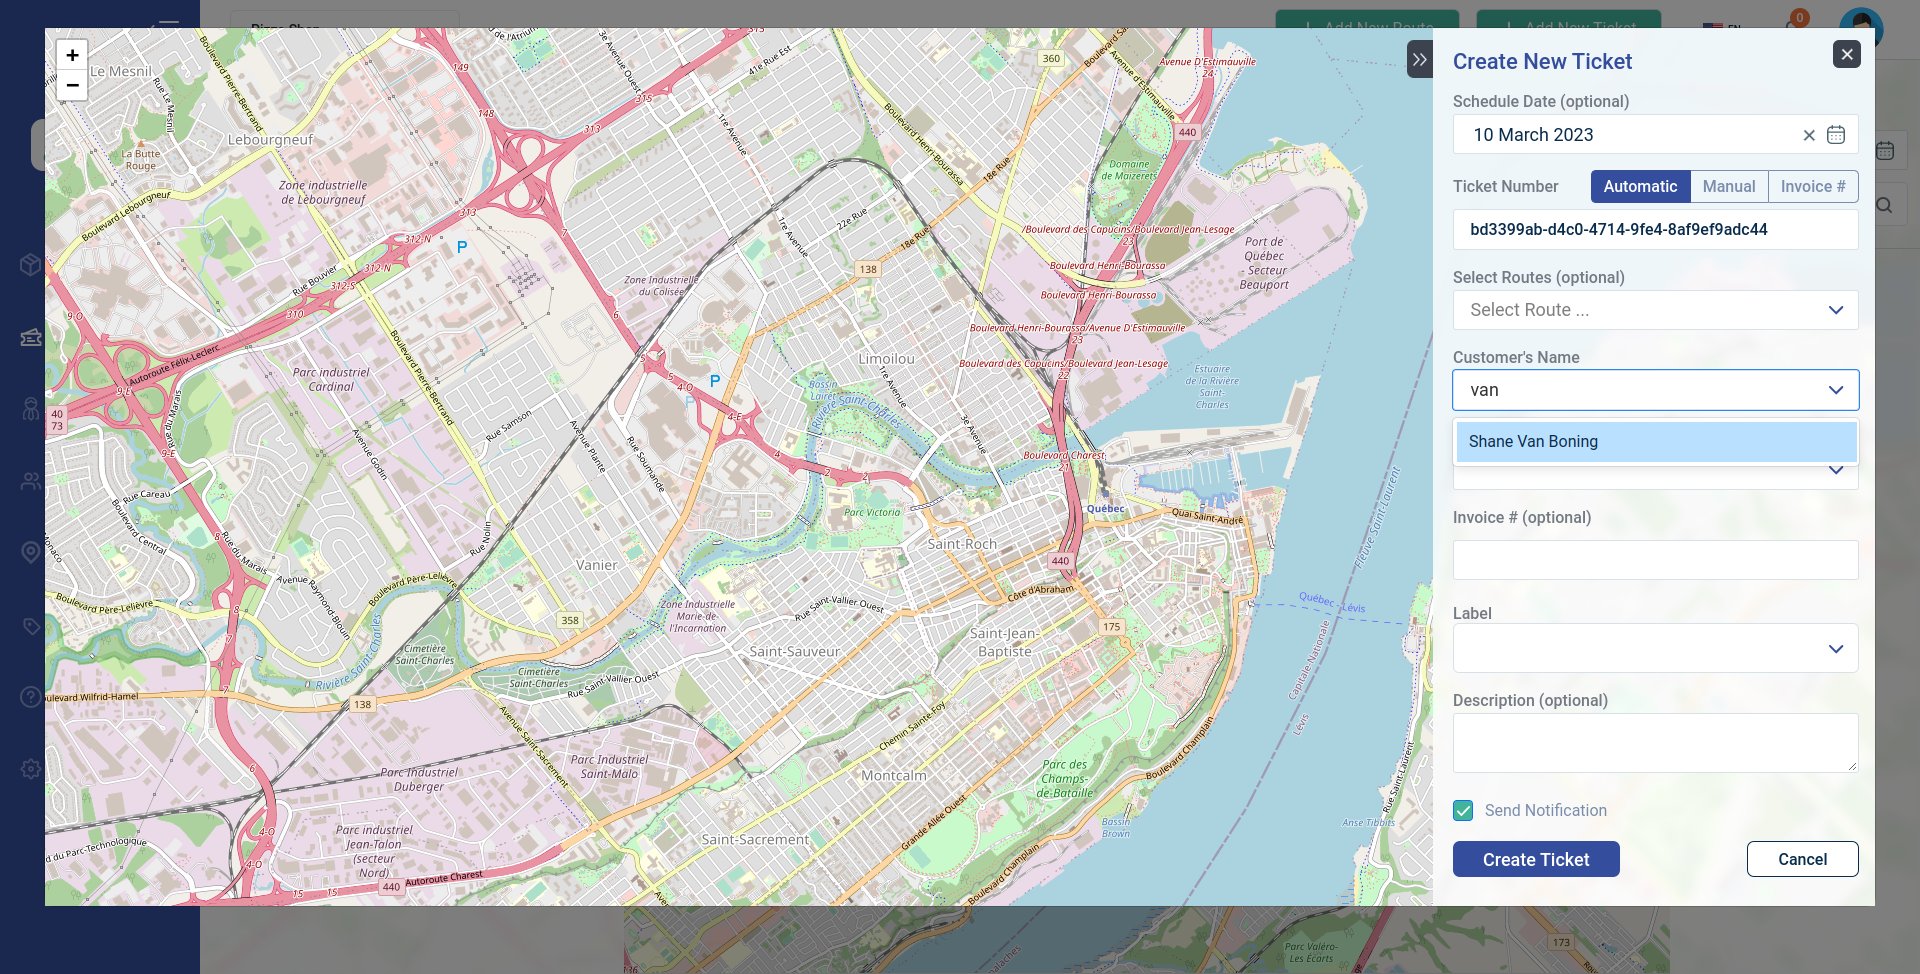
Step 1: Click on the 'Add New Ticket' button. This will open up a form where you can enter the required information.
Step 2: Fill in all the necessary details in the form.

Schedule Date (optional): Choose the date on which you want the Agent to deliver the ticket to the customer.
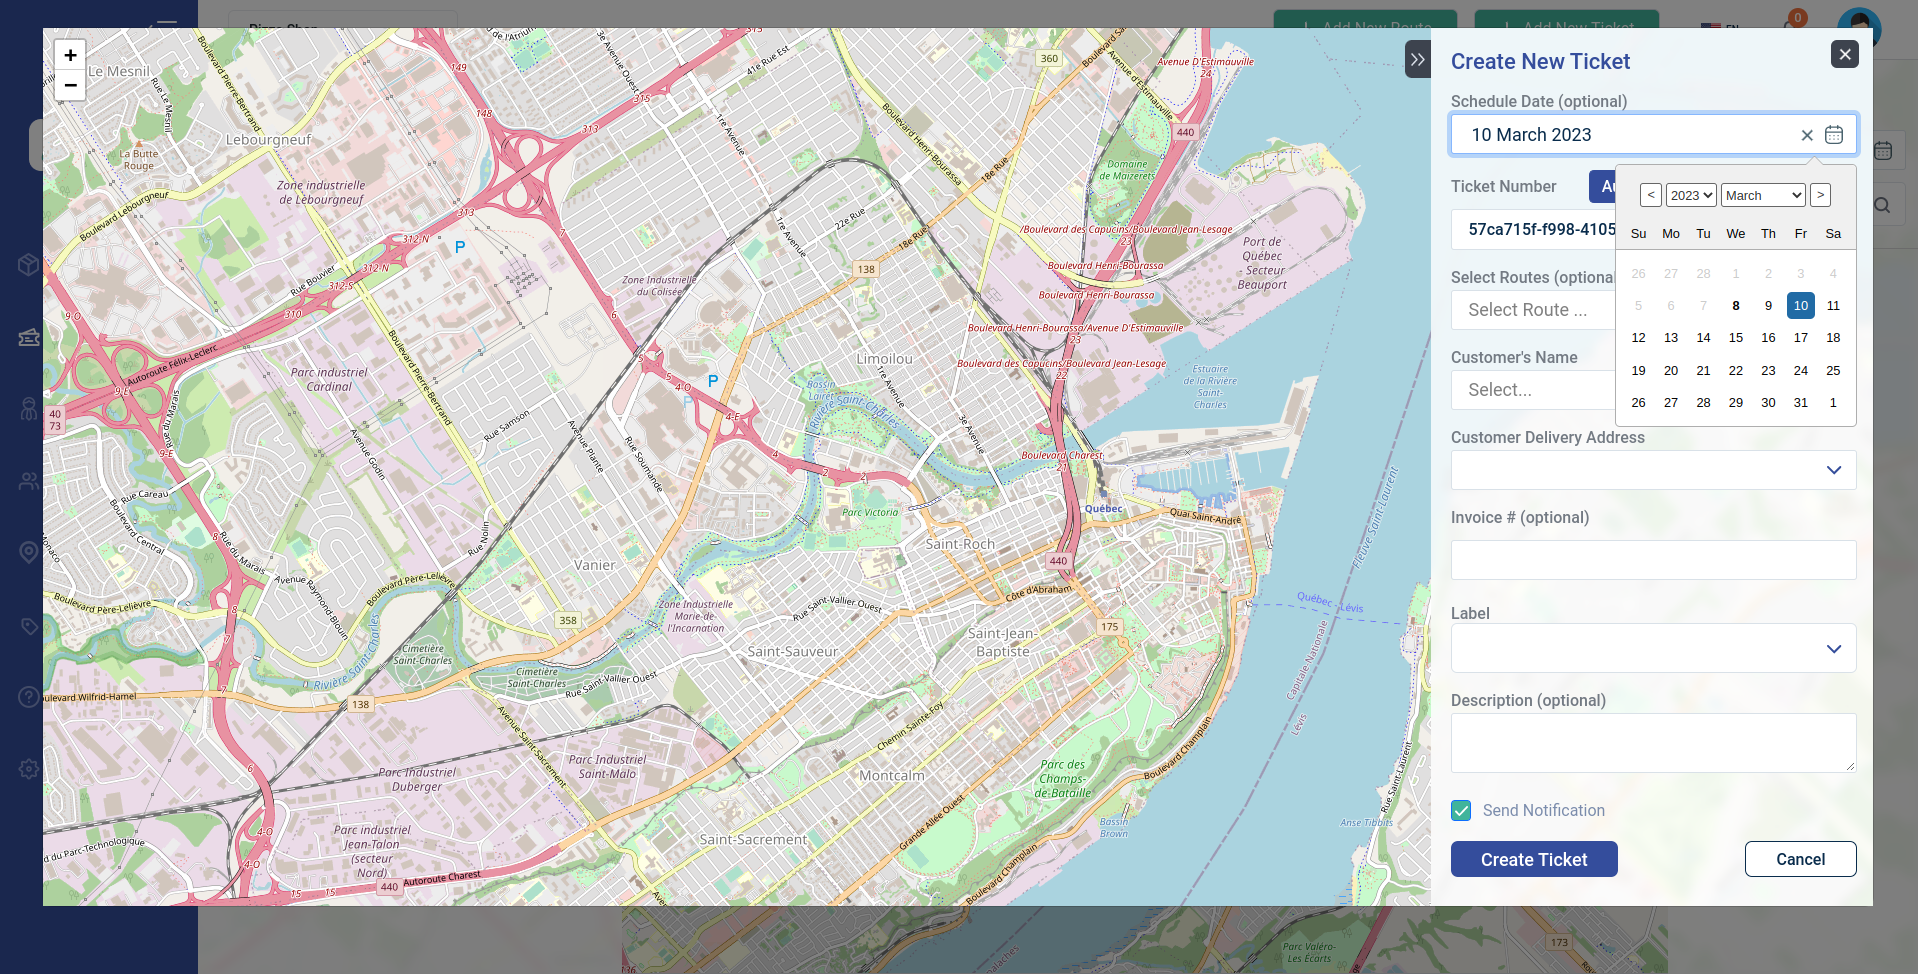
Ticket Number: You can choose from three options - Automatic, Manual, and Invoice.

Select Route (optional): If you want the ticket to be assigned to a route that already exists on that day, select it here. Otherwise, leave it blank and assign it later.
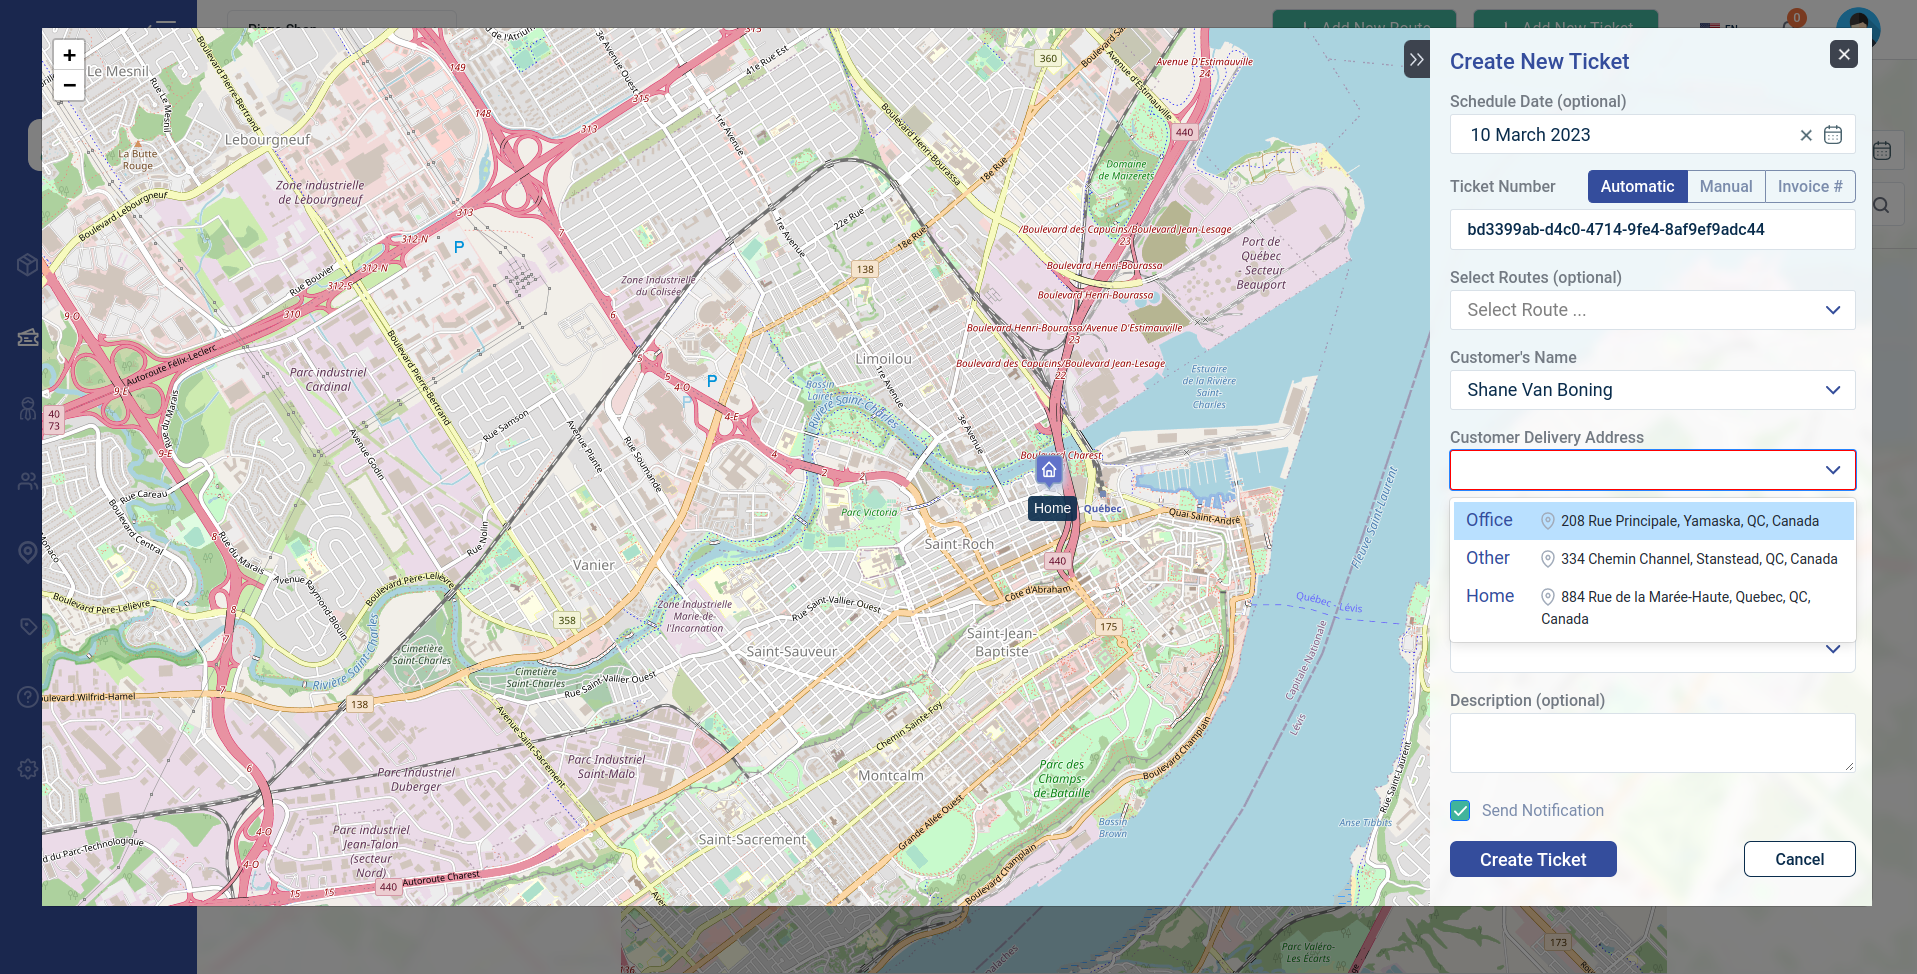
Customer's Name: Select the name of the customer who has placed the order.

Customer Delivery Address: Enter the address where the order needs to be delivered.
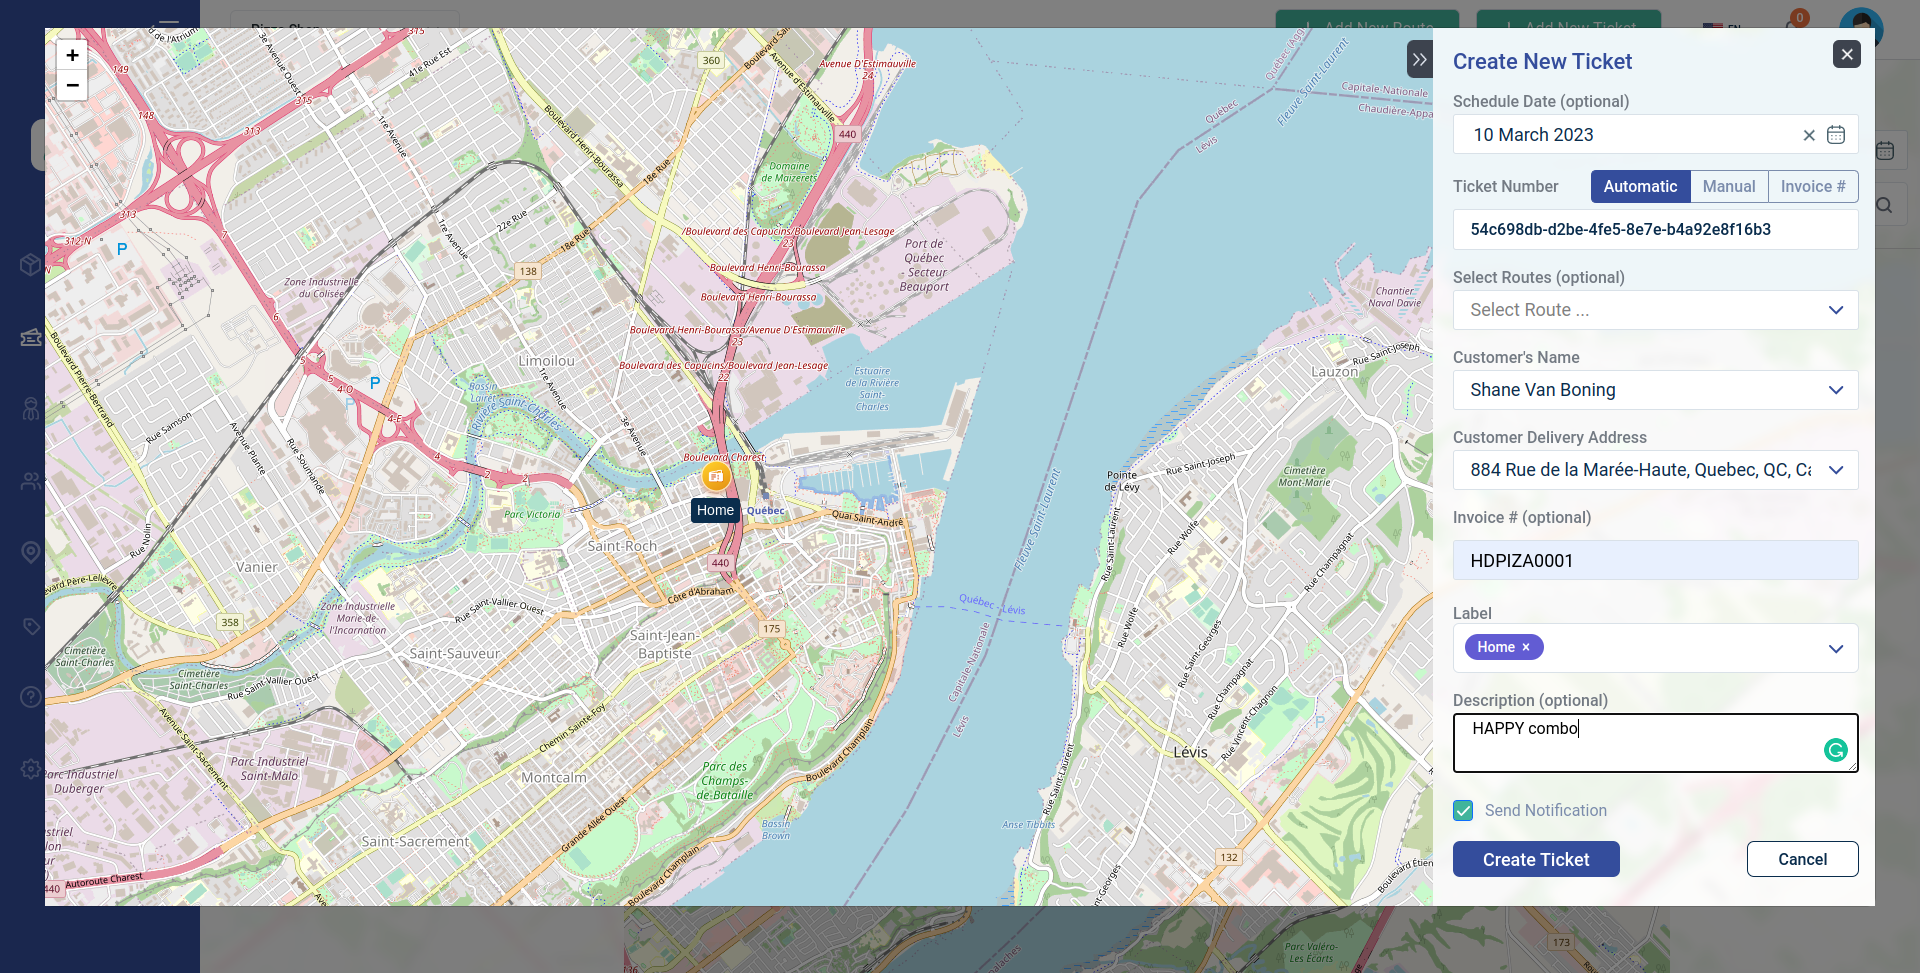
Invoice (optional): If you choose Invoice as the Ticket Number, enter the invoice details.
Label (optional): Assign a label to the ticket for easy classification.
Description (optional): Enter any additional information about the ticket.
Send Notification: Check this box if you want the customer to receive a notification on the Lumyri Customer app on their phone.
Step 3: Click on the Create Ticket button to save the details.

By following these simple steps, you can easily add a new Ticket and ensure the timely delivery of customer orders.
2. Add a ticket without specifying a route