Application
Let's get up and running in 5 minutes. We're going to run through the following steps:
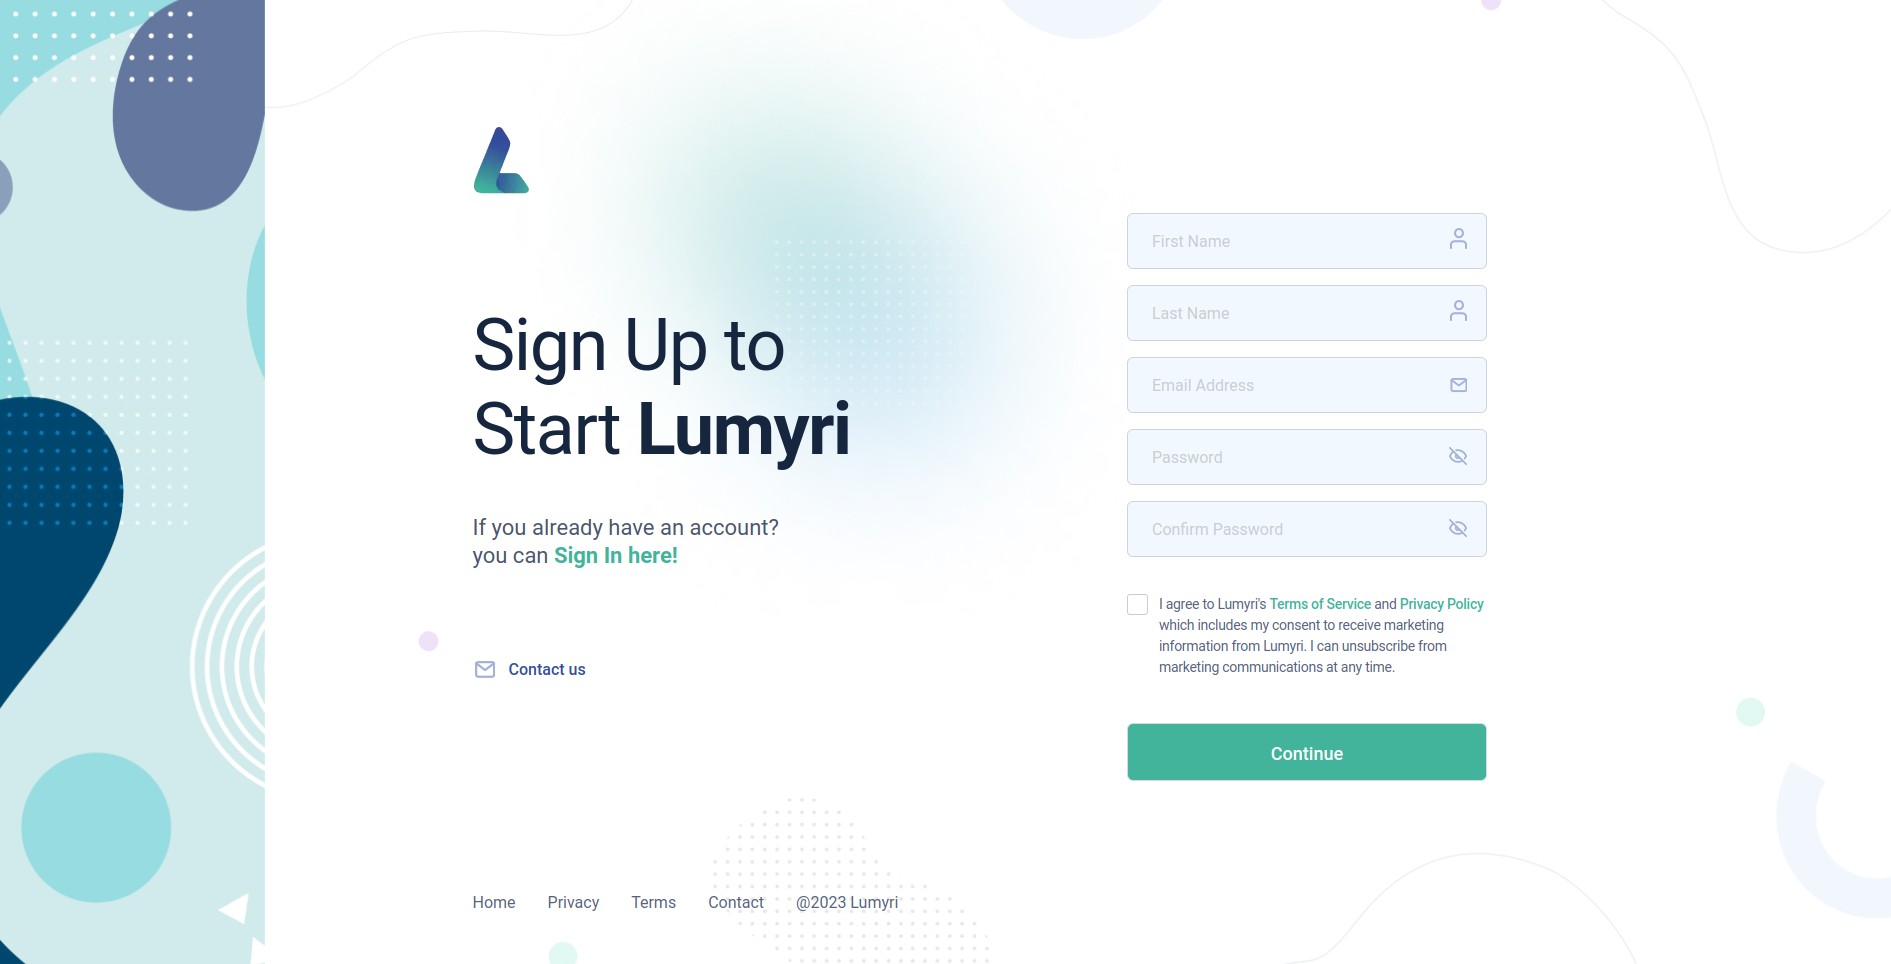
1. Create an account with LUMYRI
If you are a business owner and you have not registered your company with Lumyri. Go to registration page!
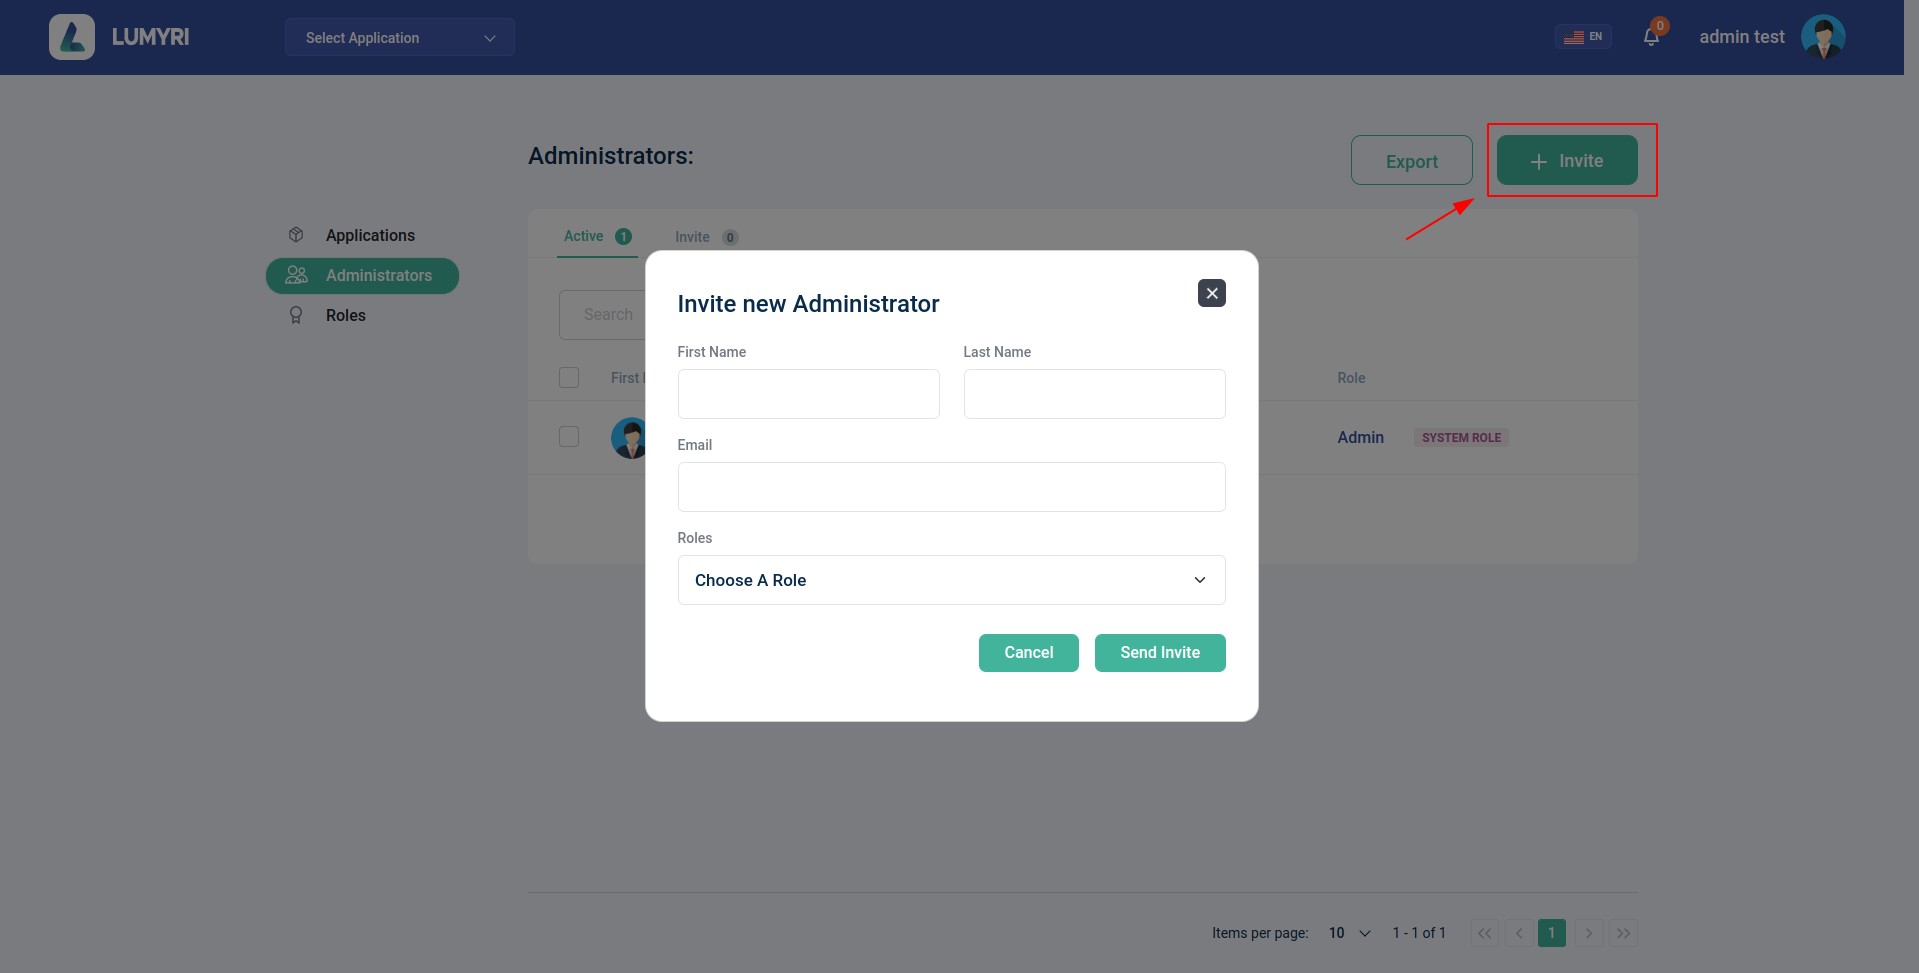
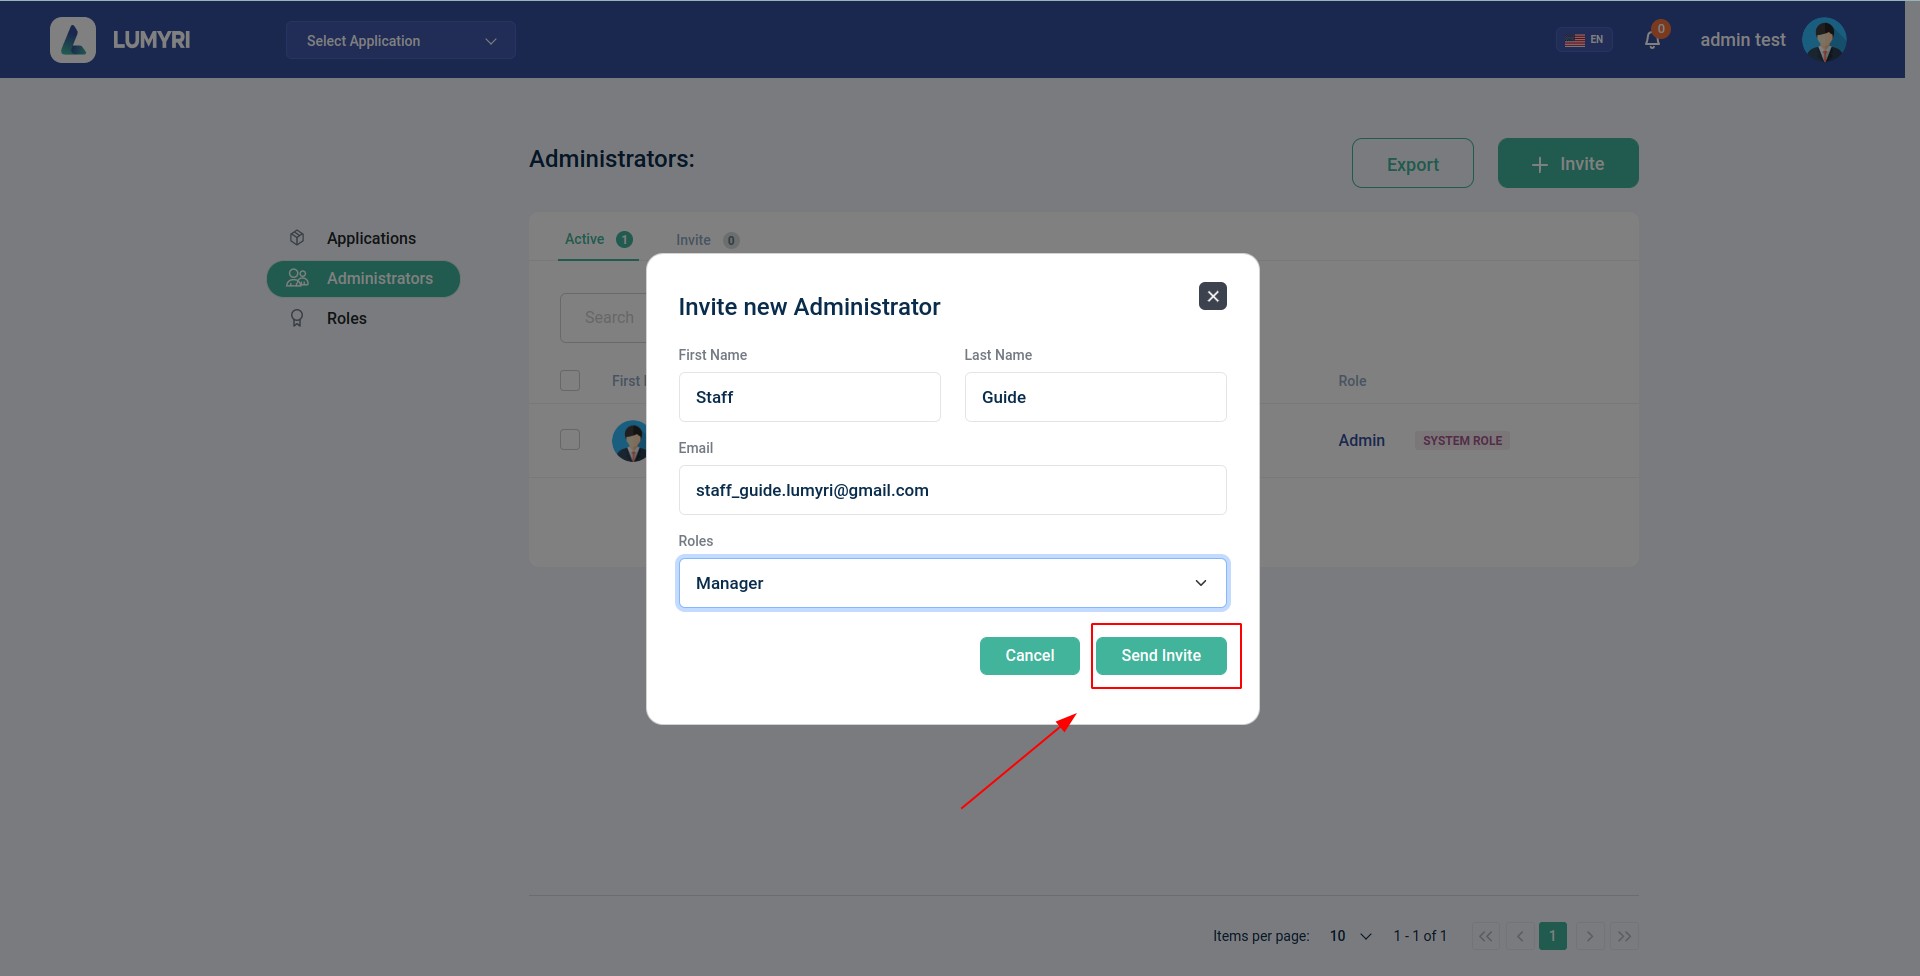
If employees want to join the company or business owners want to invite employees to manage the system. Invite new Administrator
2. Add a card
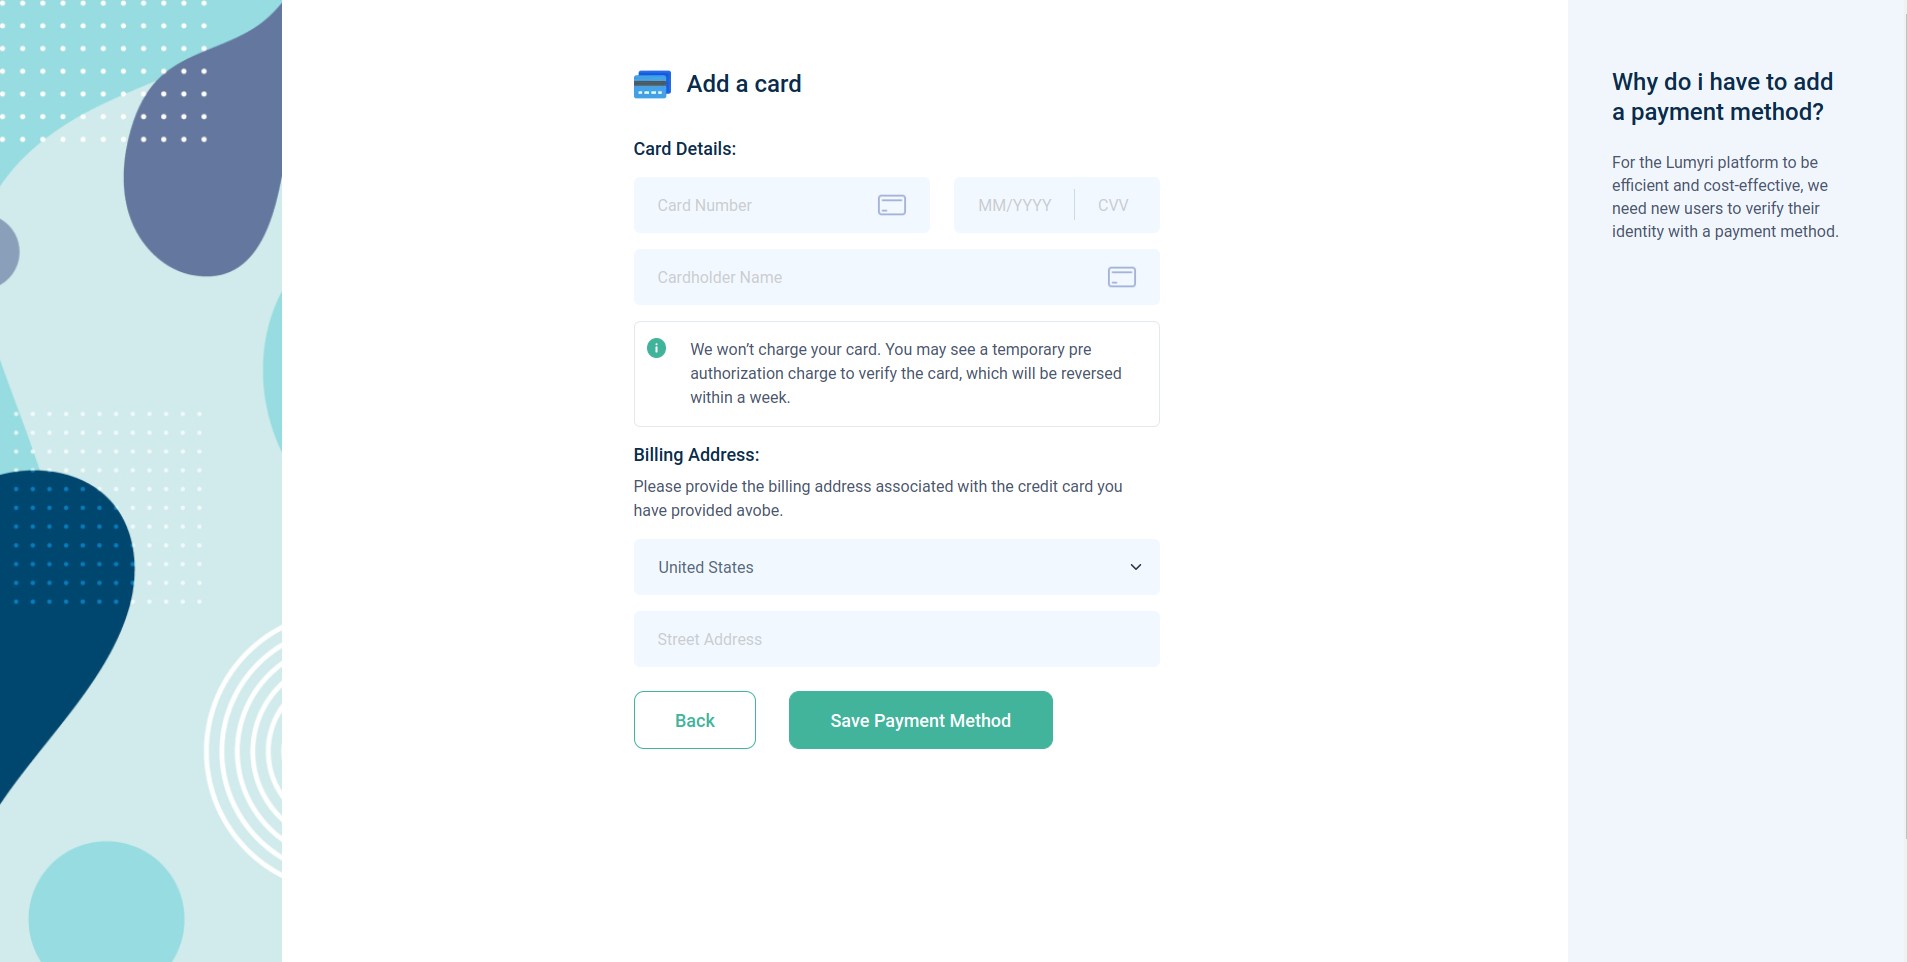
For the Lumyri platform to be efficient and cost-effective, we need new users to verify their identity with a payment method.
We won’t charge your card. You may see a temporary pre-authorization charge to verify the card, which will be reversed within a week.
Congratulations, you have successfully registered a new account
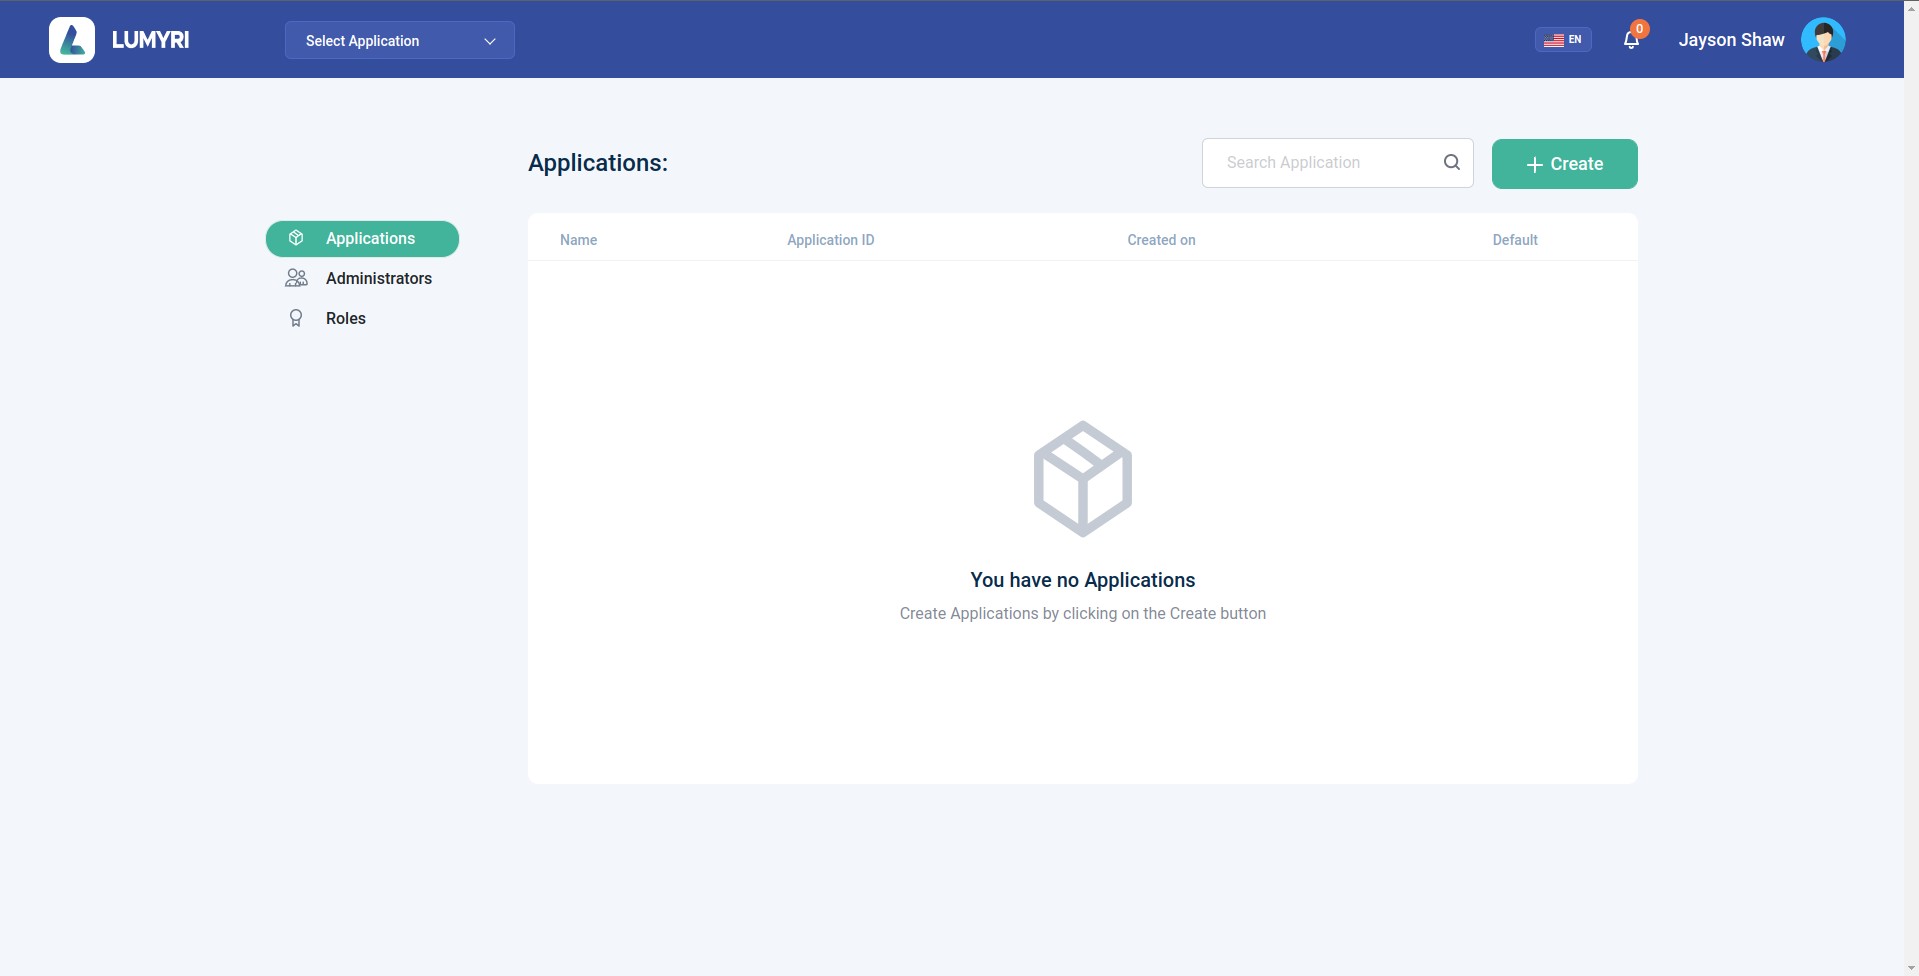
3. Create Application
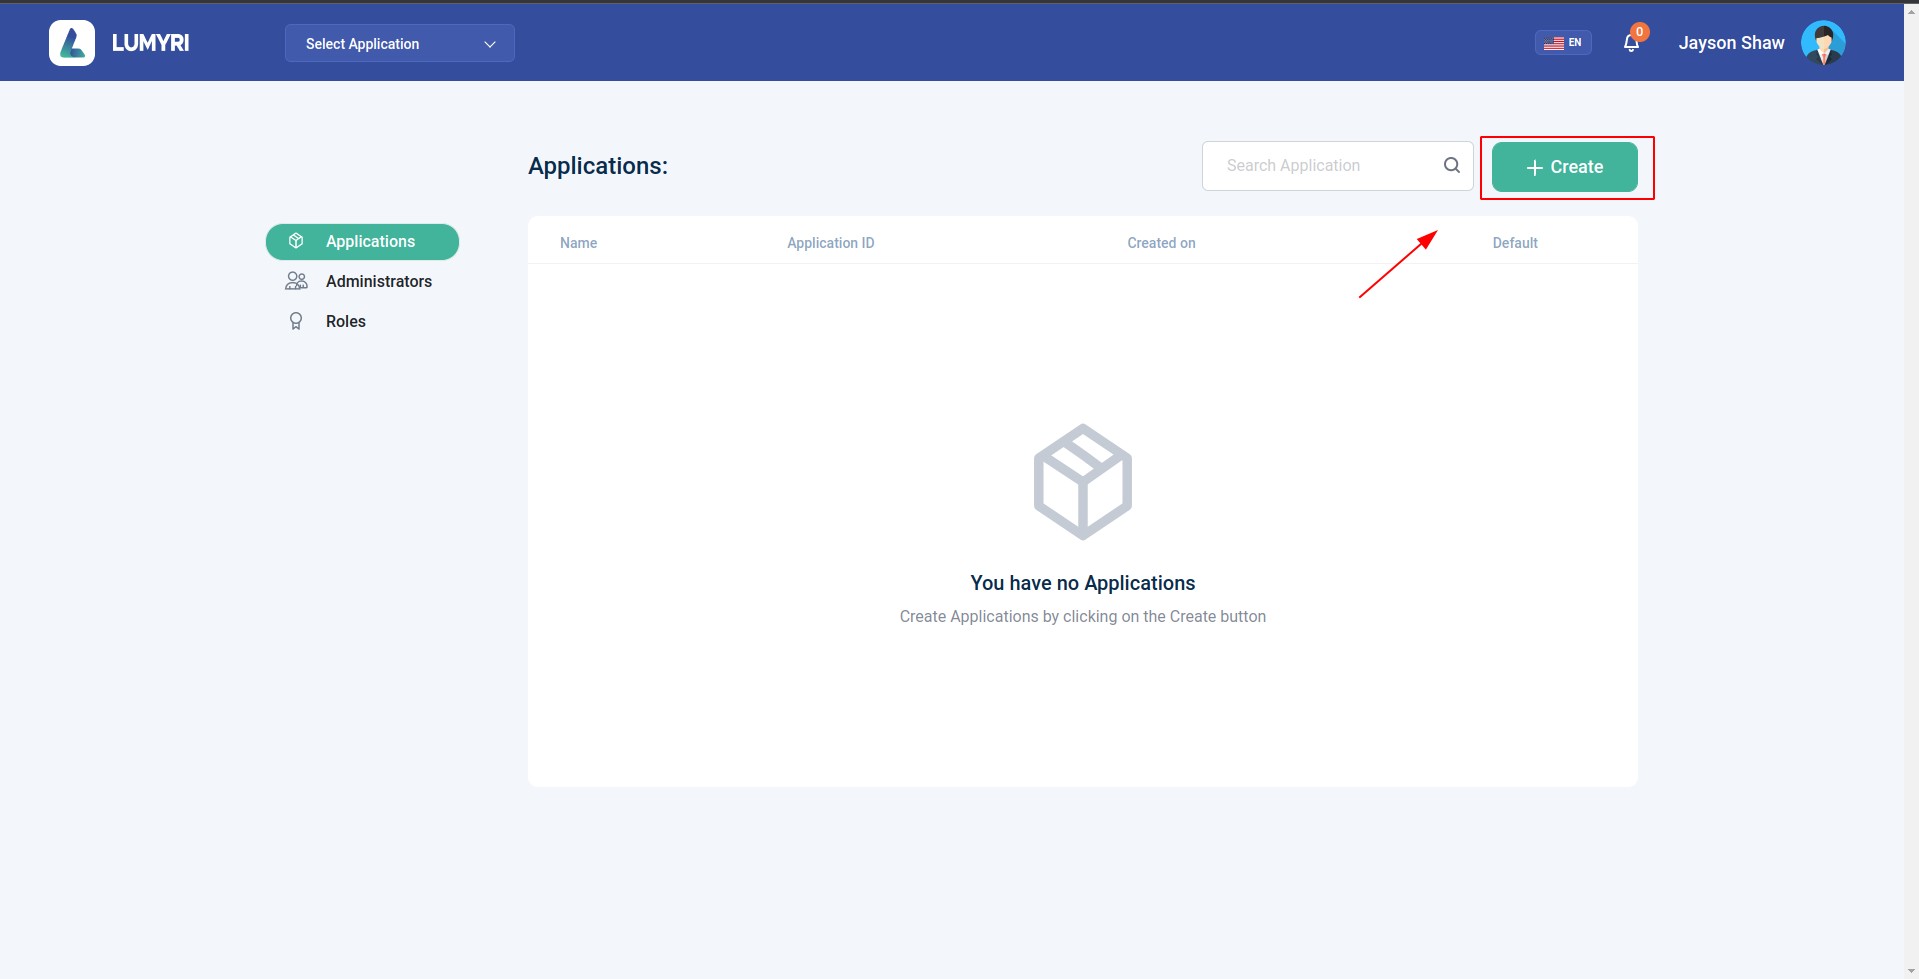
- Click Create button to create more apps.
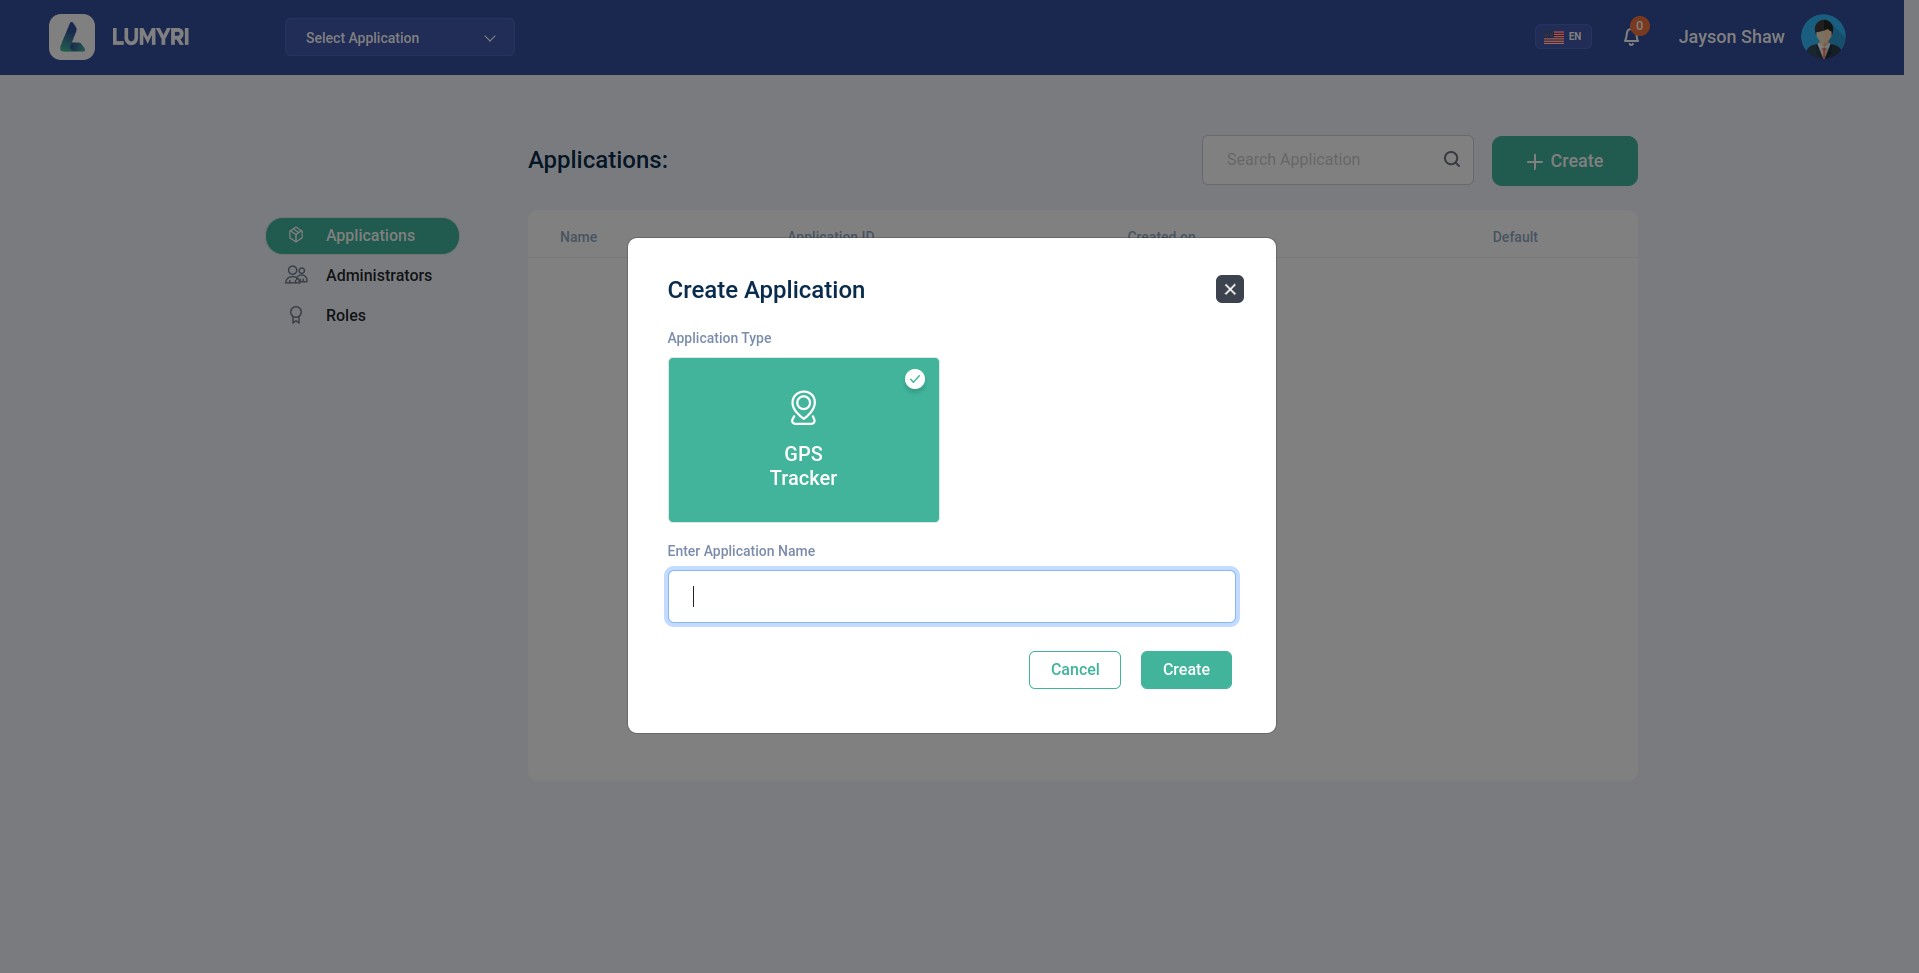
- Enter a name for your application.
You should put the application name under 30 characters, easy to remember, should not have the same name as the created application. This will be useful to you when you have more than 1 application.
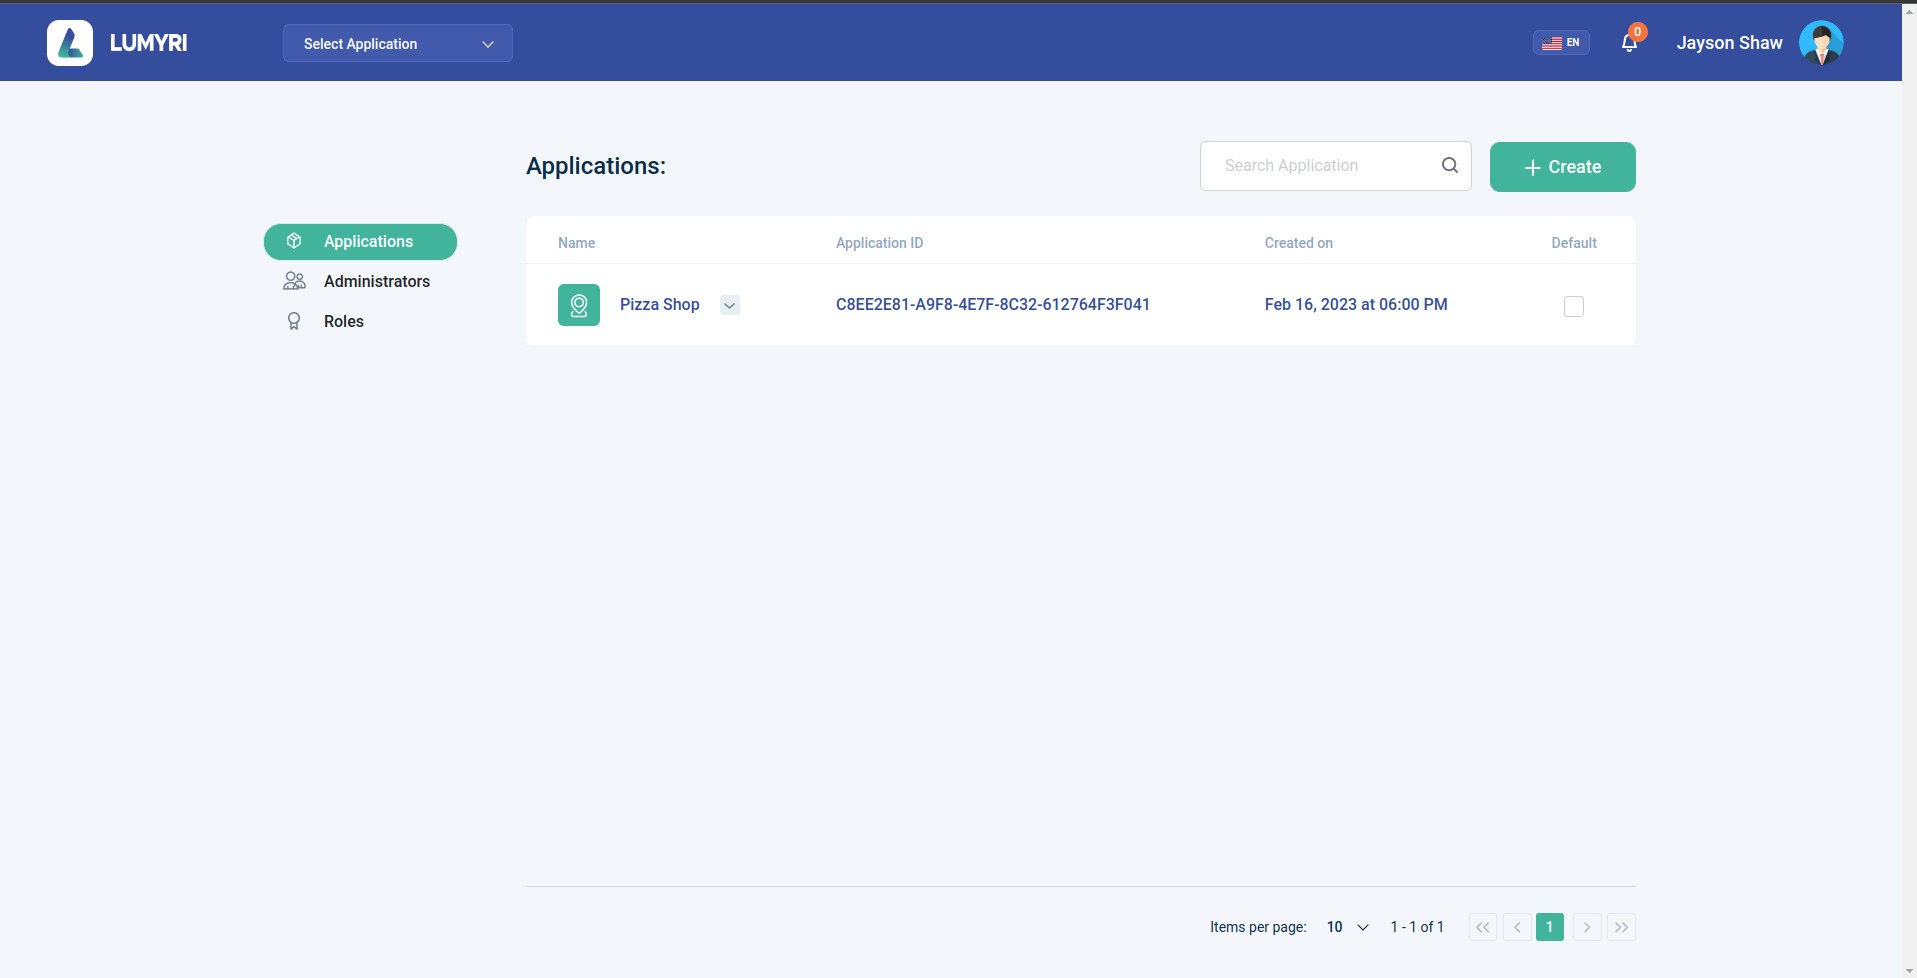
- You have successfully created a new application
4. Application
Please click the button! Let's see what is shown.
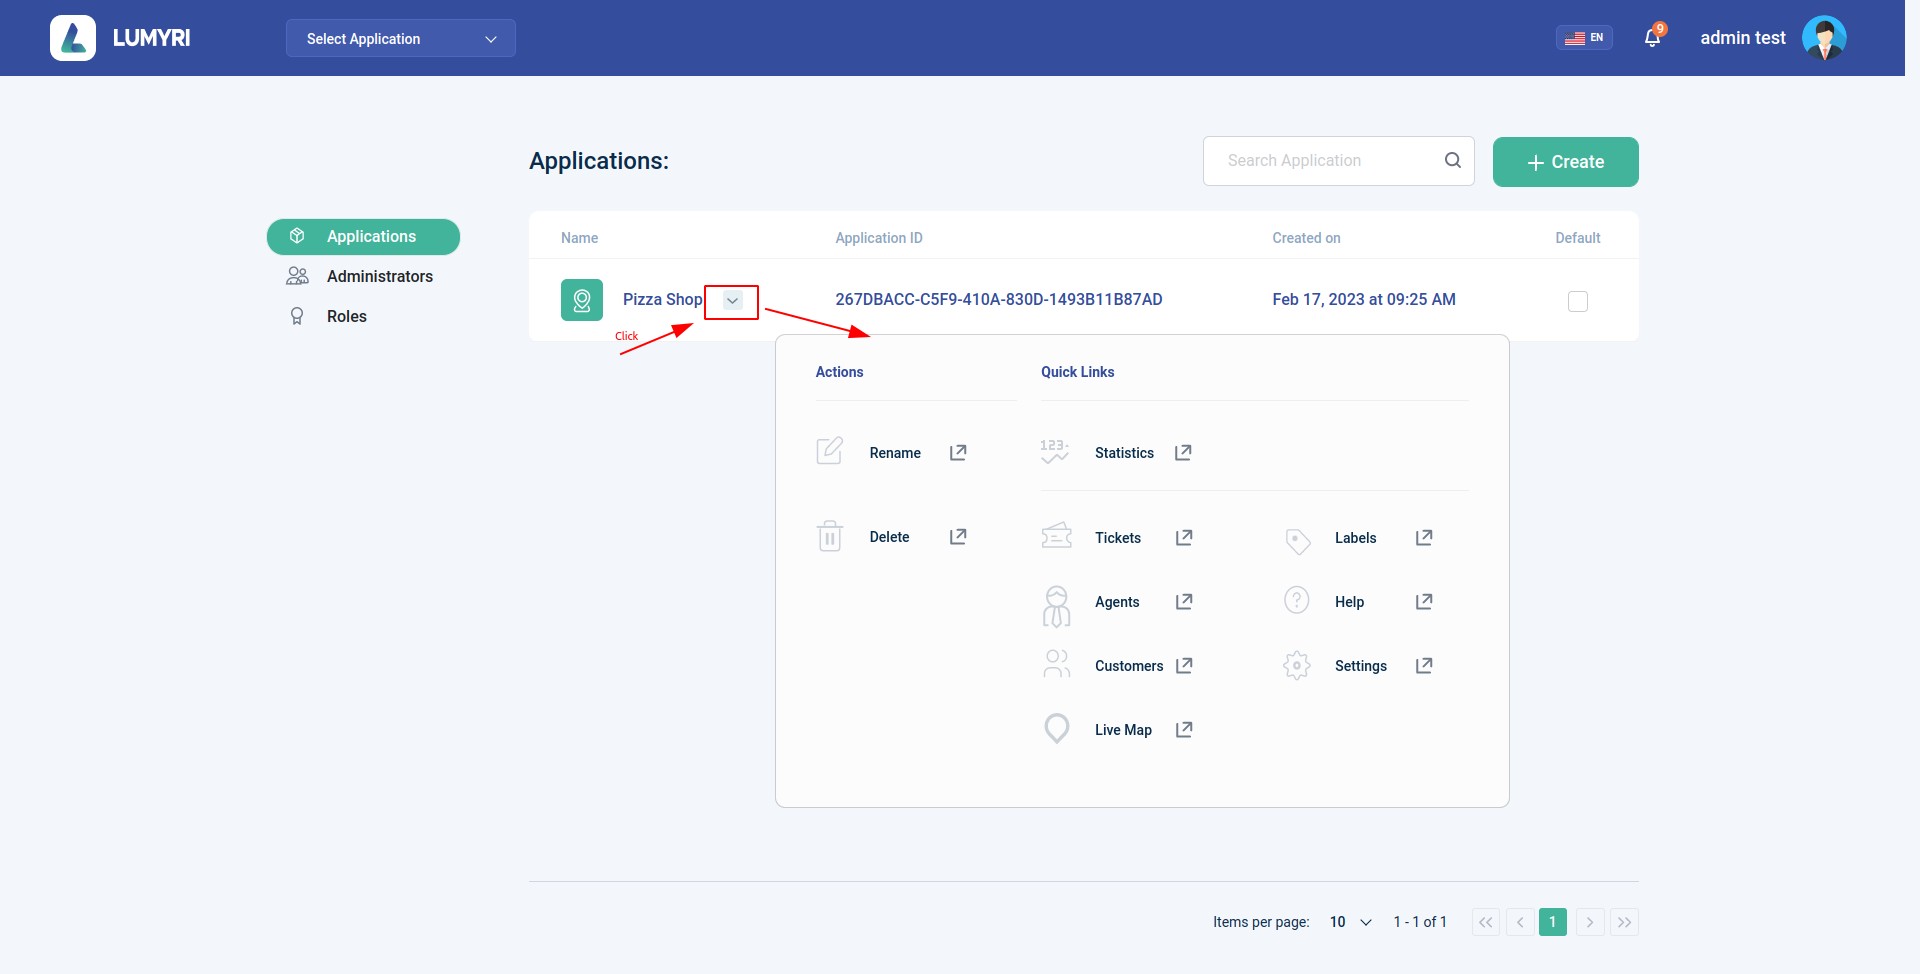
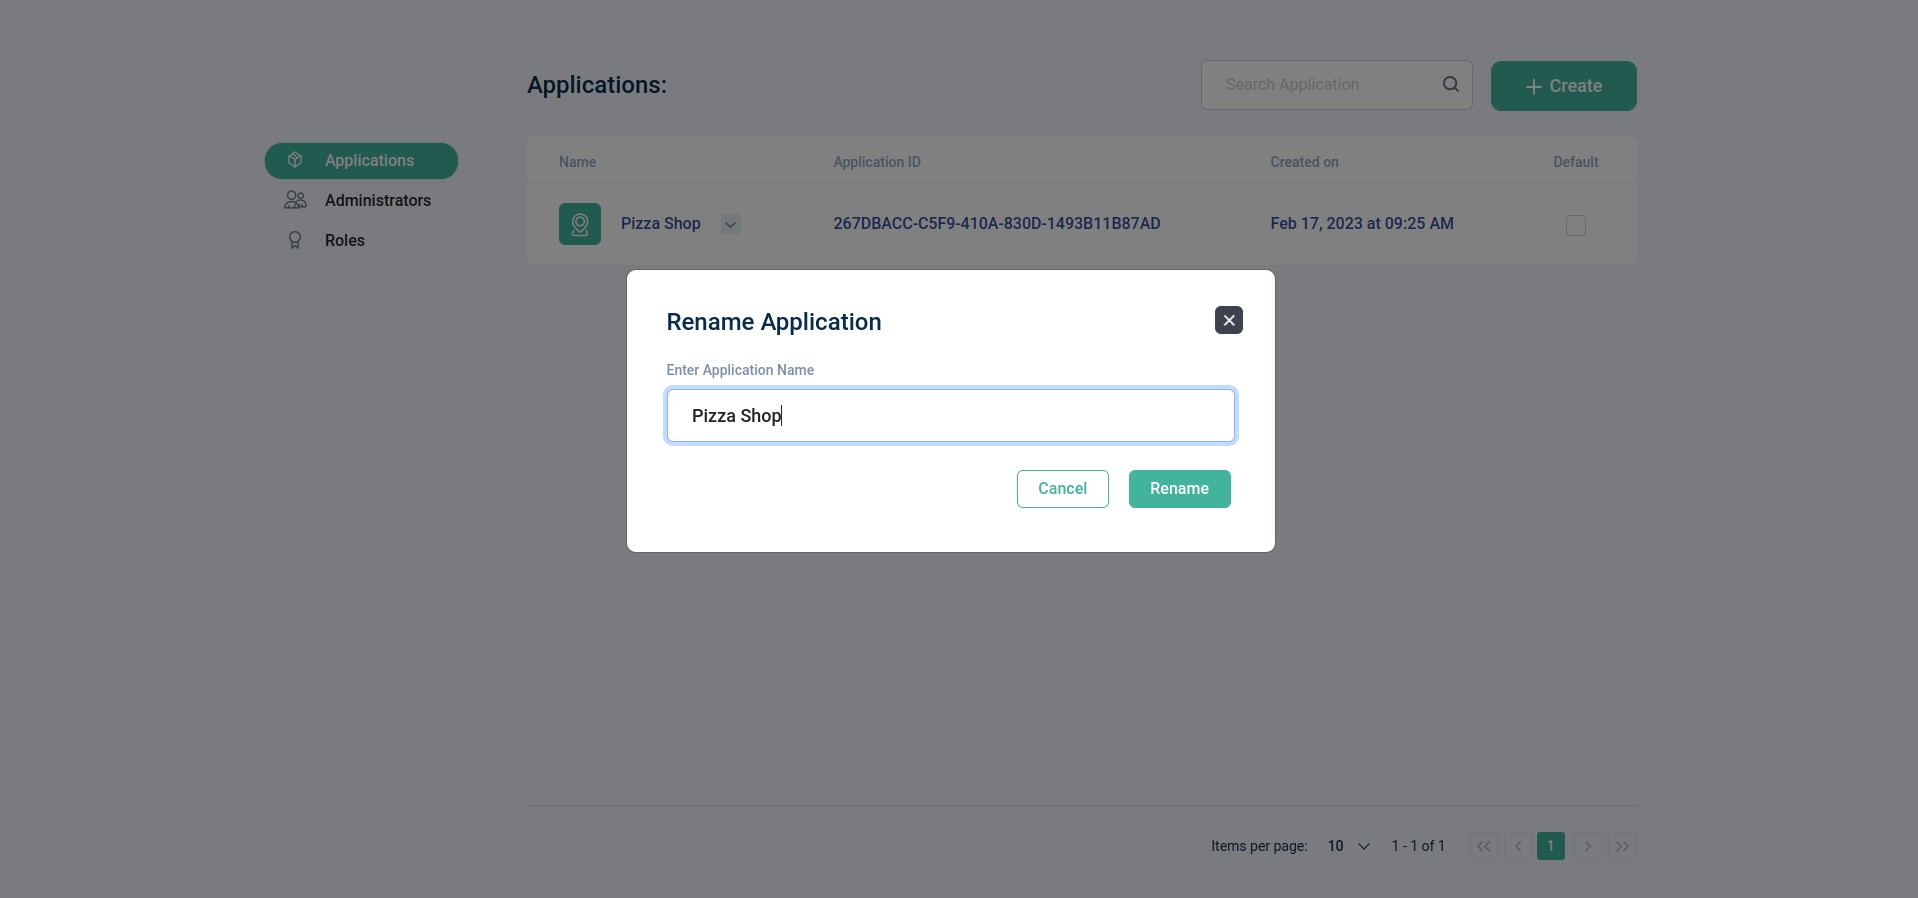
Rename: Rename the application
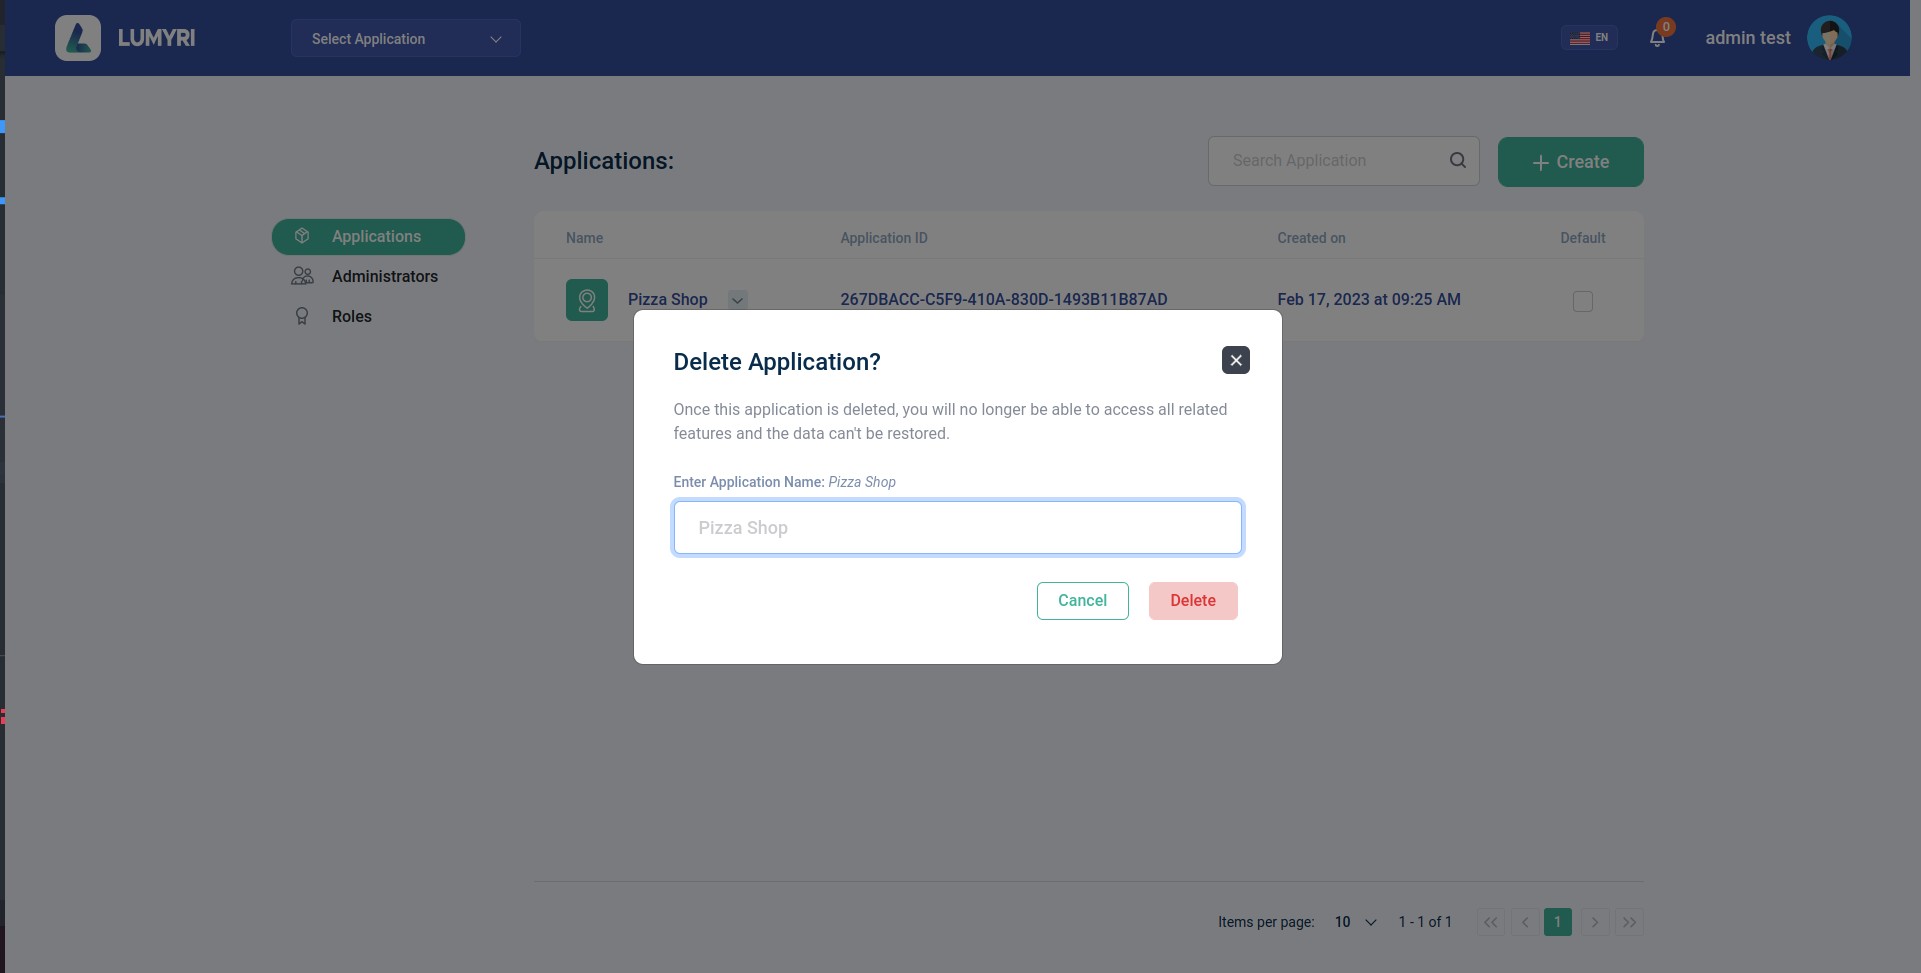
Delete: Delete the application
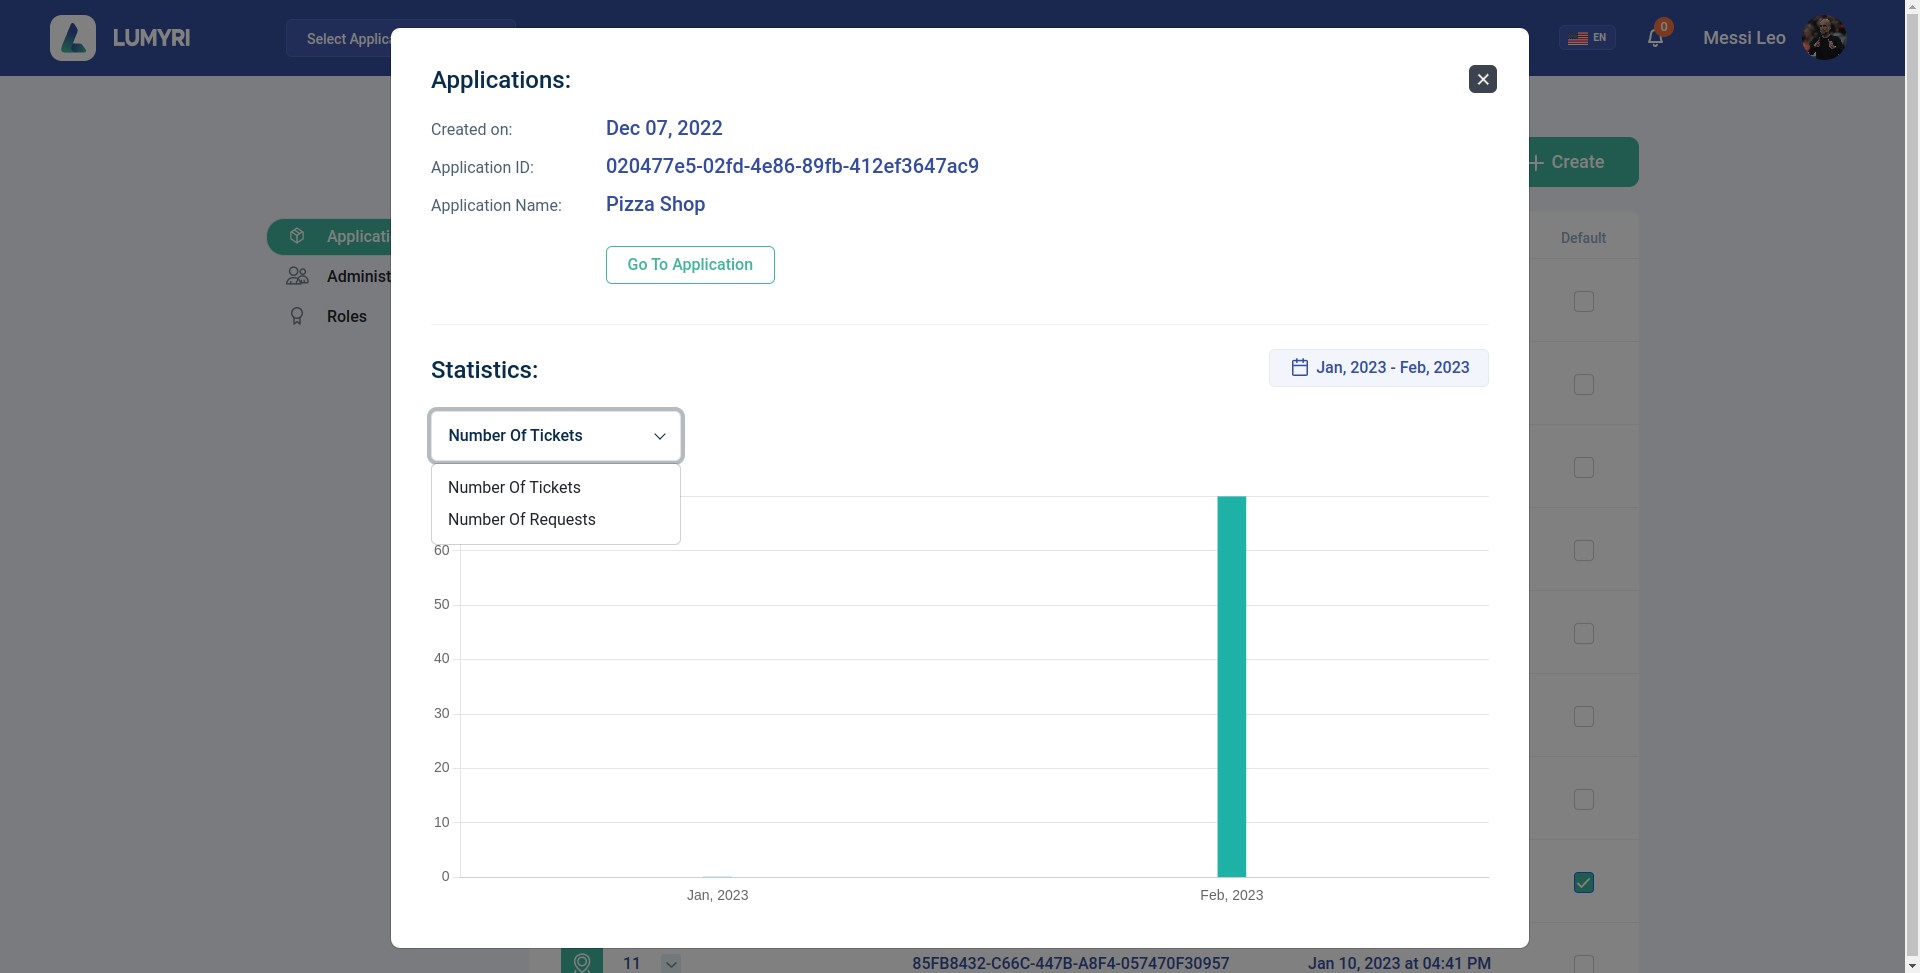
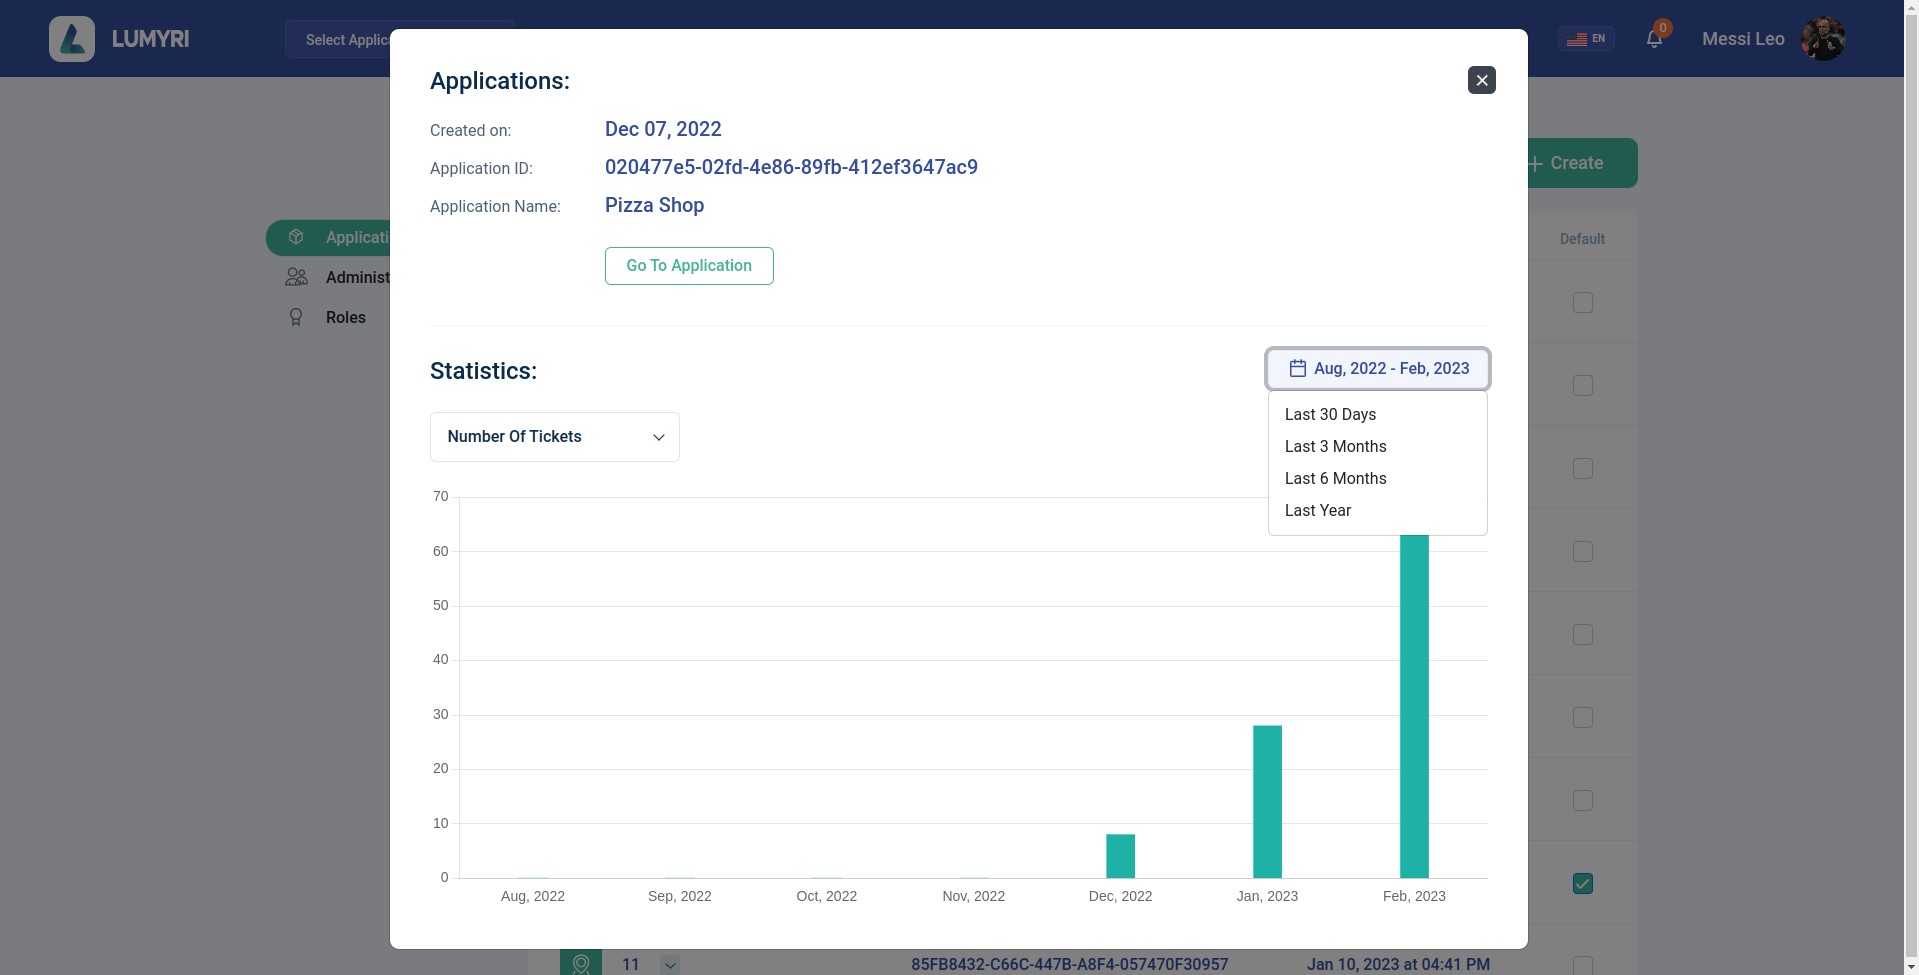
Statistics: Statistics of the number of tickets and requests to call the Lumyri server.
You can learn more about tickets and agents here customers, agents, tickets.
4.1 Rename Application
4.2 Delete Application
Once this application is deleted, you will no longer be able to access all related features and the data can't be restored.
4.3 Statistics
Statistics of the number of tickets and requests to call the Lumyri server.
4.3.1 Choose 1 of 2 statistical methods
Statistics are based on the number of tickets or the number of requests over a period of time.
4.3.2 Selecting a statistical period
5. Role
System role Only owners: Have full access to the platform.
Custom role: Users with access to only some platforms.
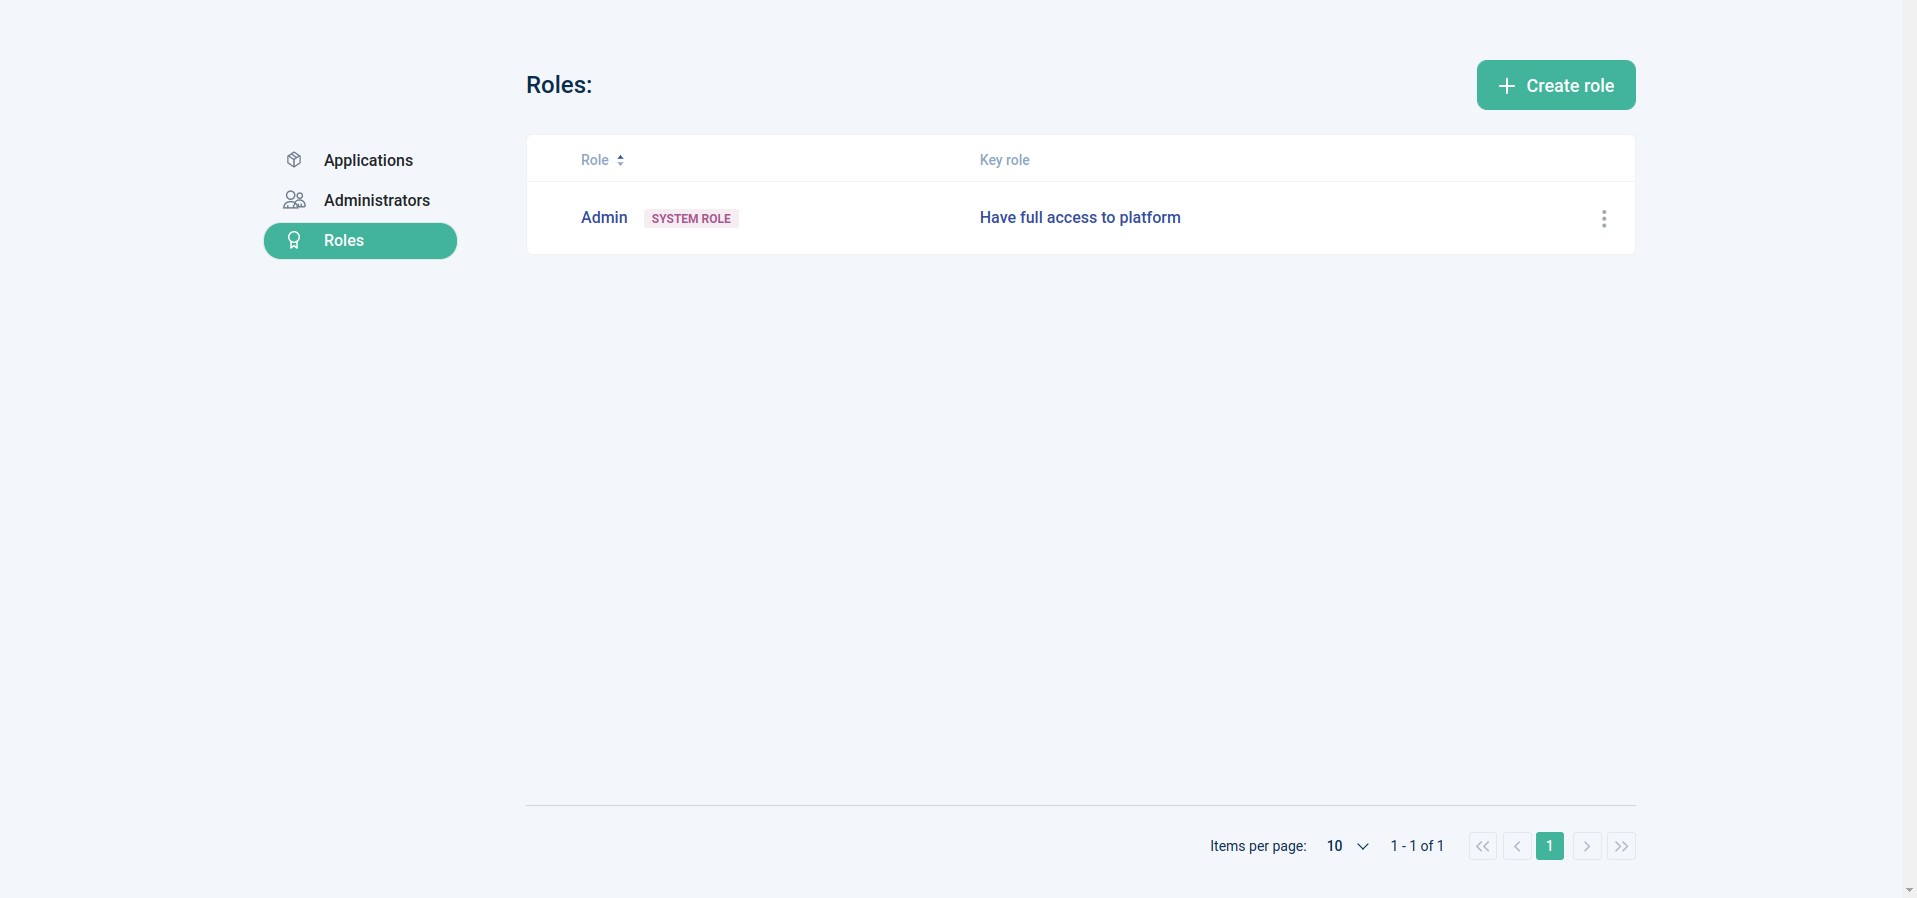
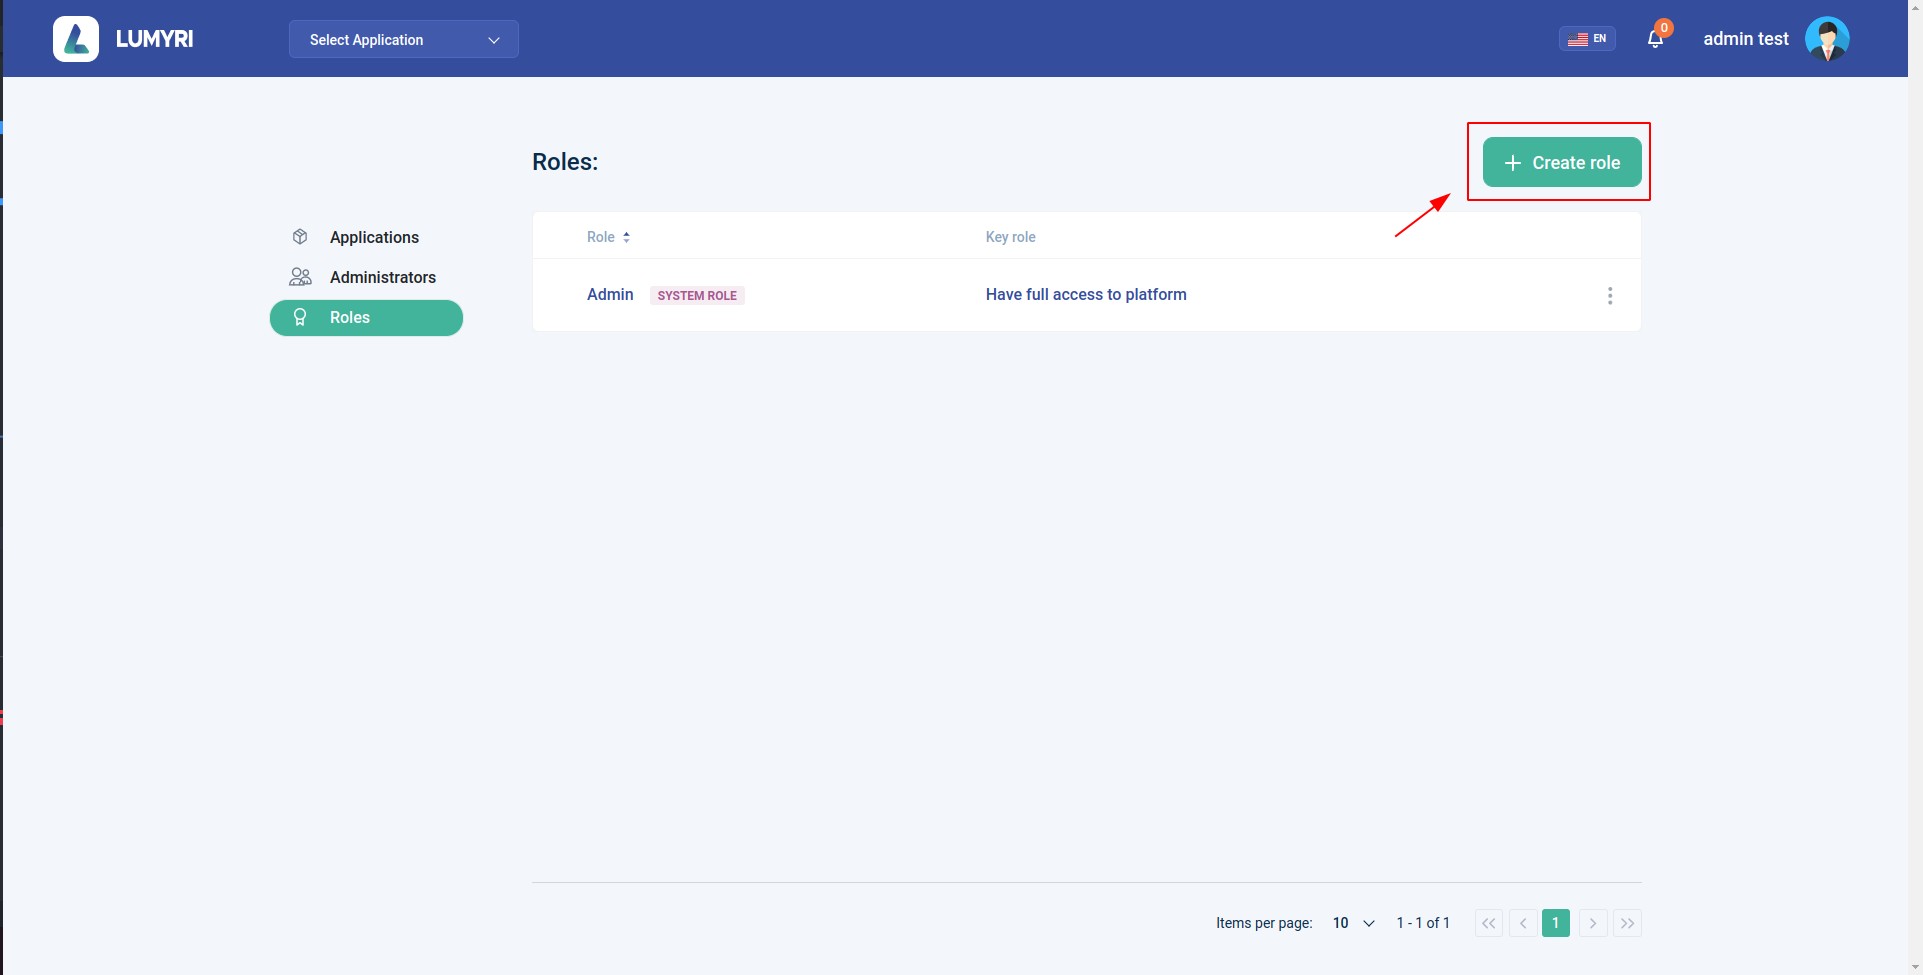
5.1. Create new role
- Create more roles to limit the platforms your staff can access.
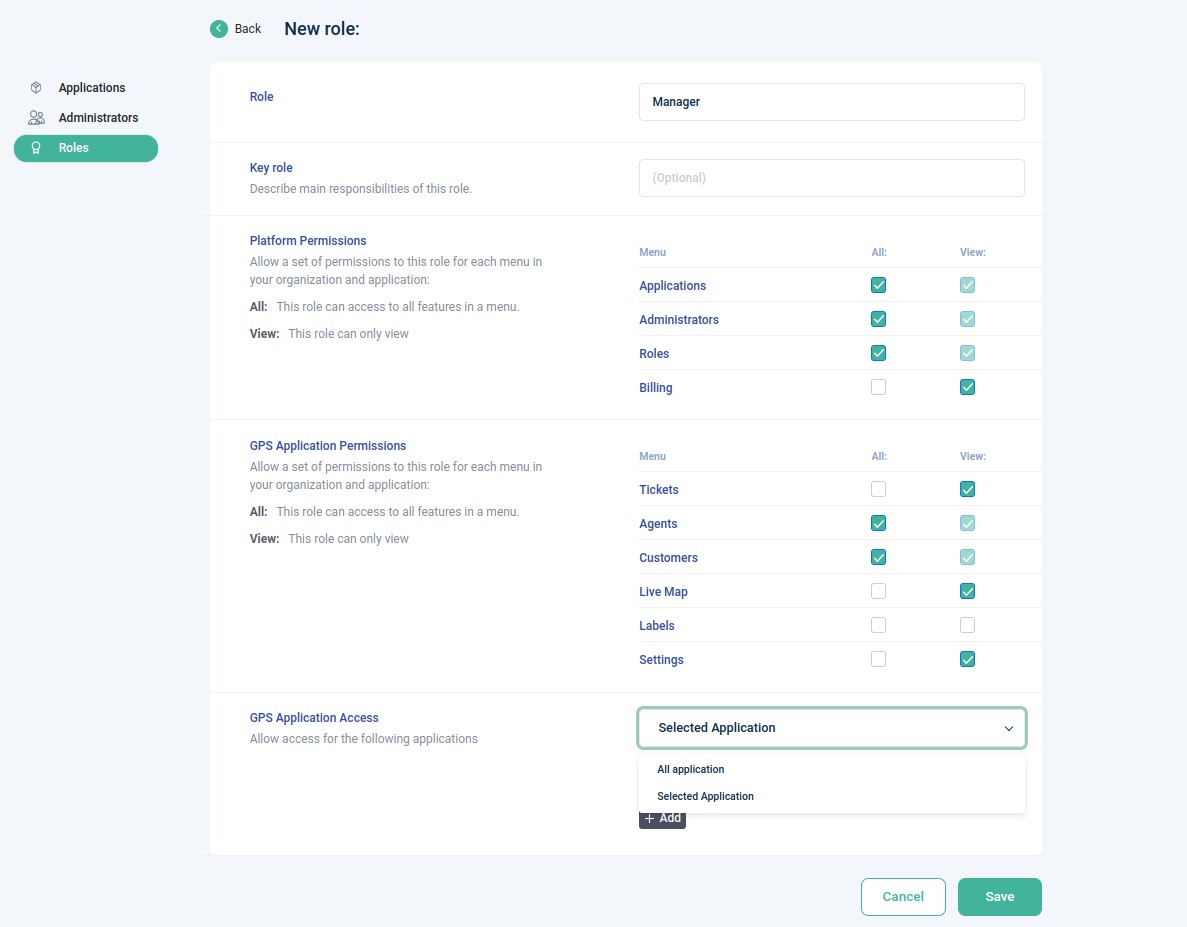
When you check All, your staff is allowed to add, edit and delete this resource. When you check View, your employees are allowed to view this resource. When you do not select anything, your staff will not have access to the resource.
- Limit the apps your staff can access.
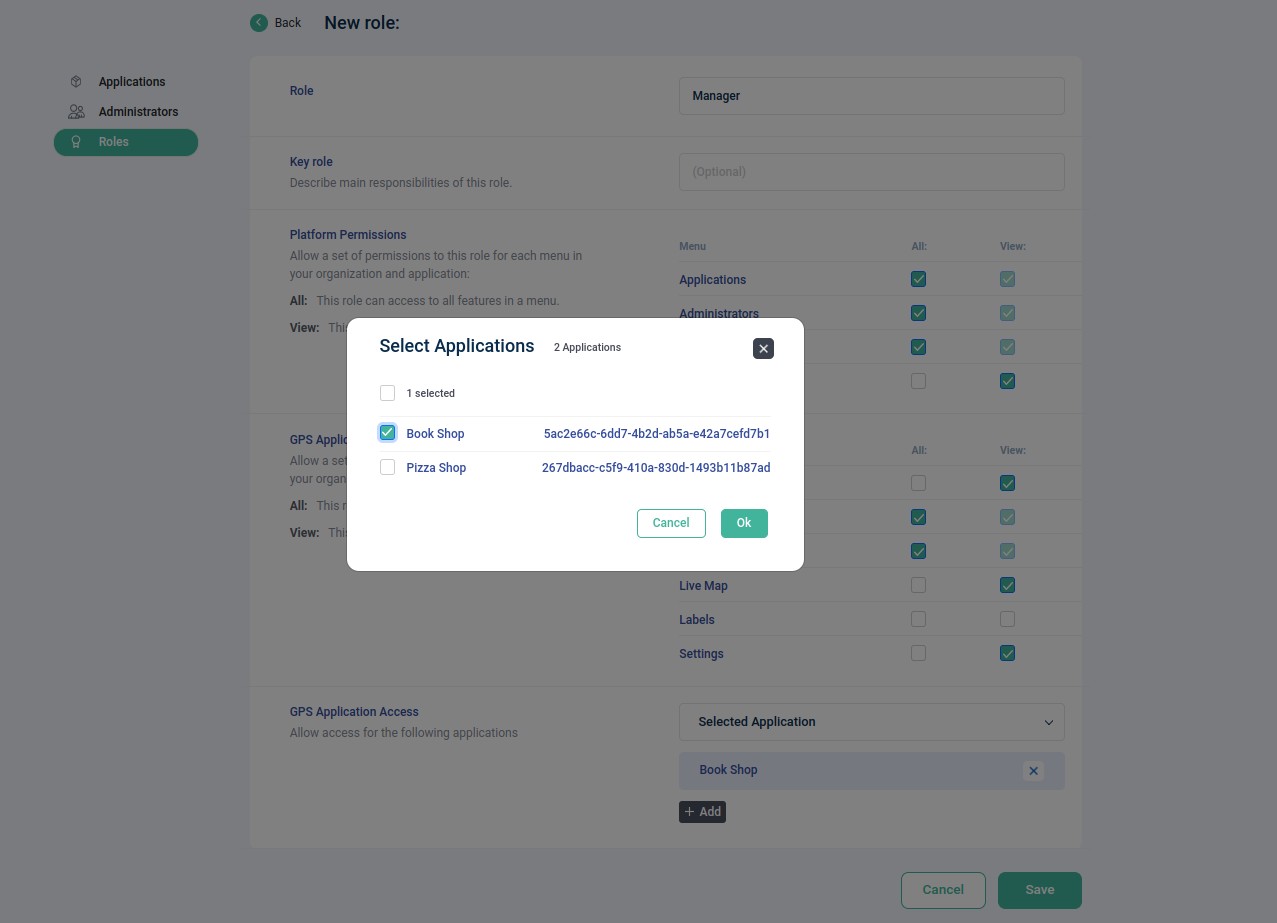
Click Ok then click Save to save the role.
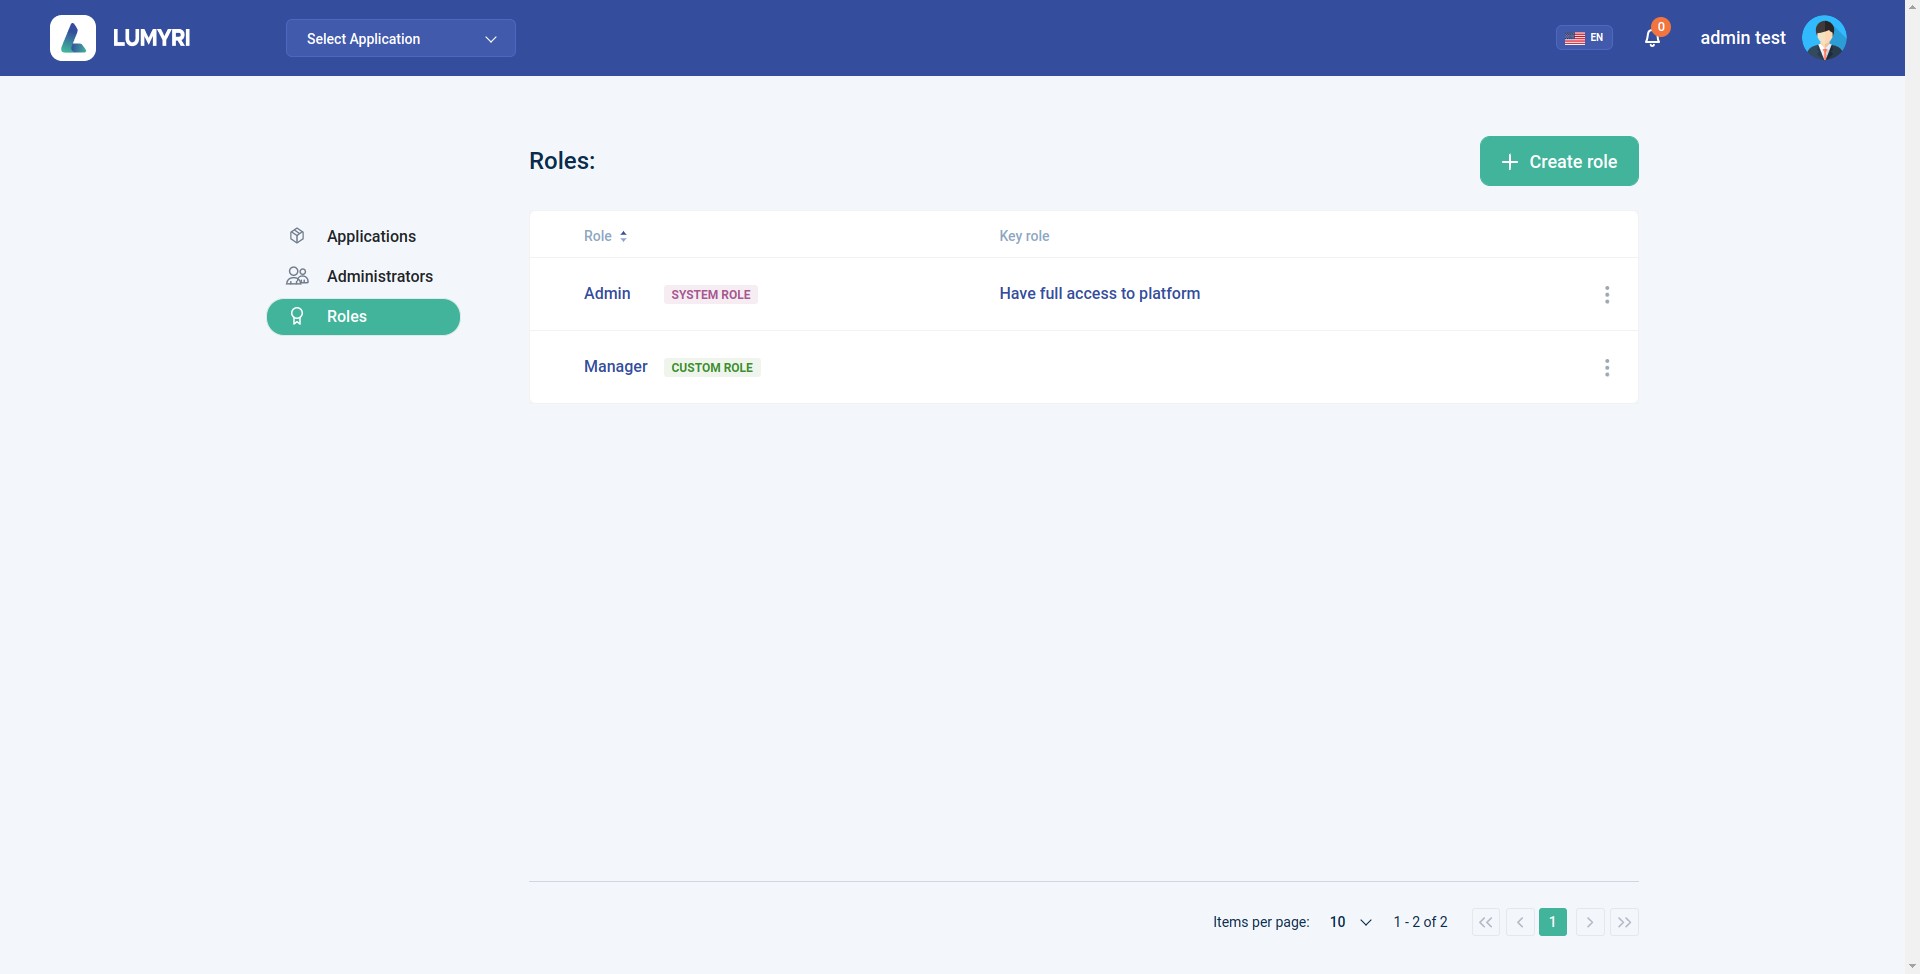
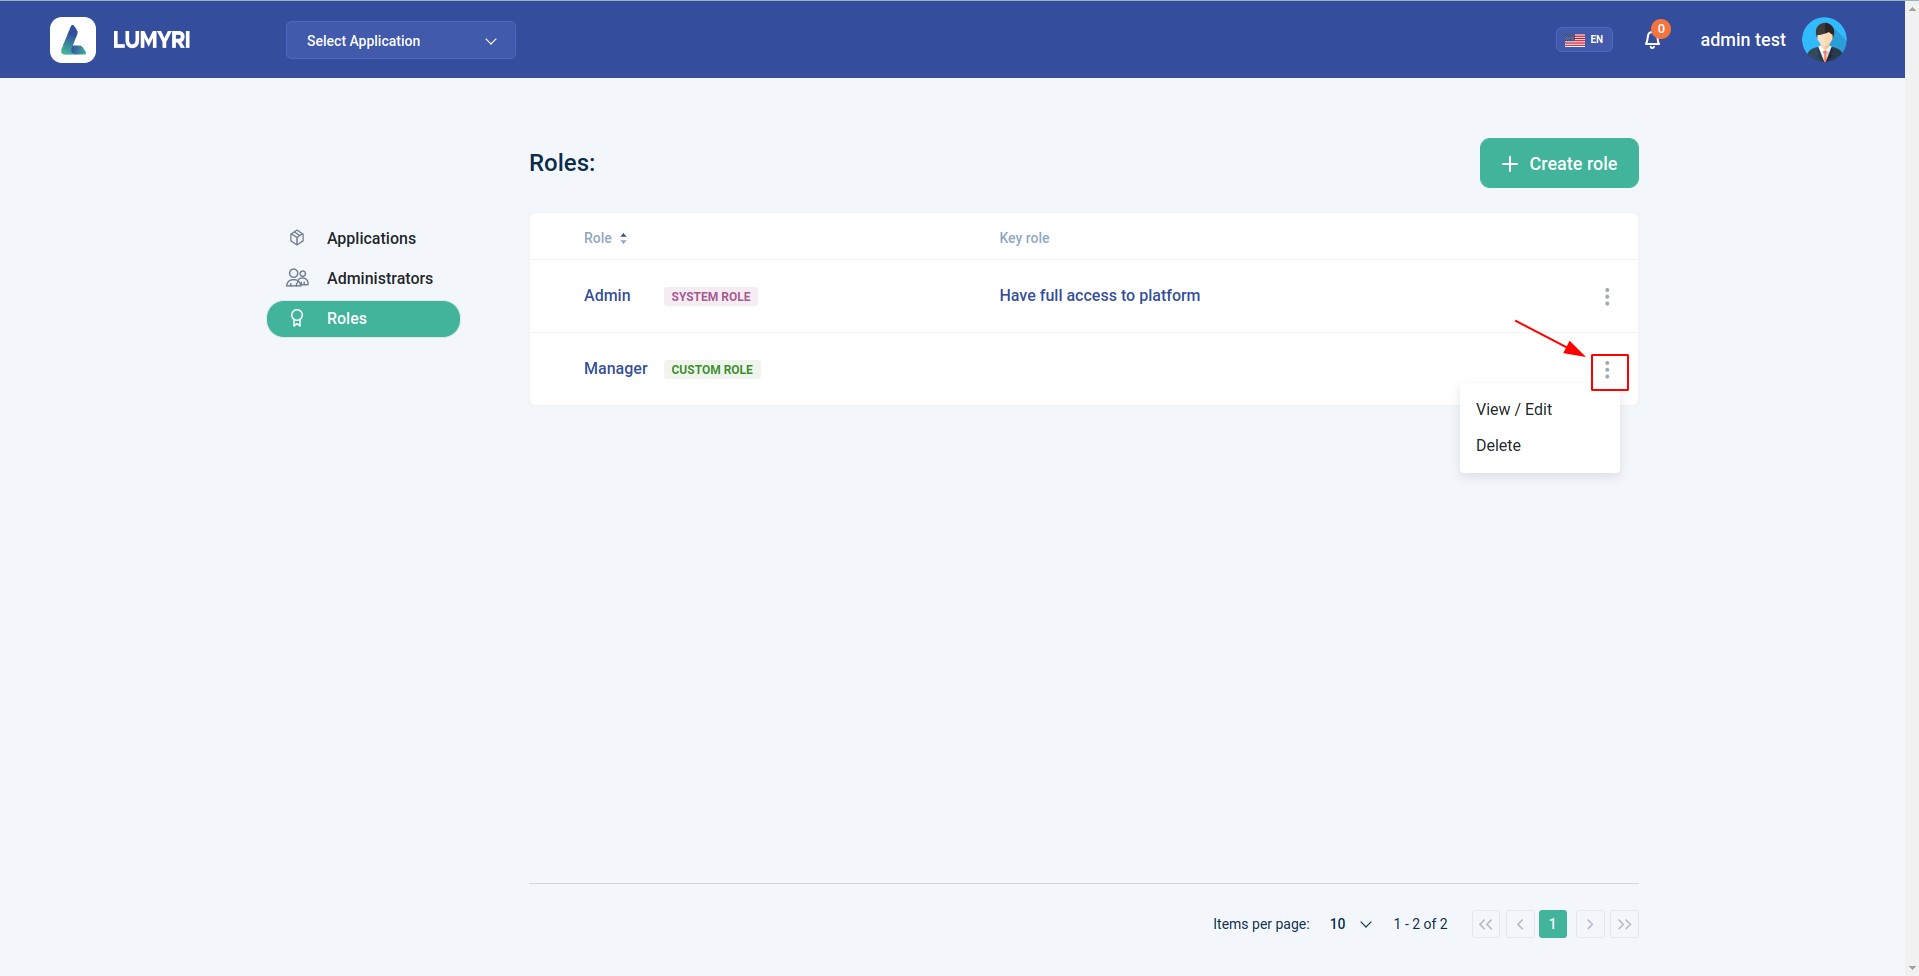
5.2. View, Edit, delete role
Note: If the role is deleted Administrators assigned to this role will not have system access.
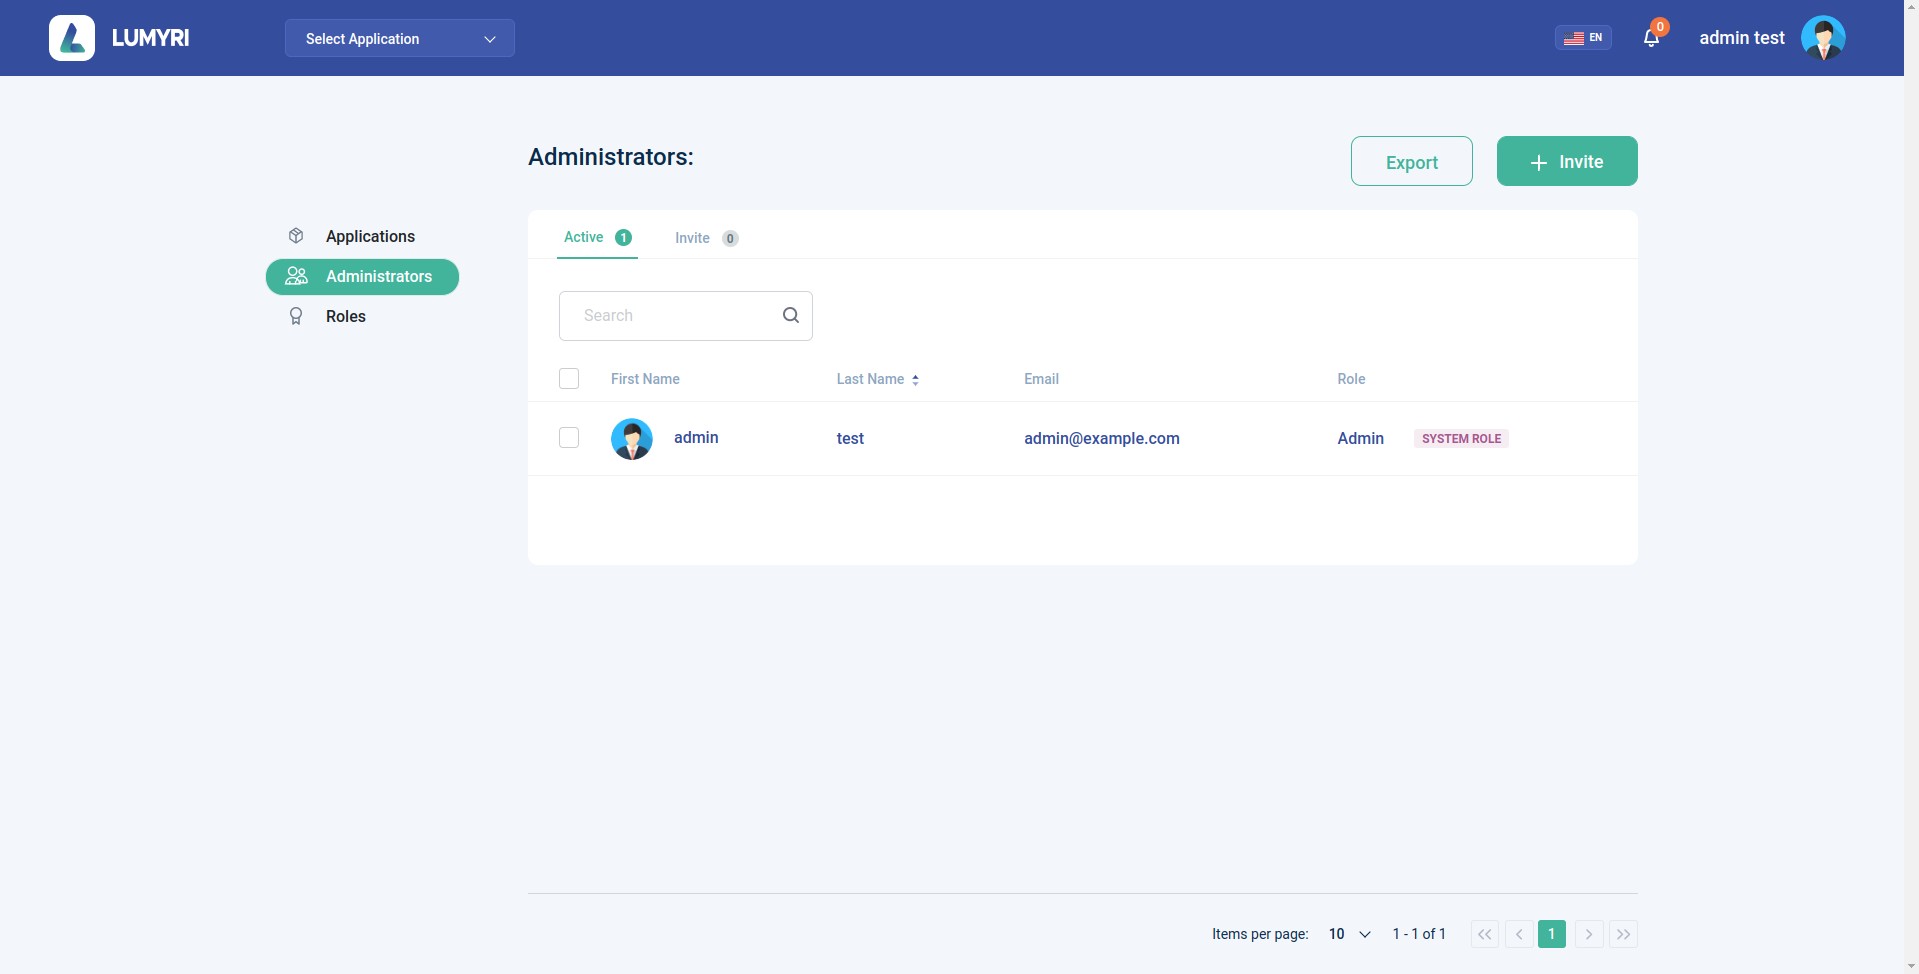
Now go to the administrator's page.
6. Administrator
6.1 Tab Administrator Active
6.2 Invite new Administrator
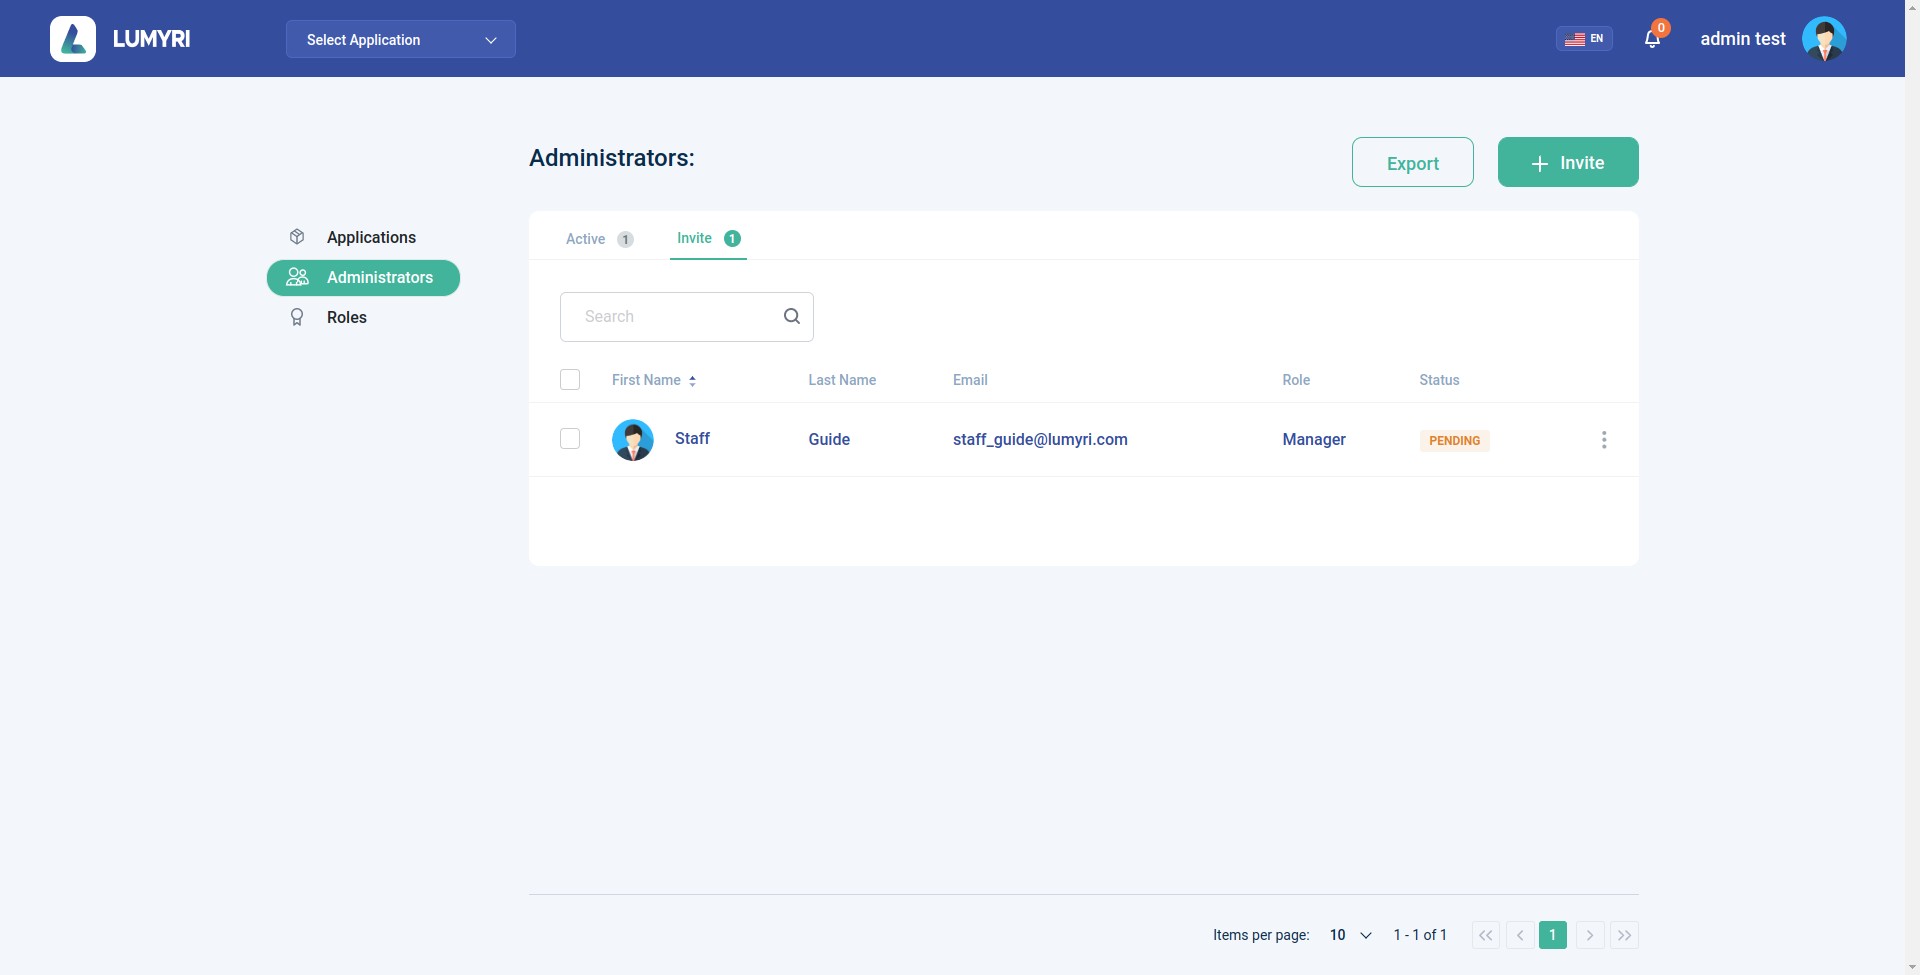
6.3 Tab list invite Administrator
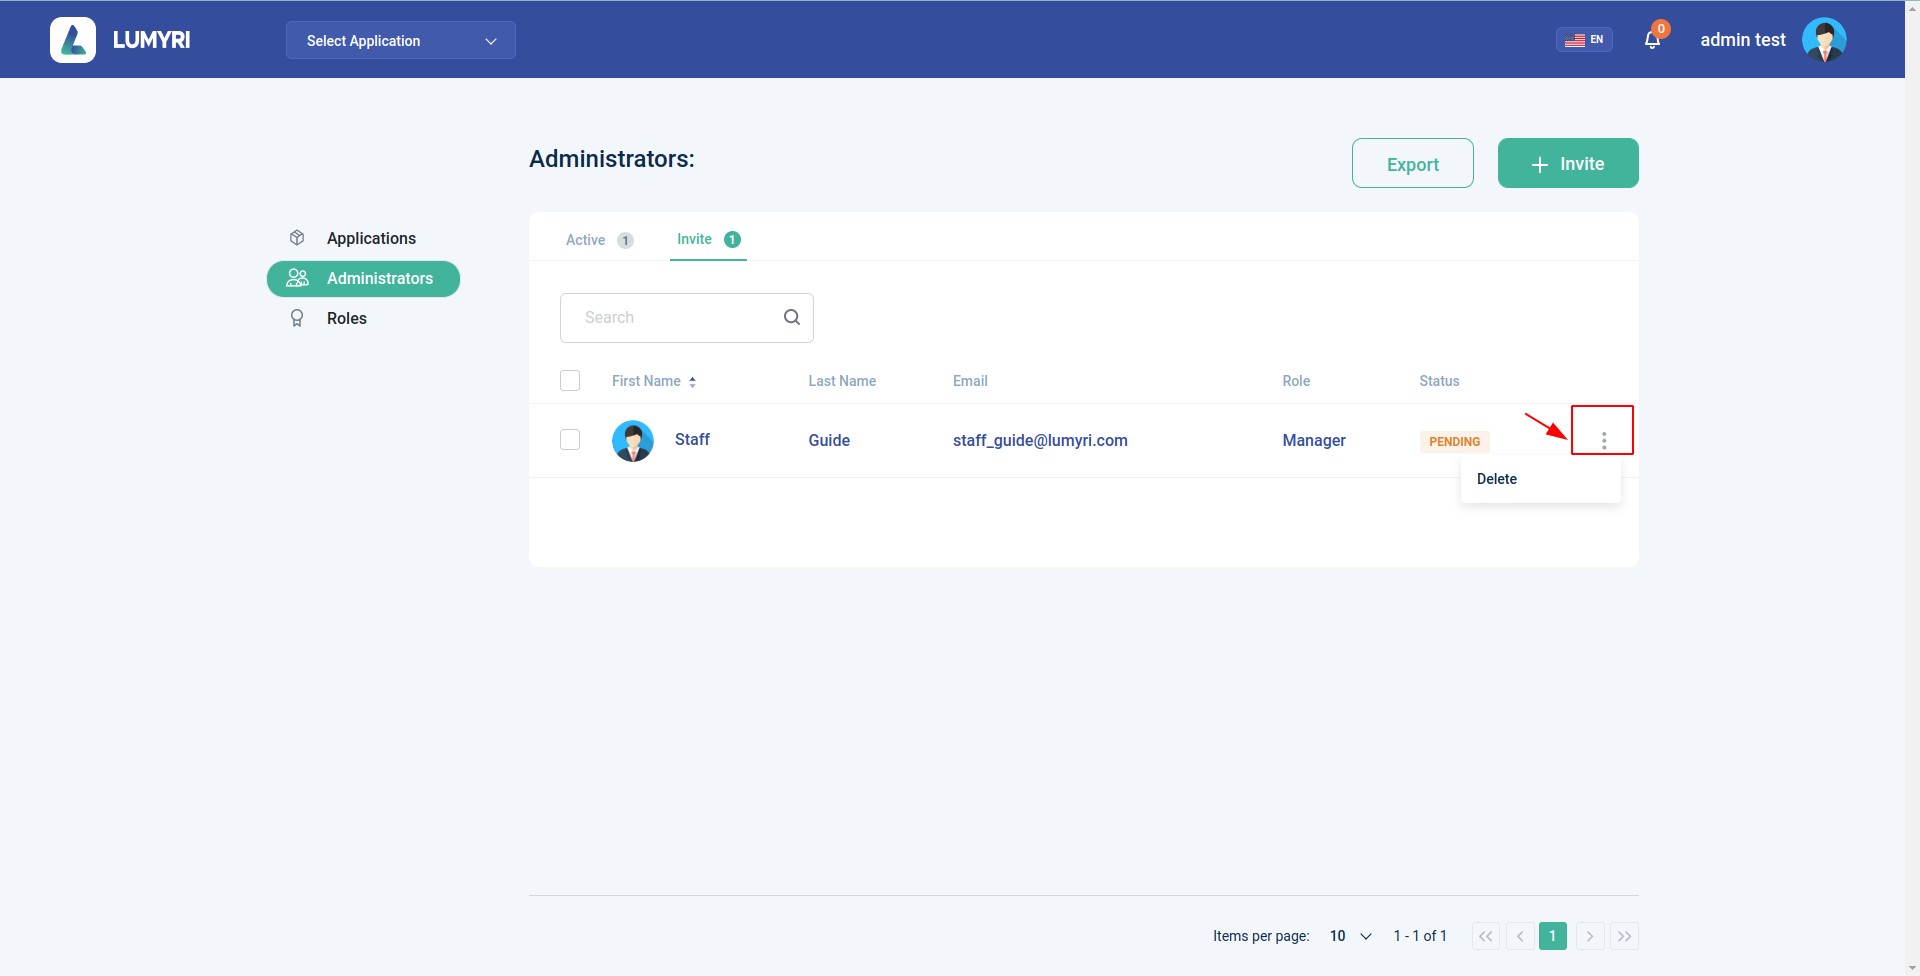
6.4 Delete invite Administrator
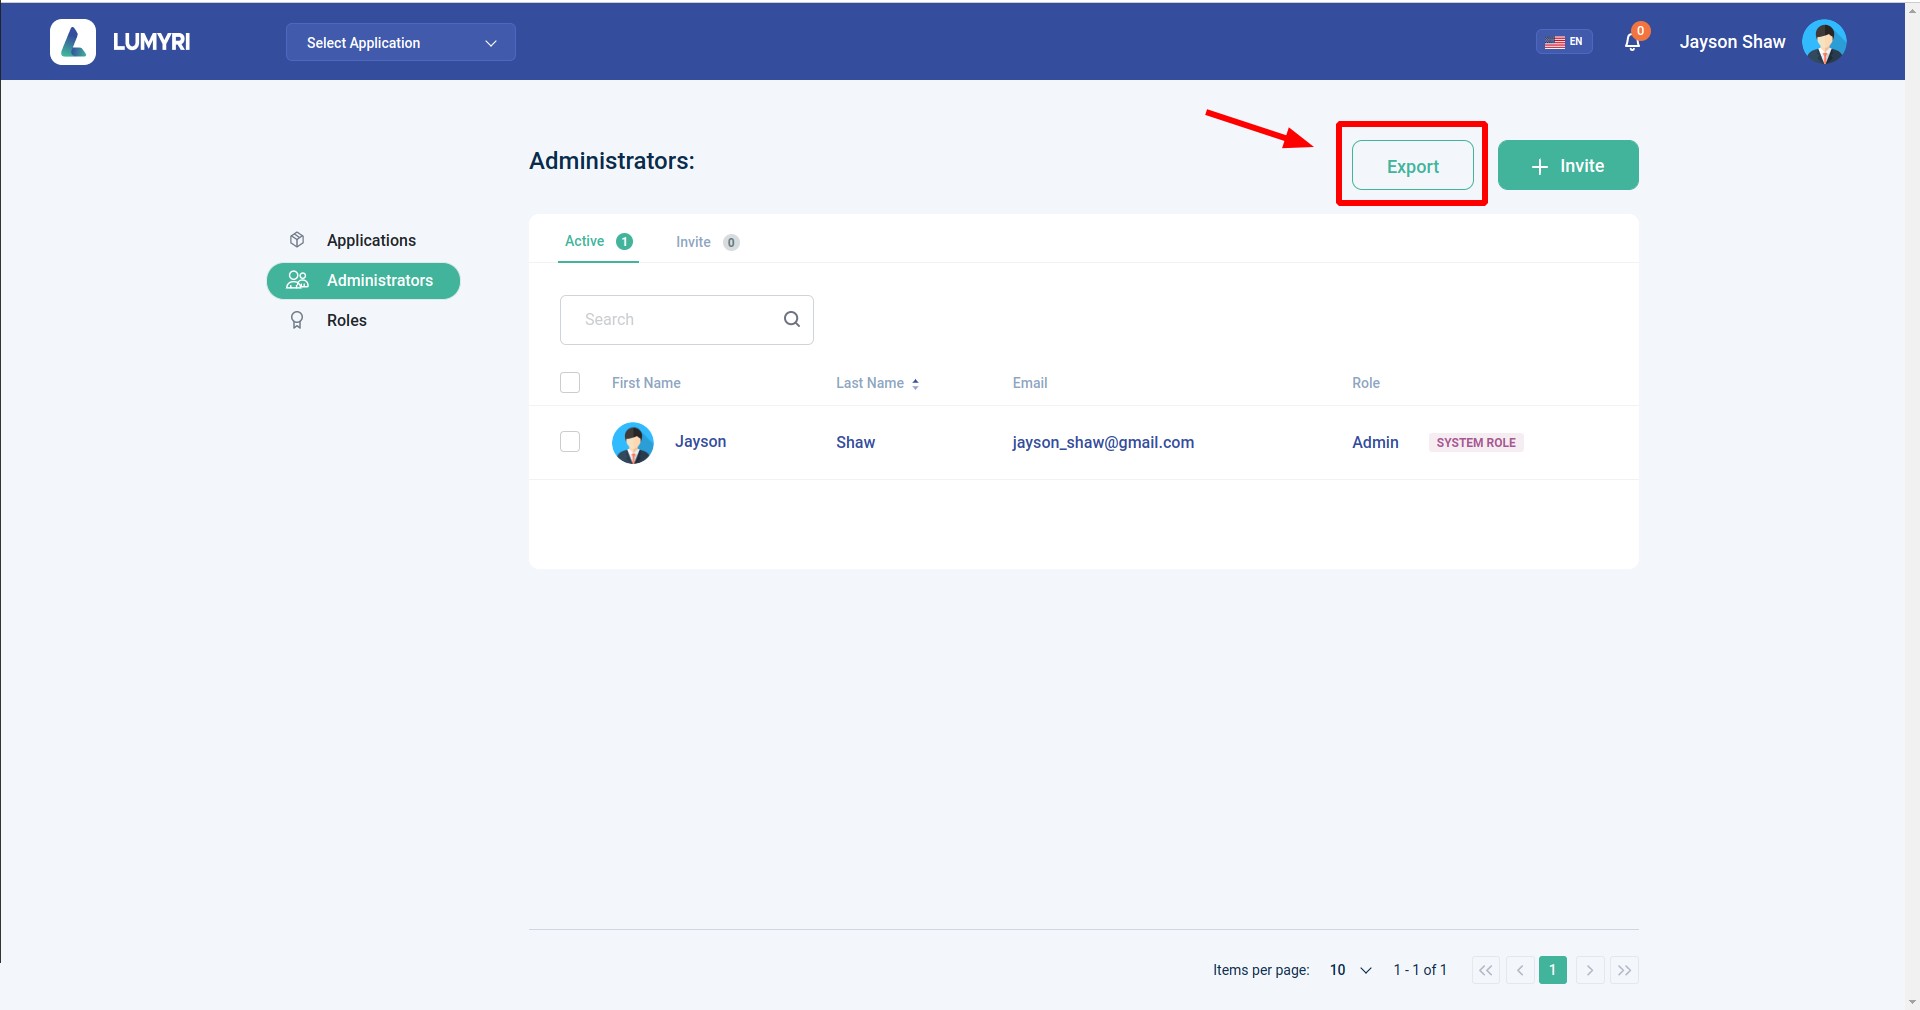
6.5 Export file CSV Administrator
You can export all the administrators in the system.
We have the Active tab and Invite tab. when you click export, the admin file will output as shown on the screen.
