Route
Routes are the paths taken by an agent to deliver goods or products to a customer. Tickets to be delivered to customers follow these routes. Our API will provide you with the shortest route. The route is required for agents to know where they need to go to deliver their goods.
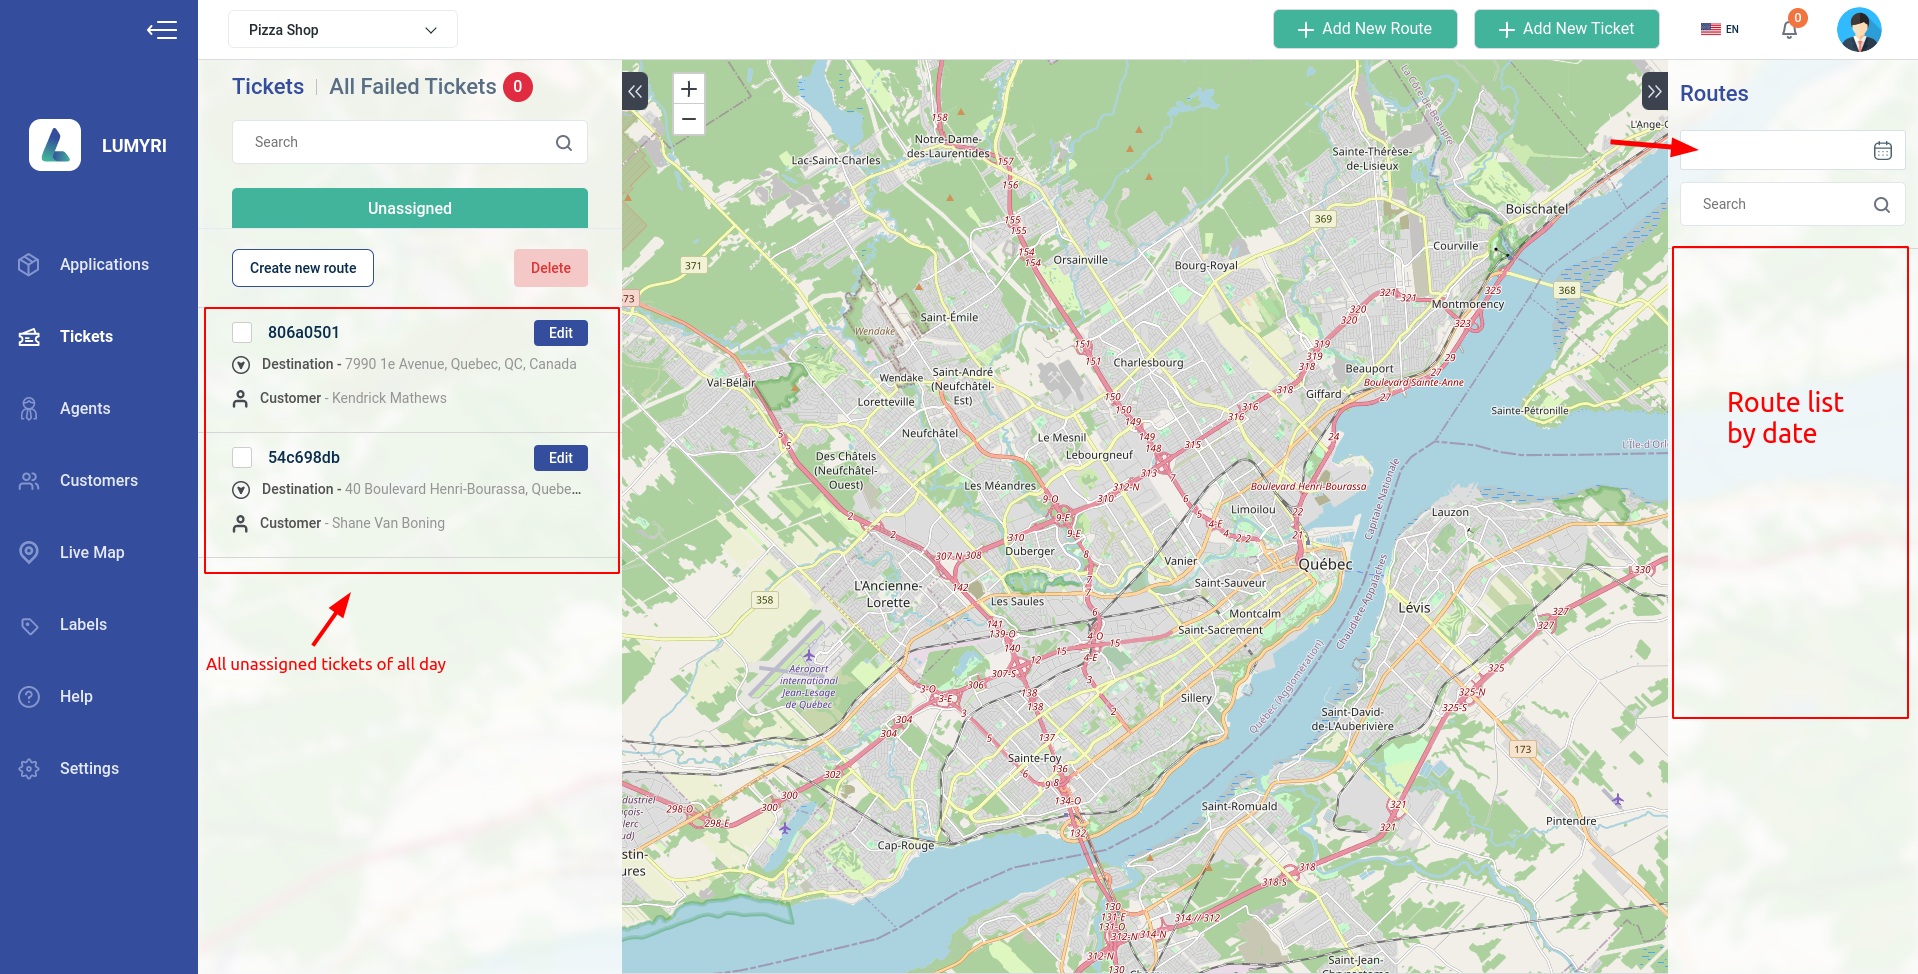
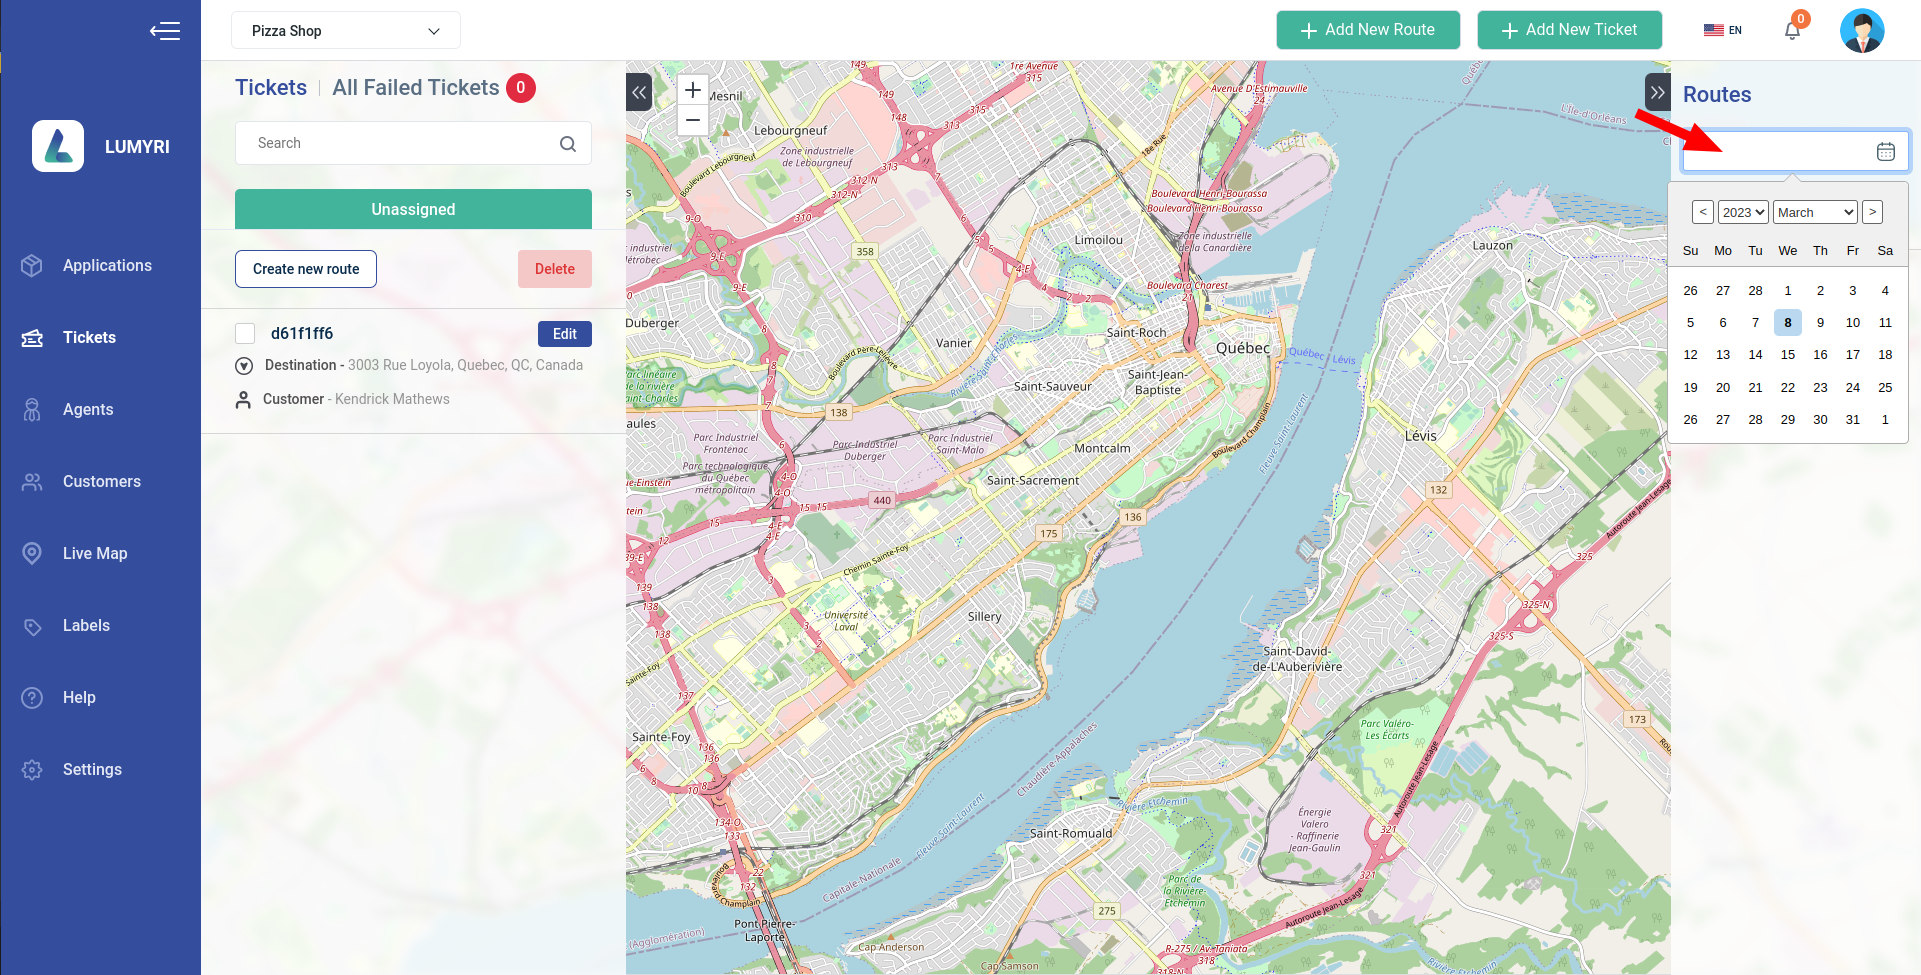
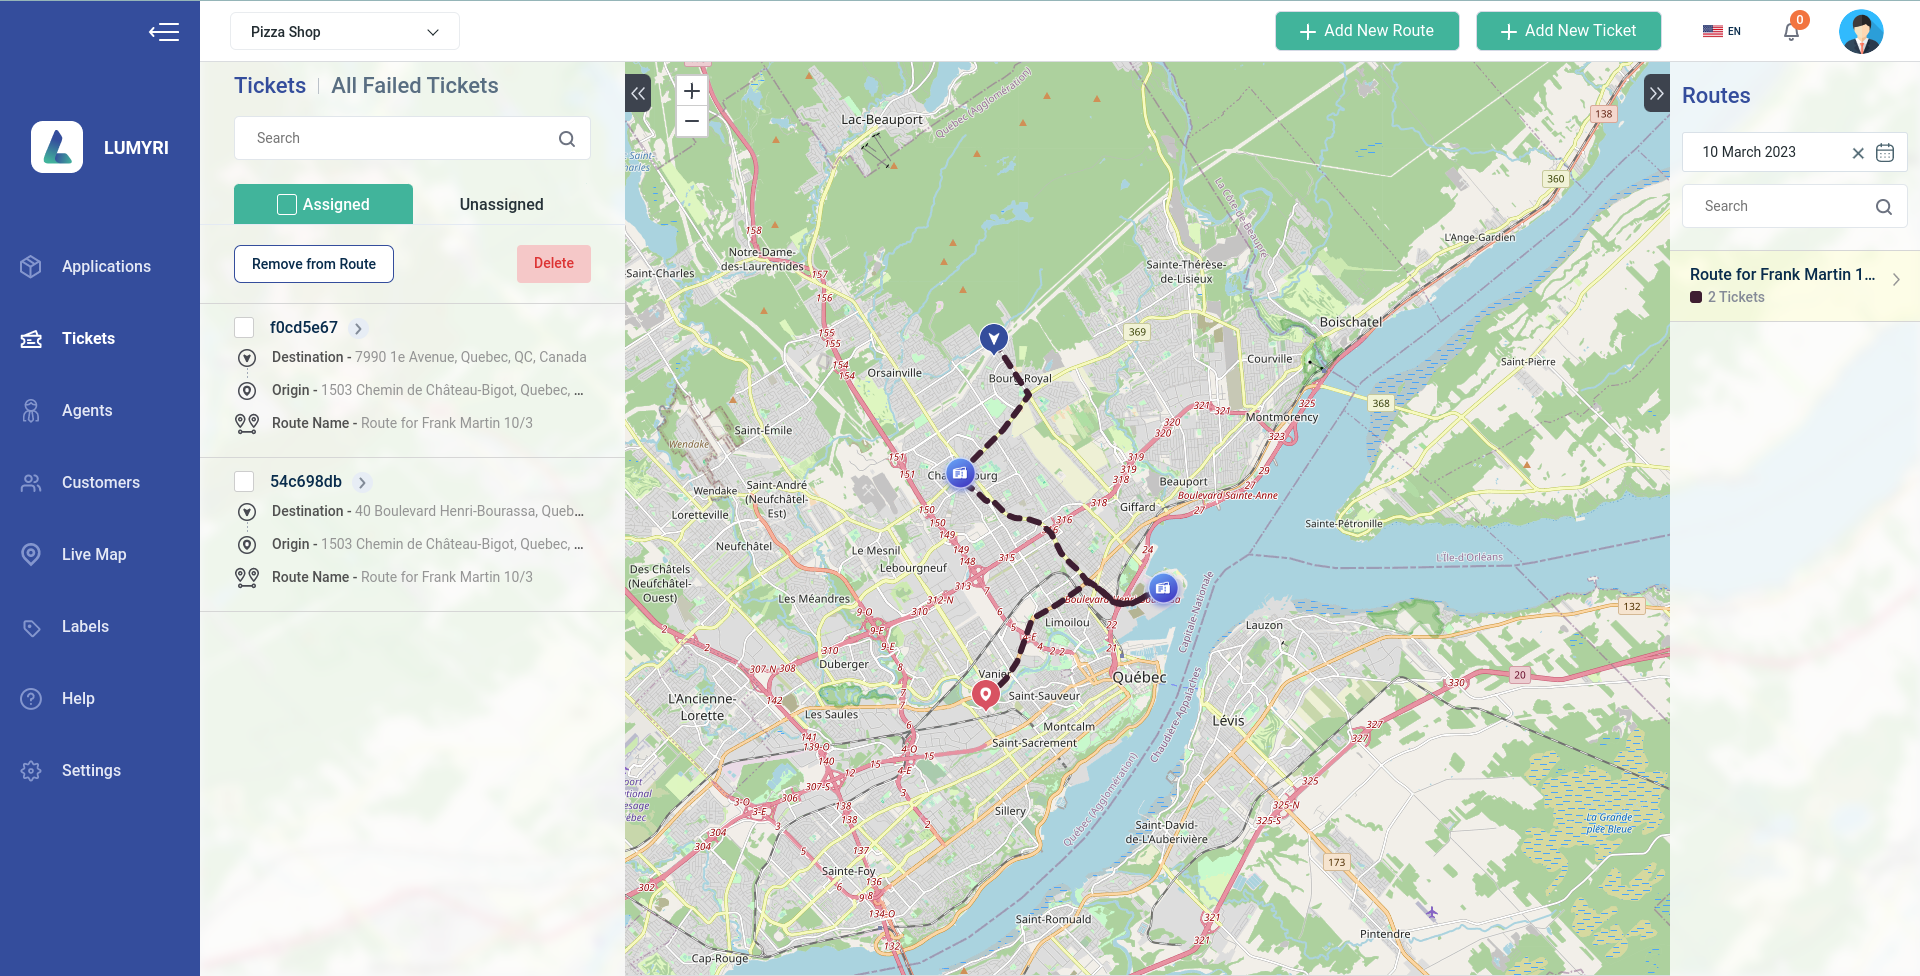
- The route list is not showing because you have not selected the date, After choosing a date, there is a route
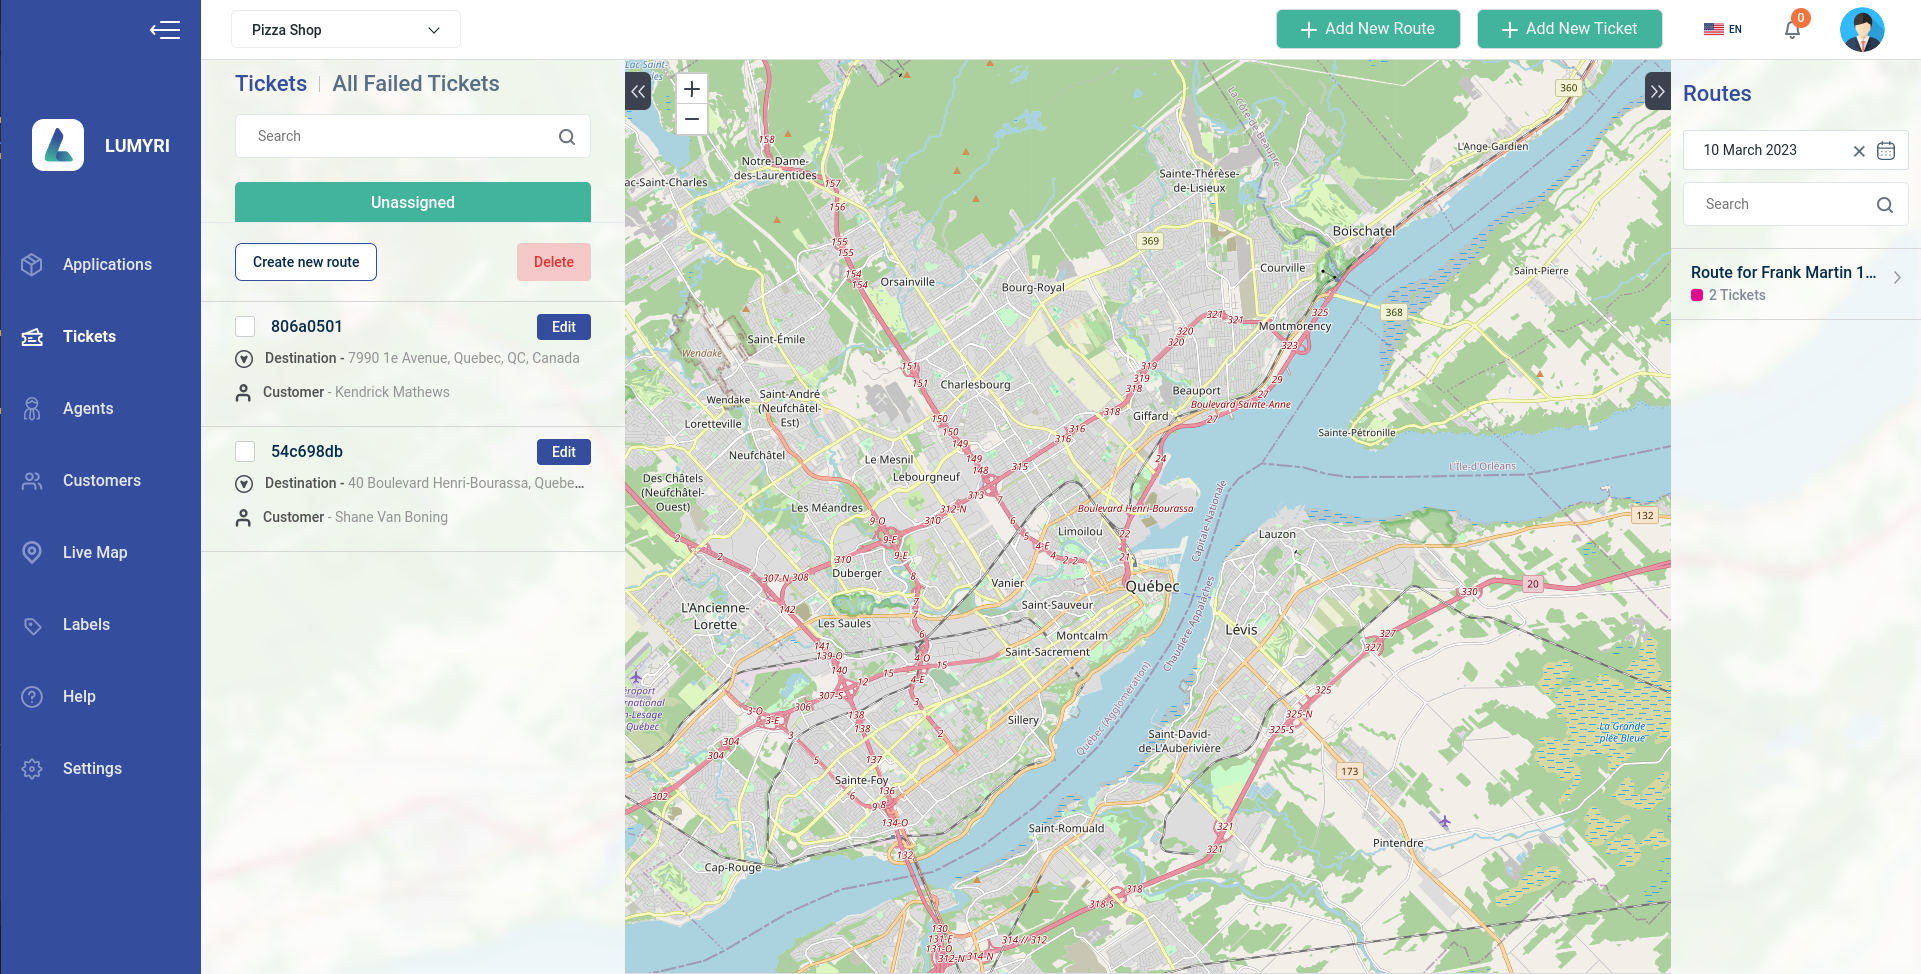
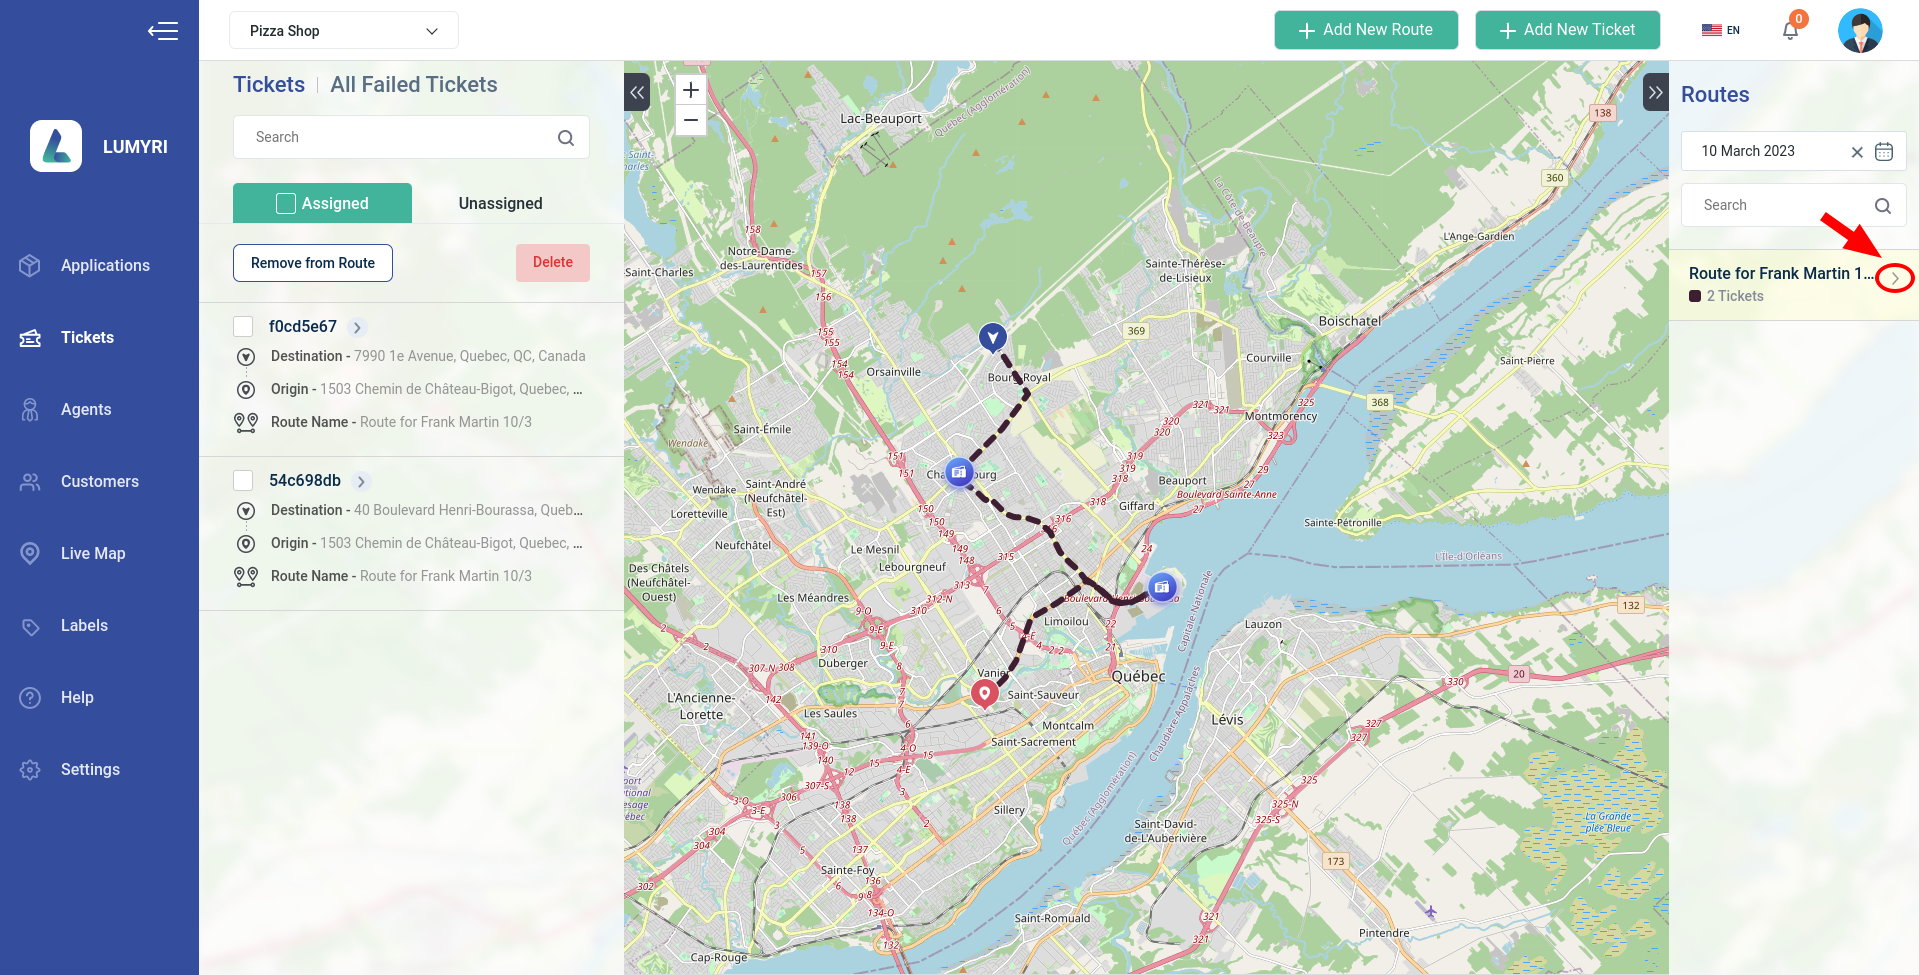
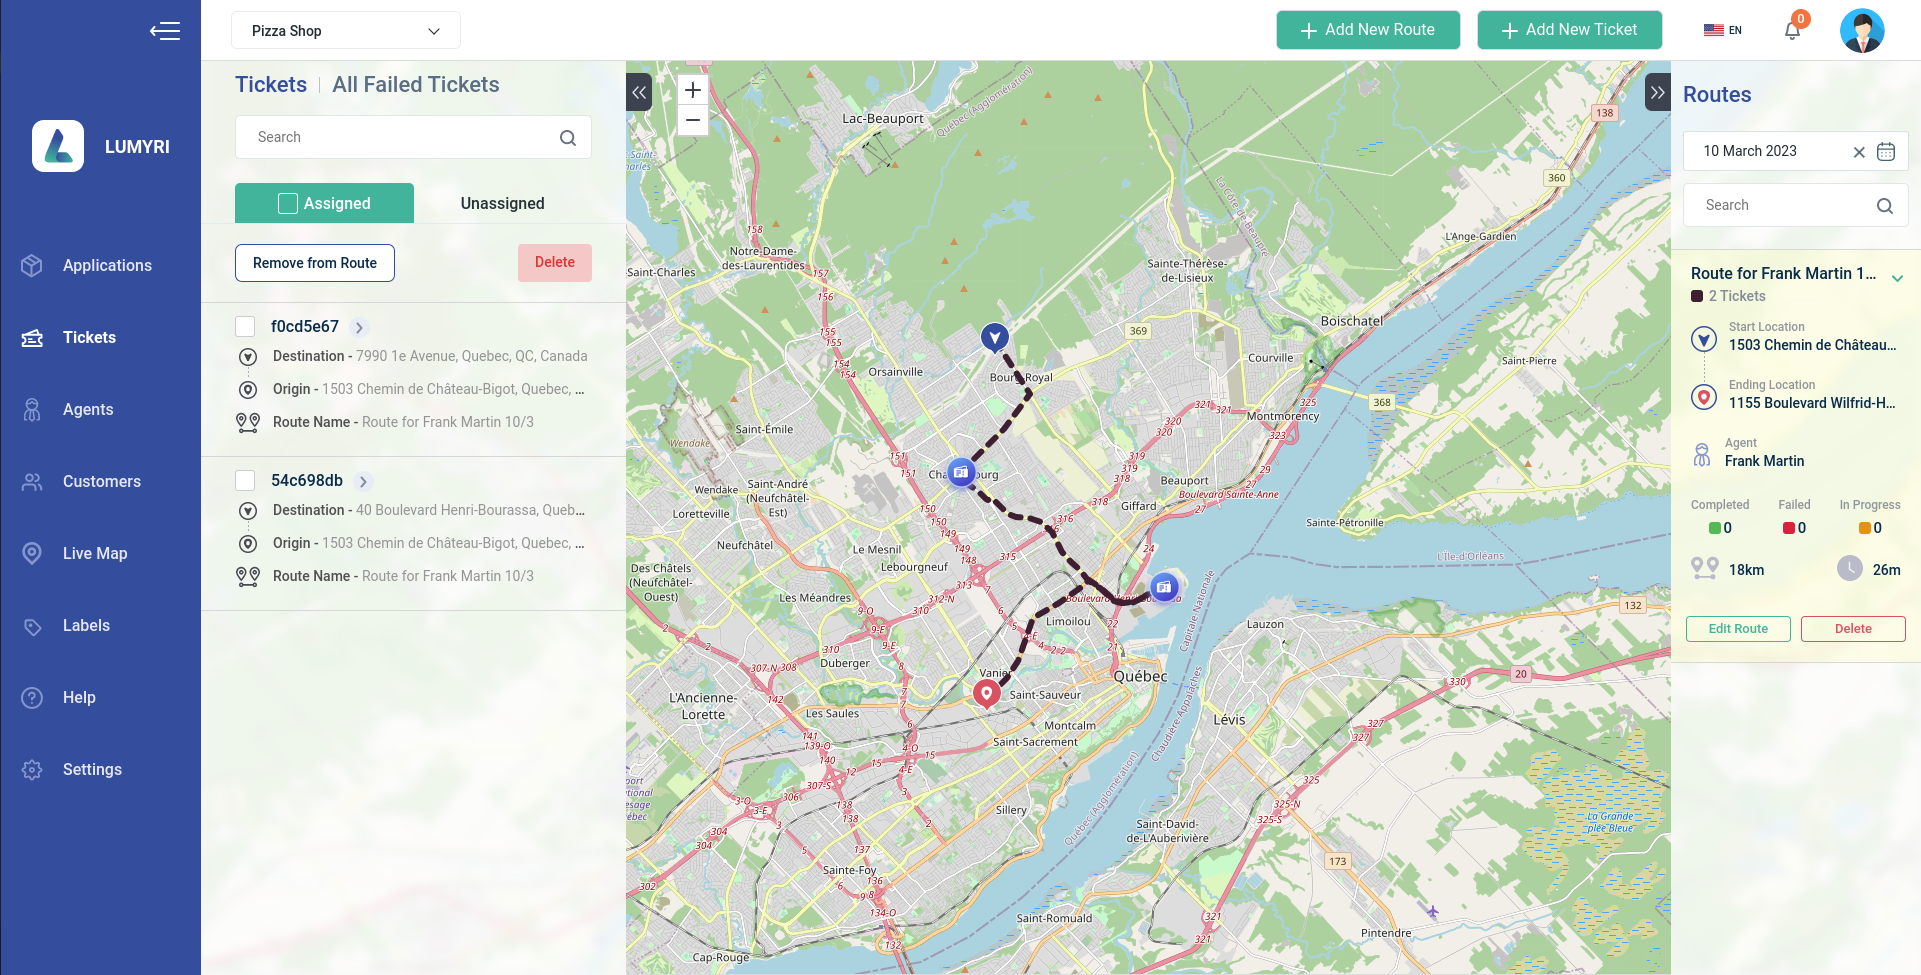
- Click on a route to view information
- Explain more information
1. Add new route
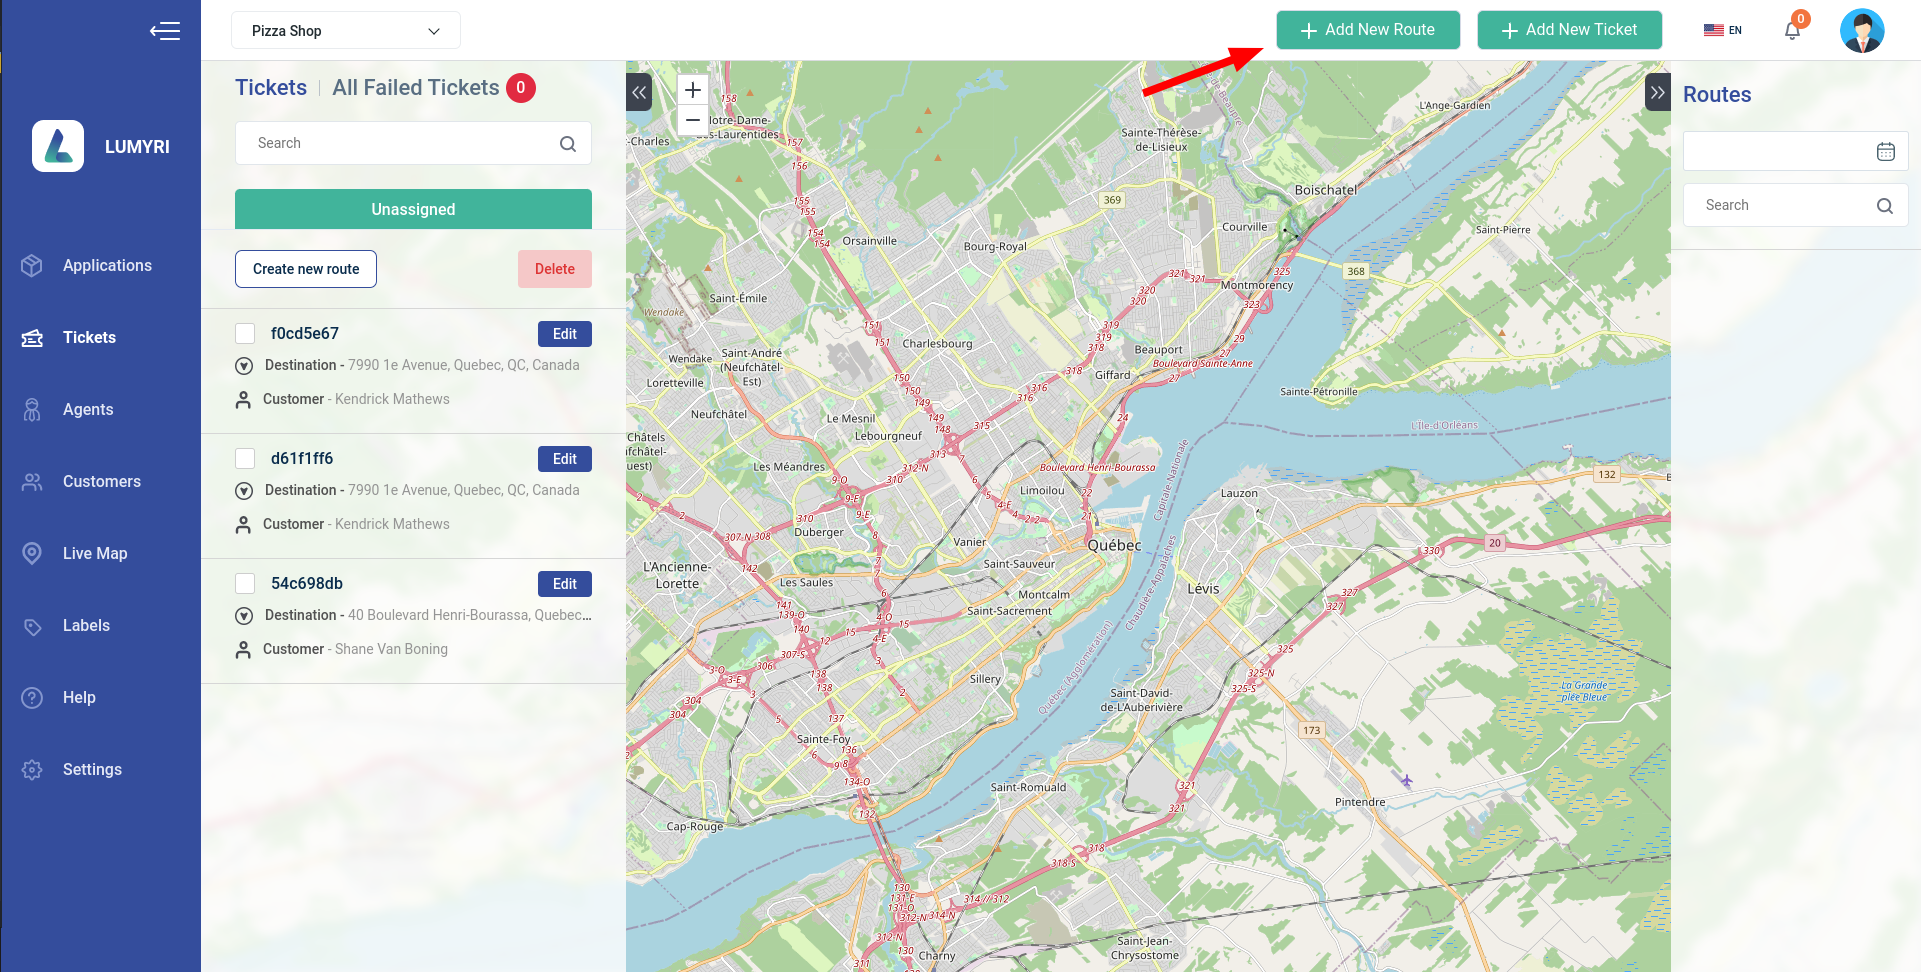
Step 1: Click Add New Route button
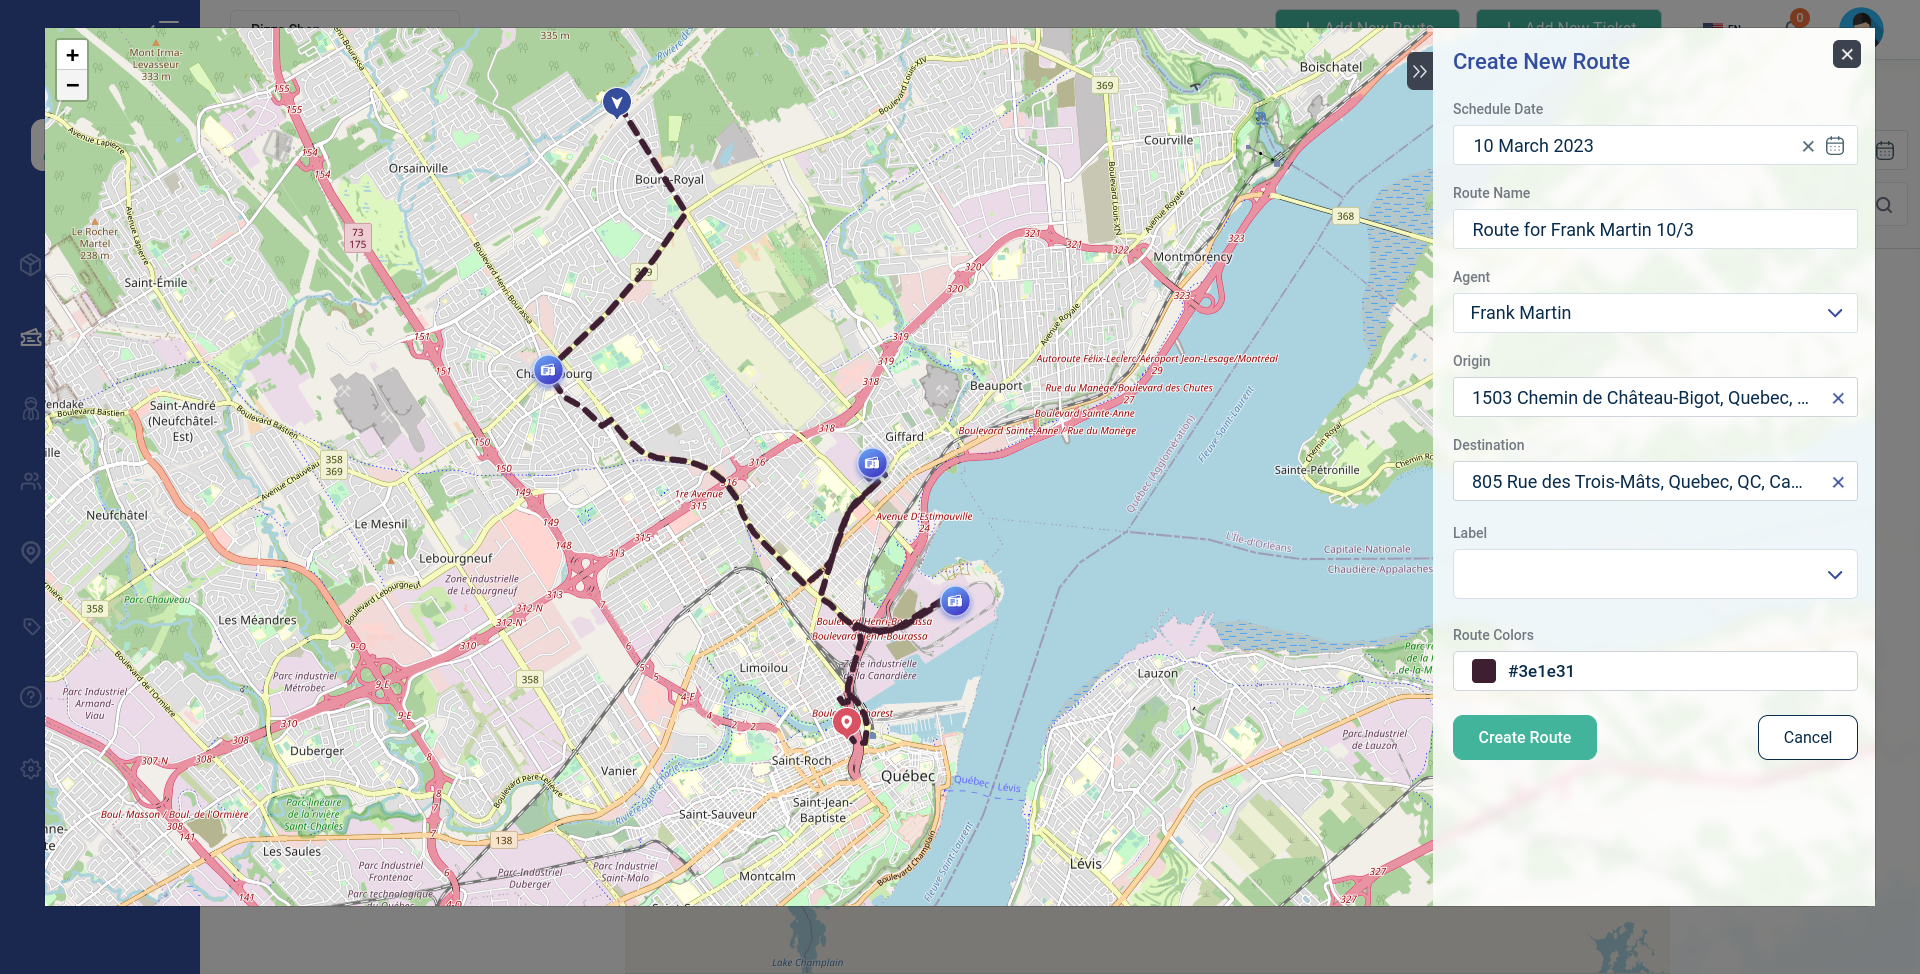
Step 2: Fill in the necessary information on the form
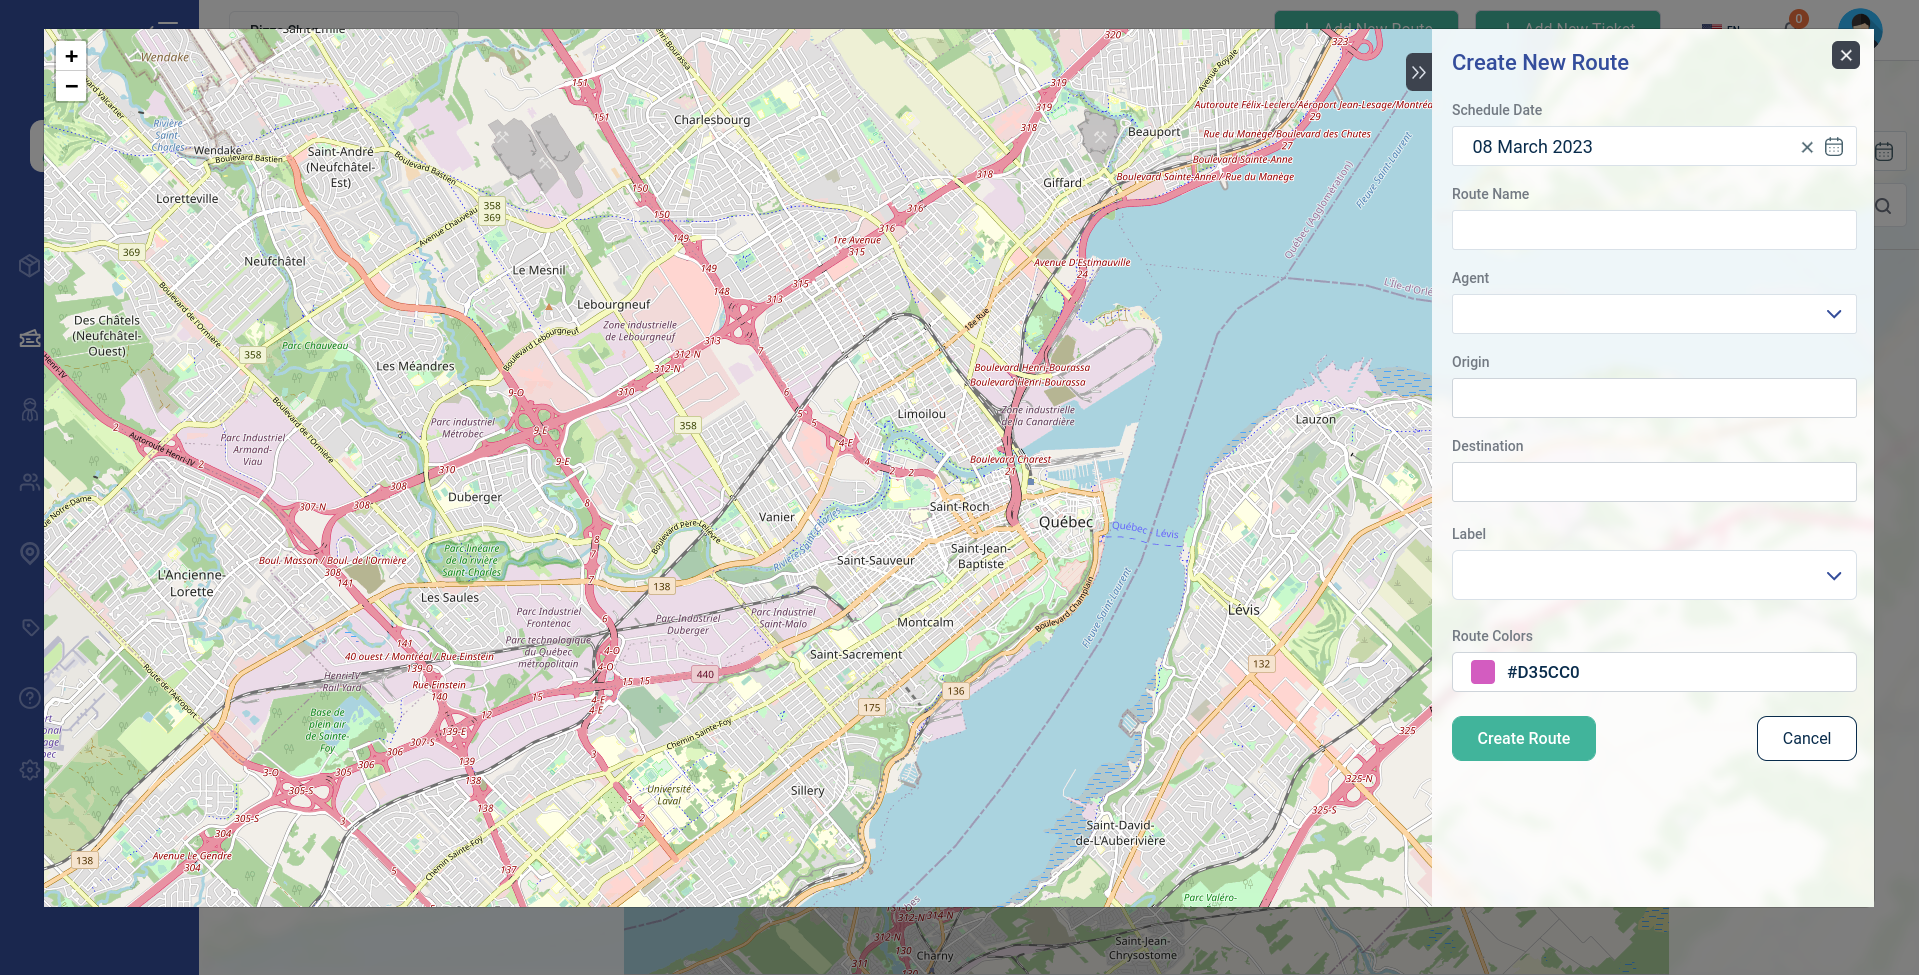
Schedule Date: Select the date the agent will deliver the goods.

Route name: Each route should be named to distinguish it

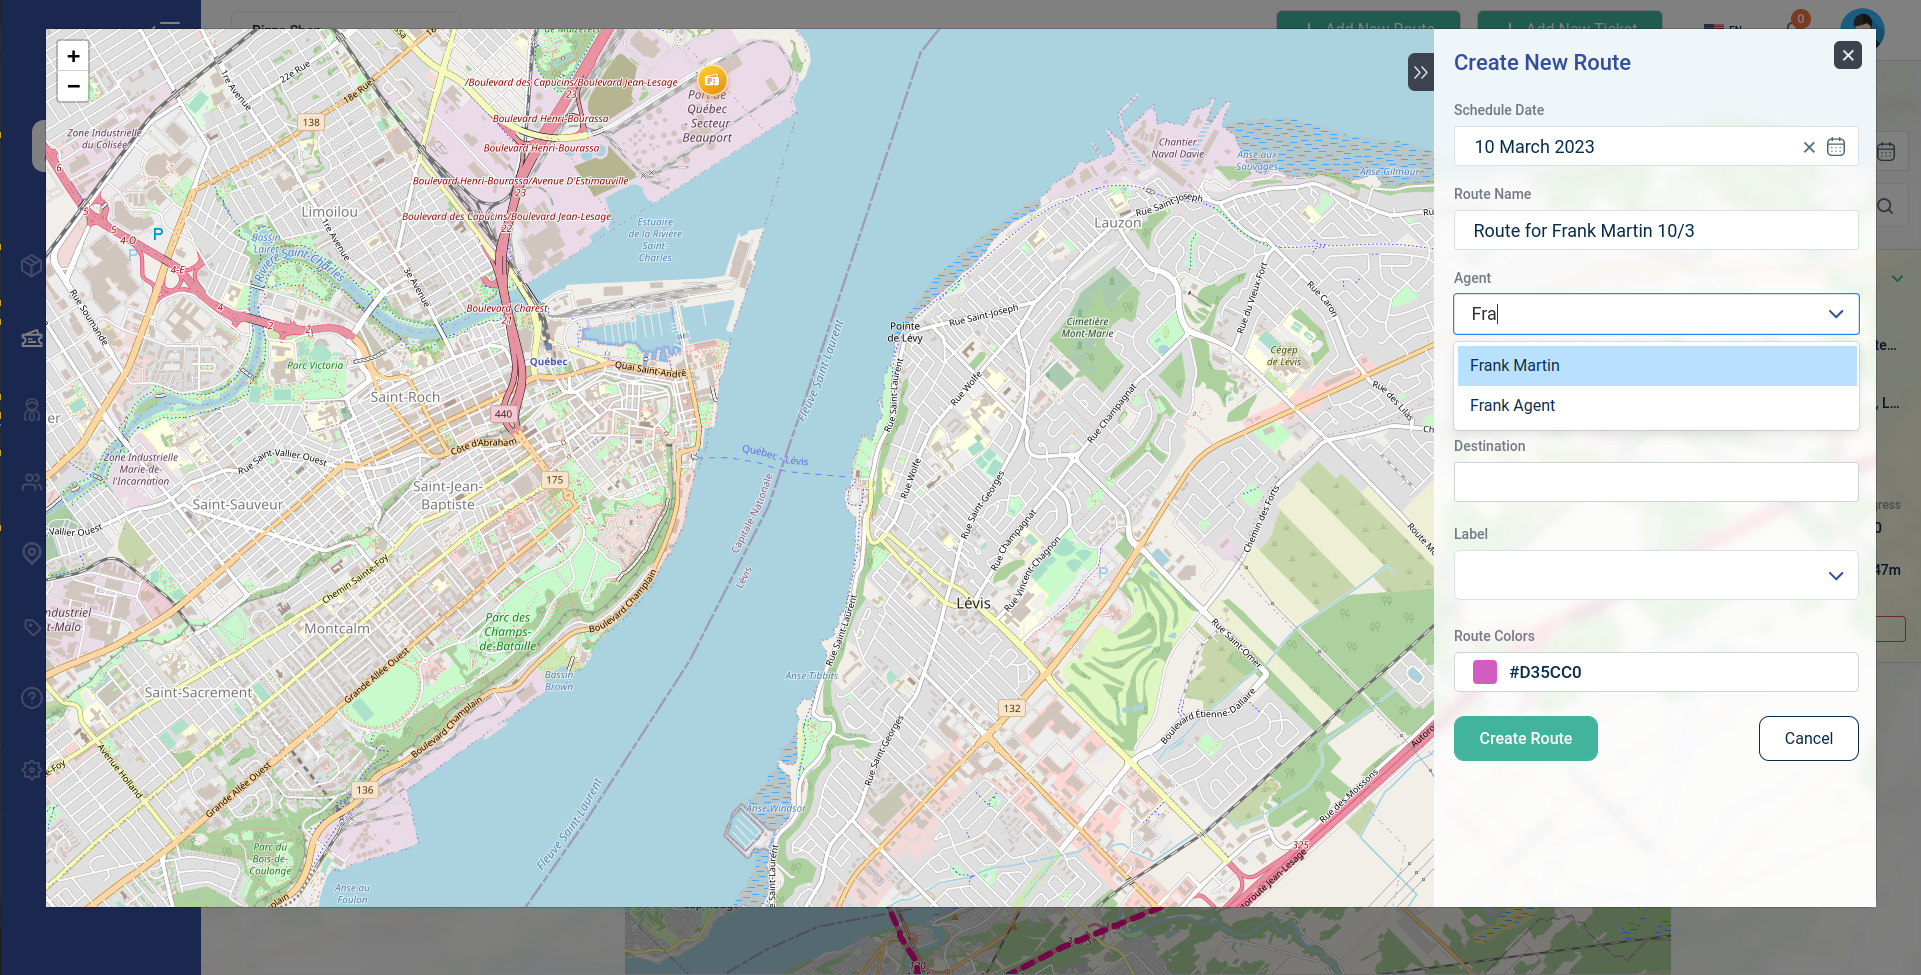
Agent: Select the agent responsible for delivering goods on this route
Enter the name of the agent you want in the input field to search for personnel in your system and choose the right person.
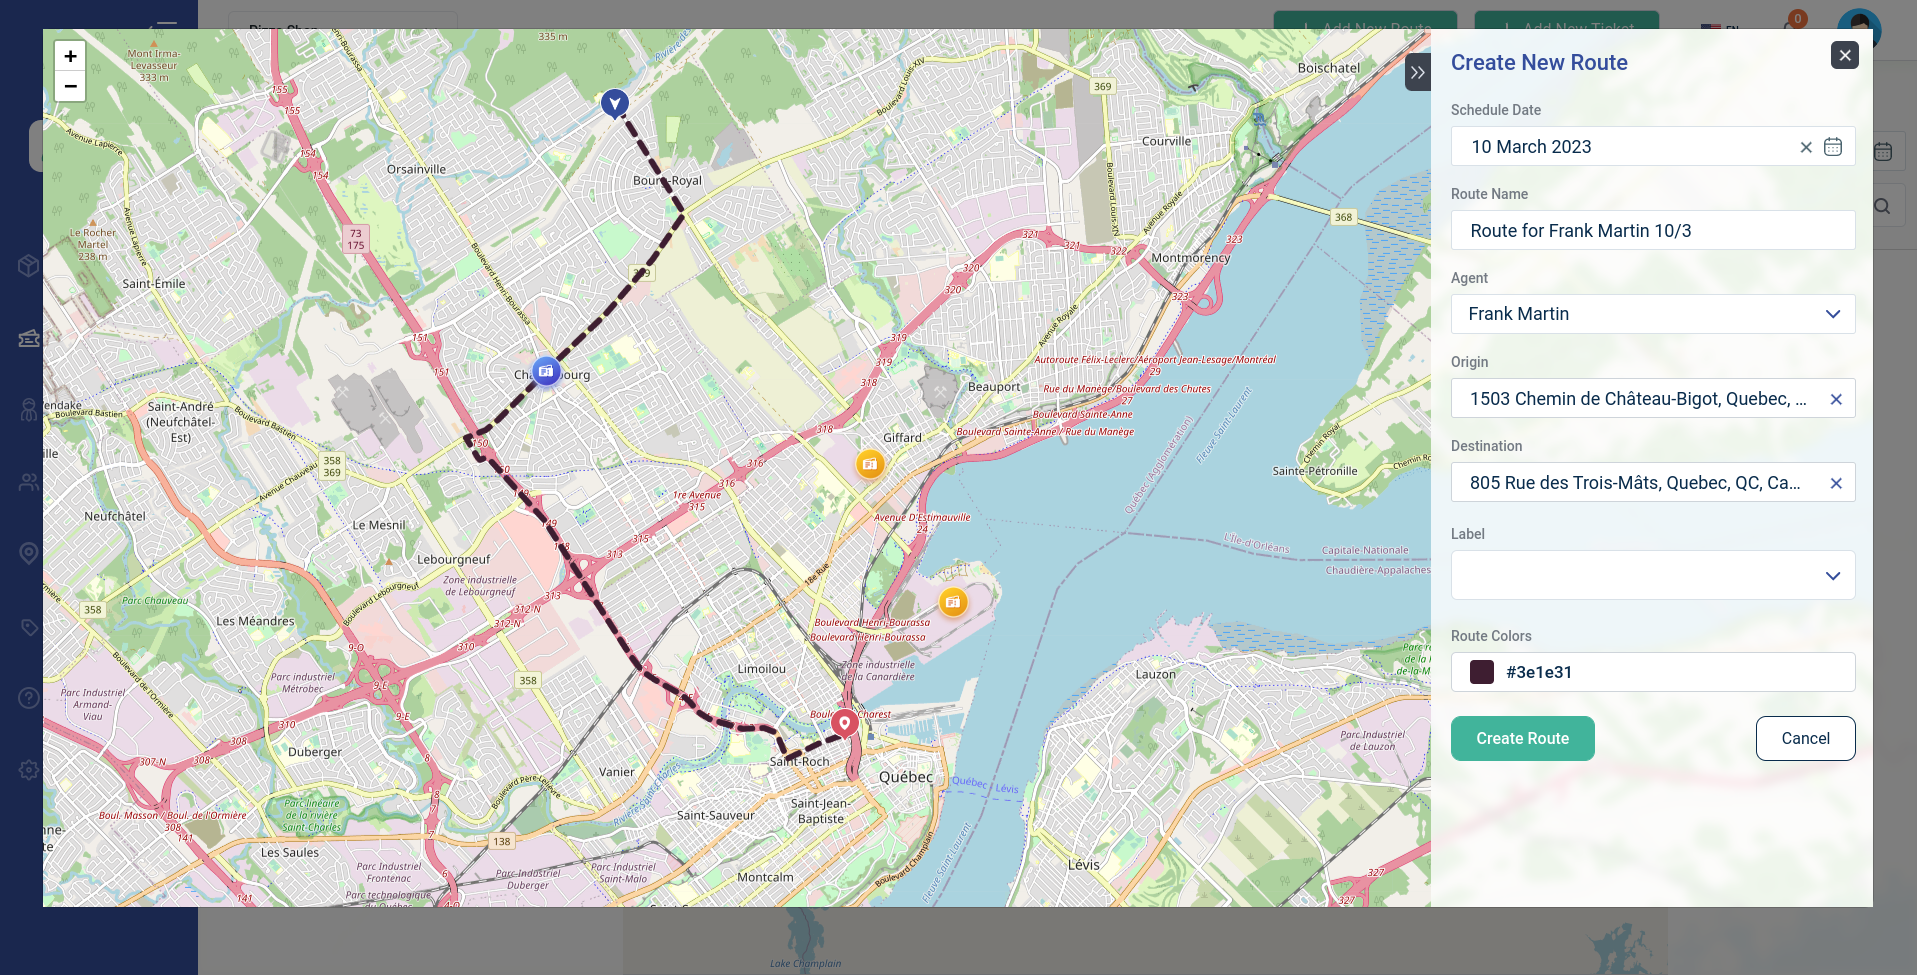
Origin: Enter the starting point of the route
Destination: Enter the endpoint of the route
You can use one of three methods:
- Choose customer addresses as Origin/Destination
- Search for addresses in the address input box
- Drag and right-click on the map and click Set as Origin/Destination address


Label: Attach a label to make it easier to classify
Route Color: Choose a color that makes your route standout

Step 3: Add more tickets to the route
If there isn't already tickets added to the route, skip this step
Move your map around the route drawn on the map to find tickets within range of the route. You should see any found tickets.
- Add ticket to the Route
Right-click on the ticket on the map and select Add Ticket to Route

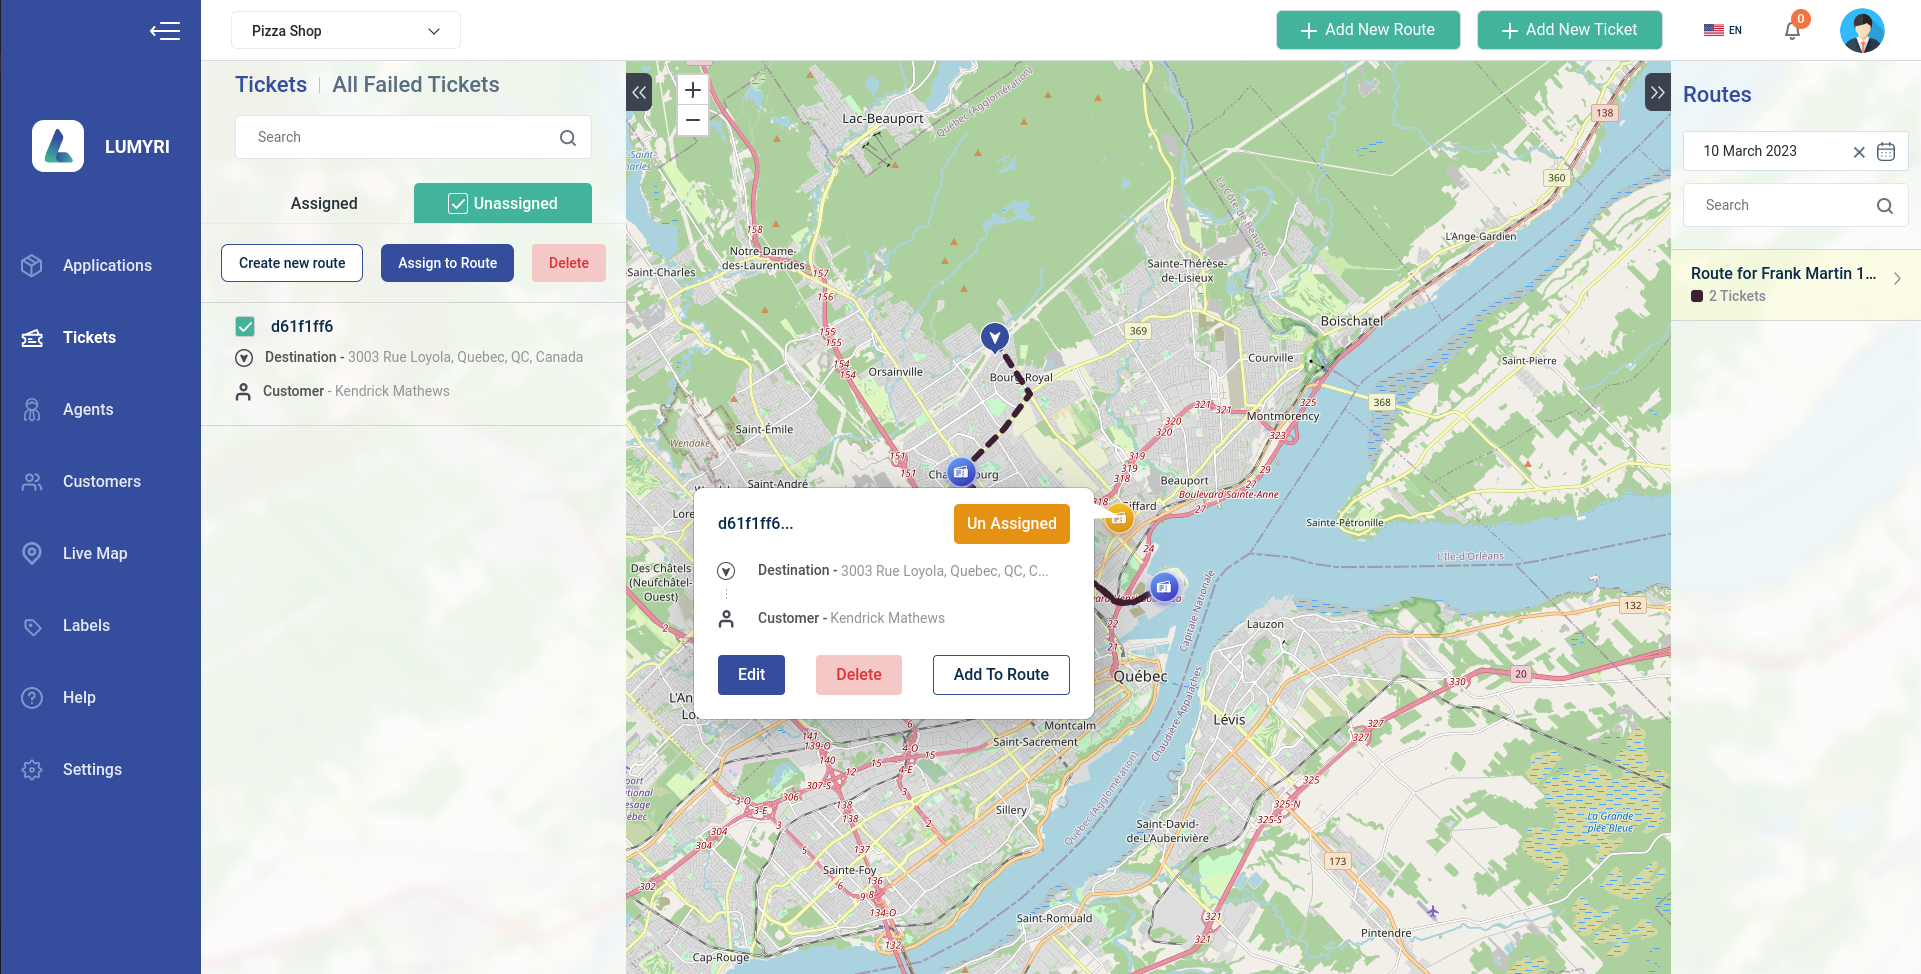
You can also left click on the ticket and click Add to route
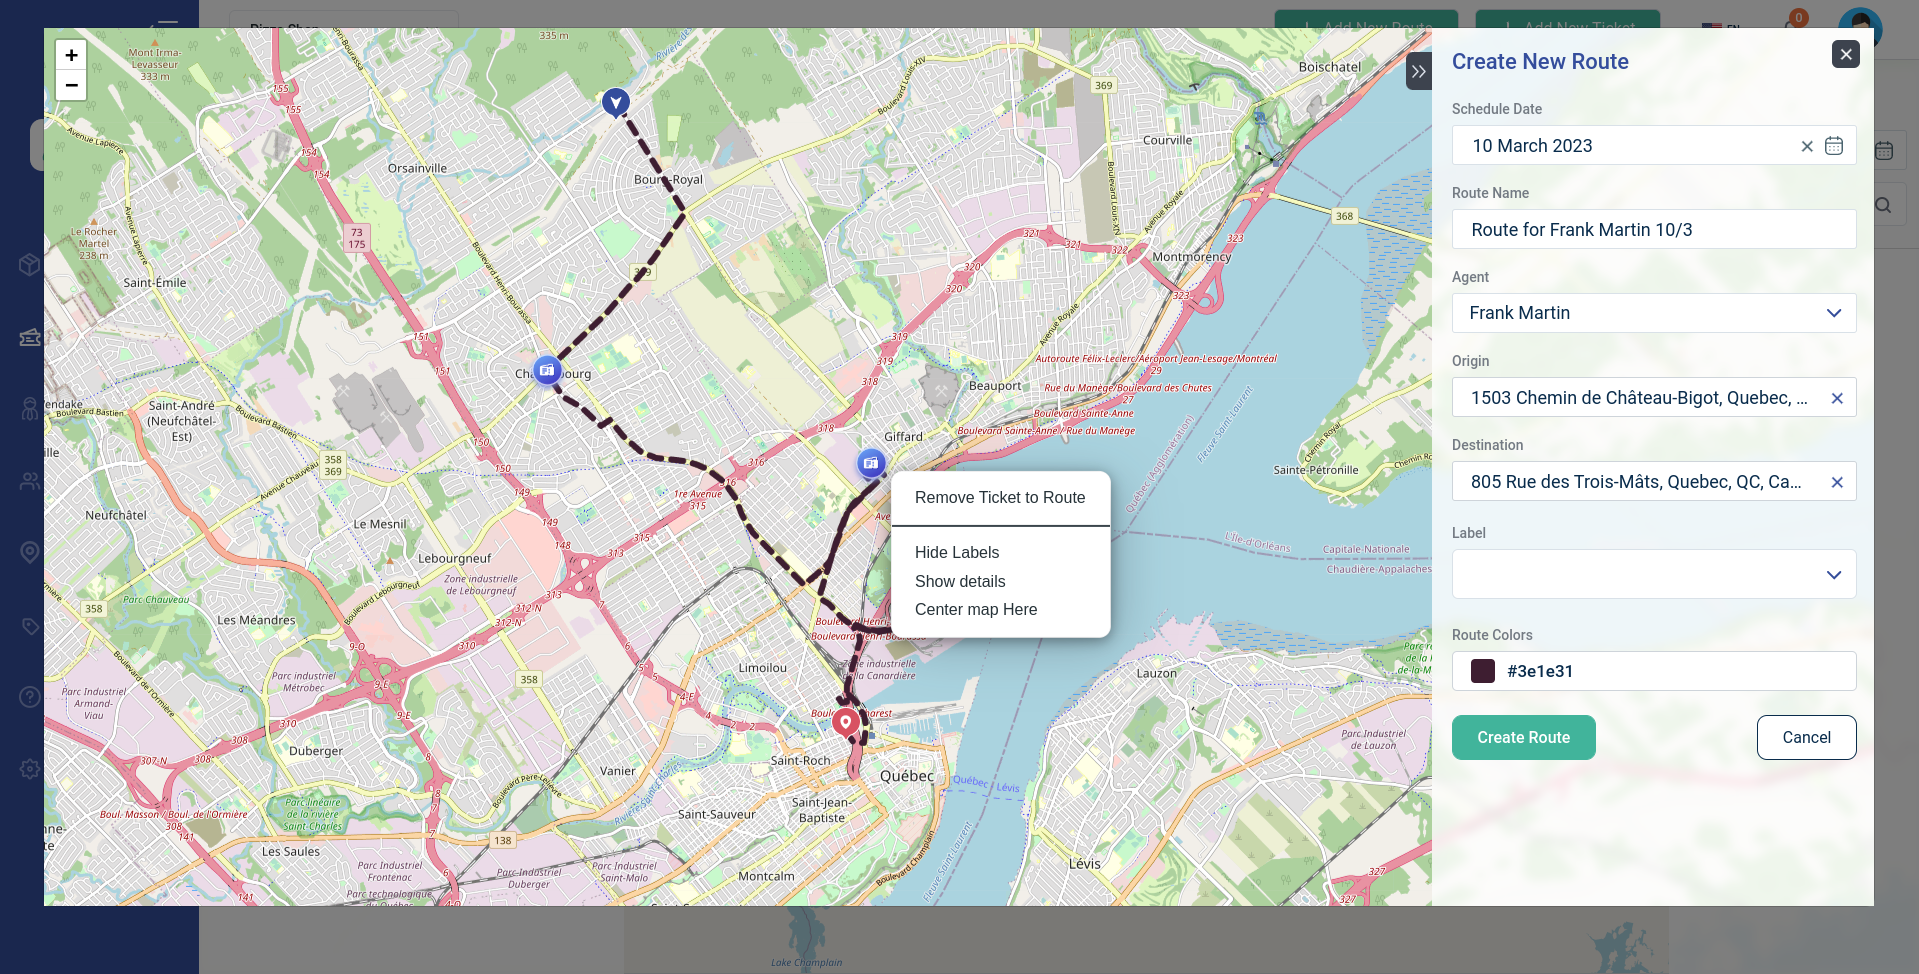
- Remove Ticket to Route
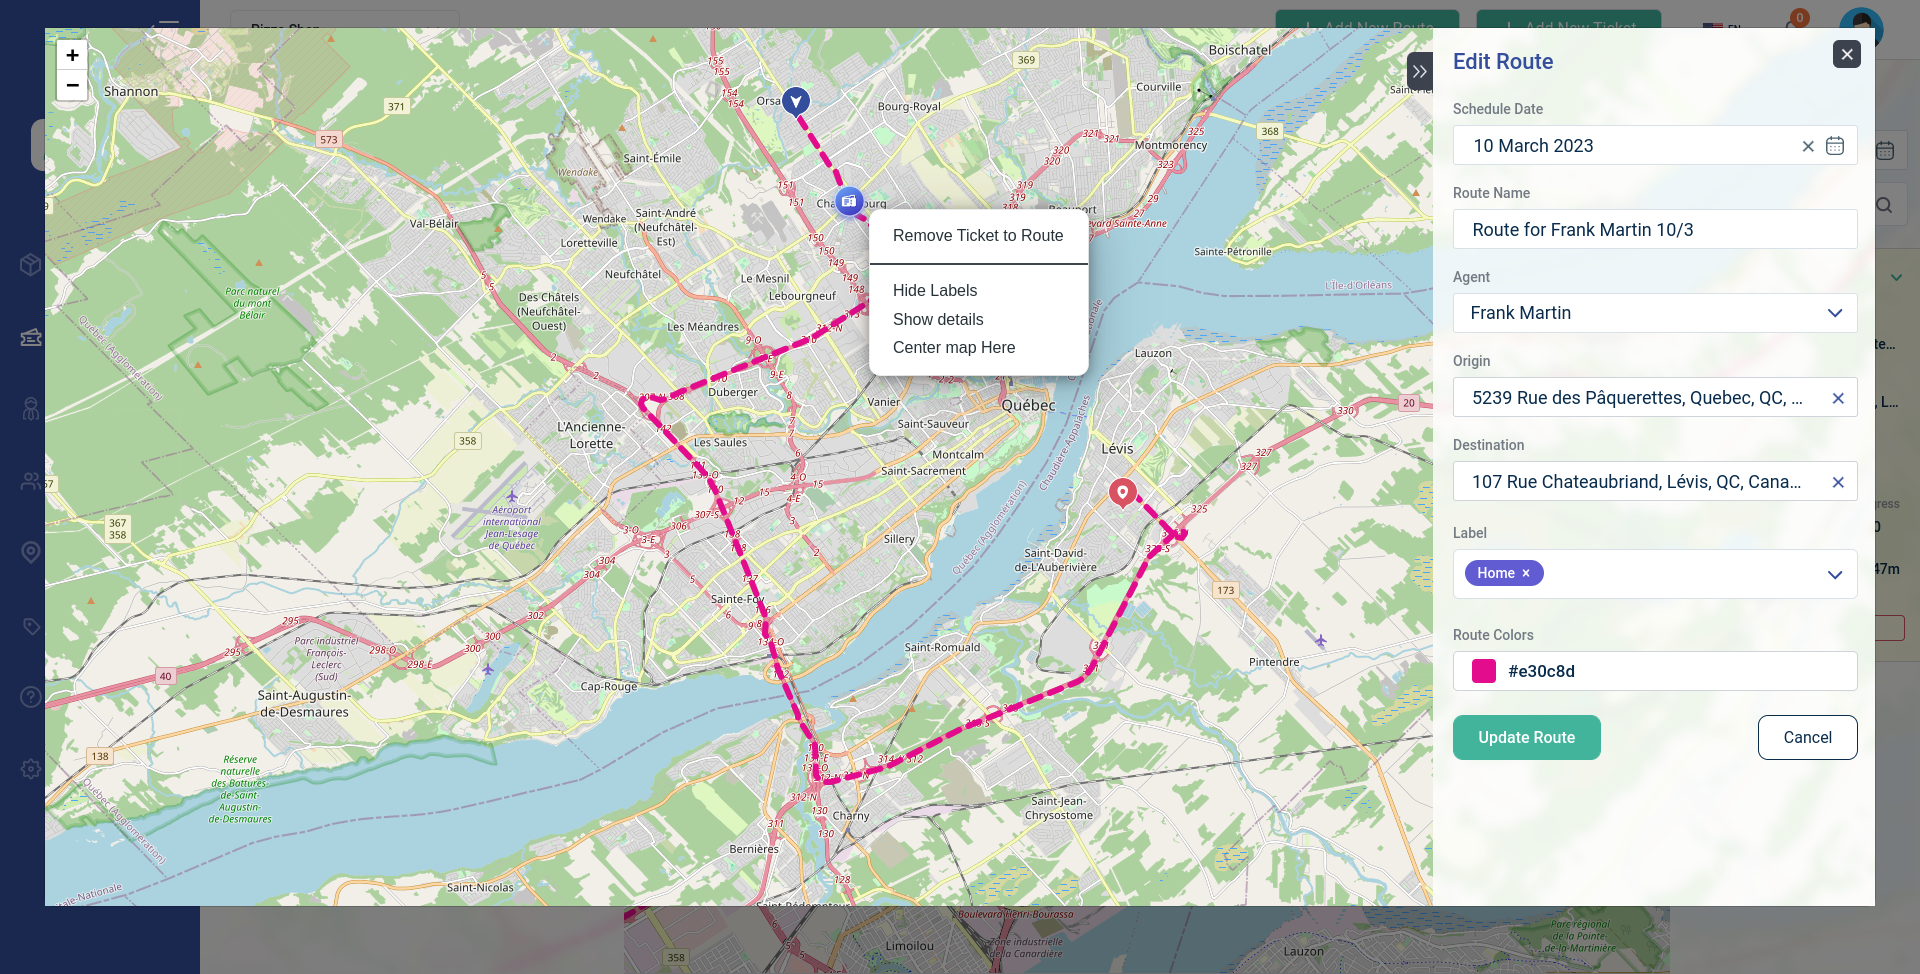
If you want to remove it from the route, just click on the ticket on the map and select Remove Ticket to Route
Step 4: Click 'Create Route' to save

Conclusion: These simple steps will help you easily create routes for your agents to deliver goods to customers.
2. Edit route
Step 1: Choose the date to display the routes


- Click on a route to view information

- Explain more information

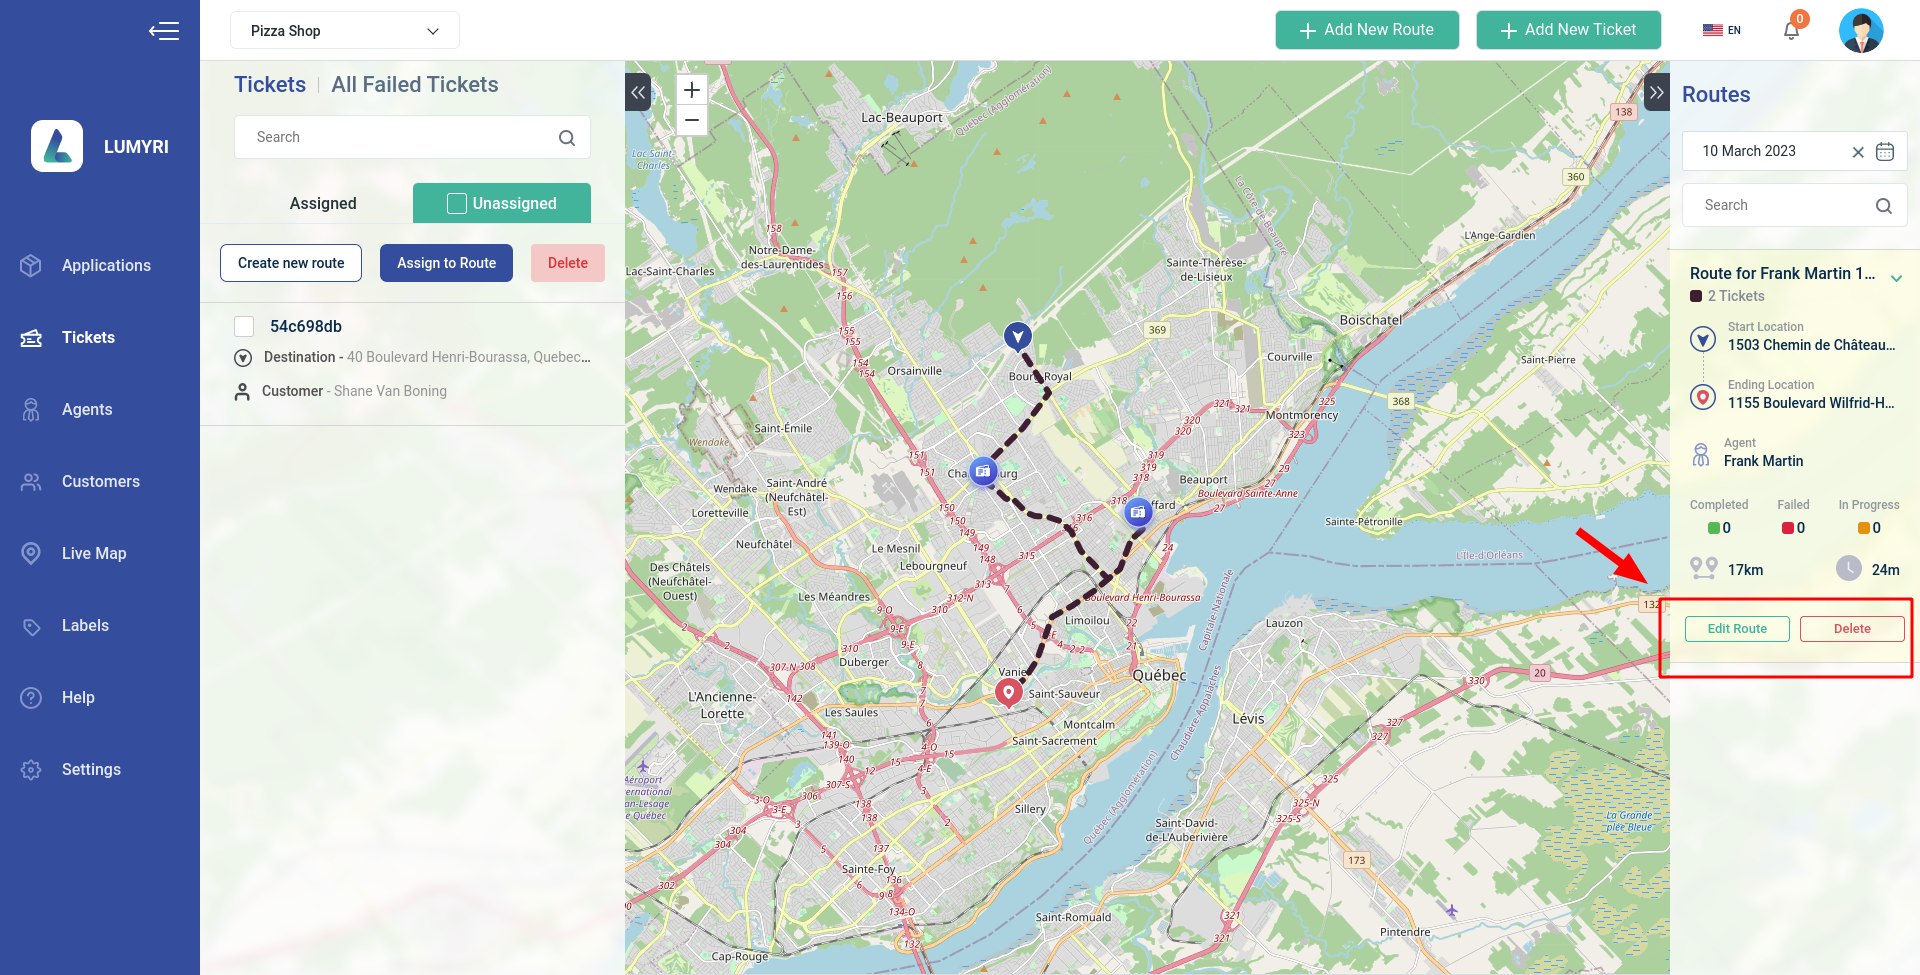
Step 2: Click Edit Route button, then the route edit form will appear
Fill in the information you need to edit

Step 3: Add or Remove ticket from route
Move your map around the route drawn on the map to find tickets within range of the route. You should see any found tickets.
- Add ticket to the Route
Right-click on the ticket on the map and select Add Ticket to Route
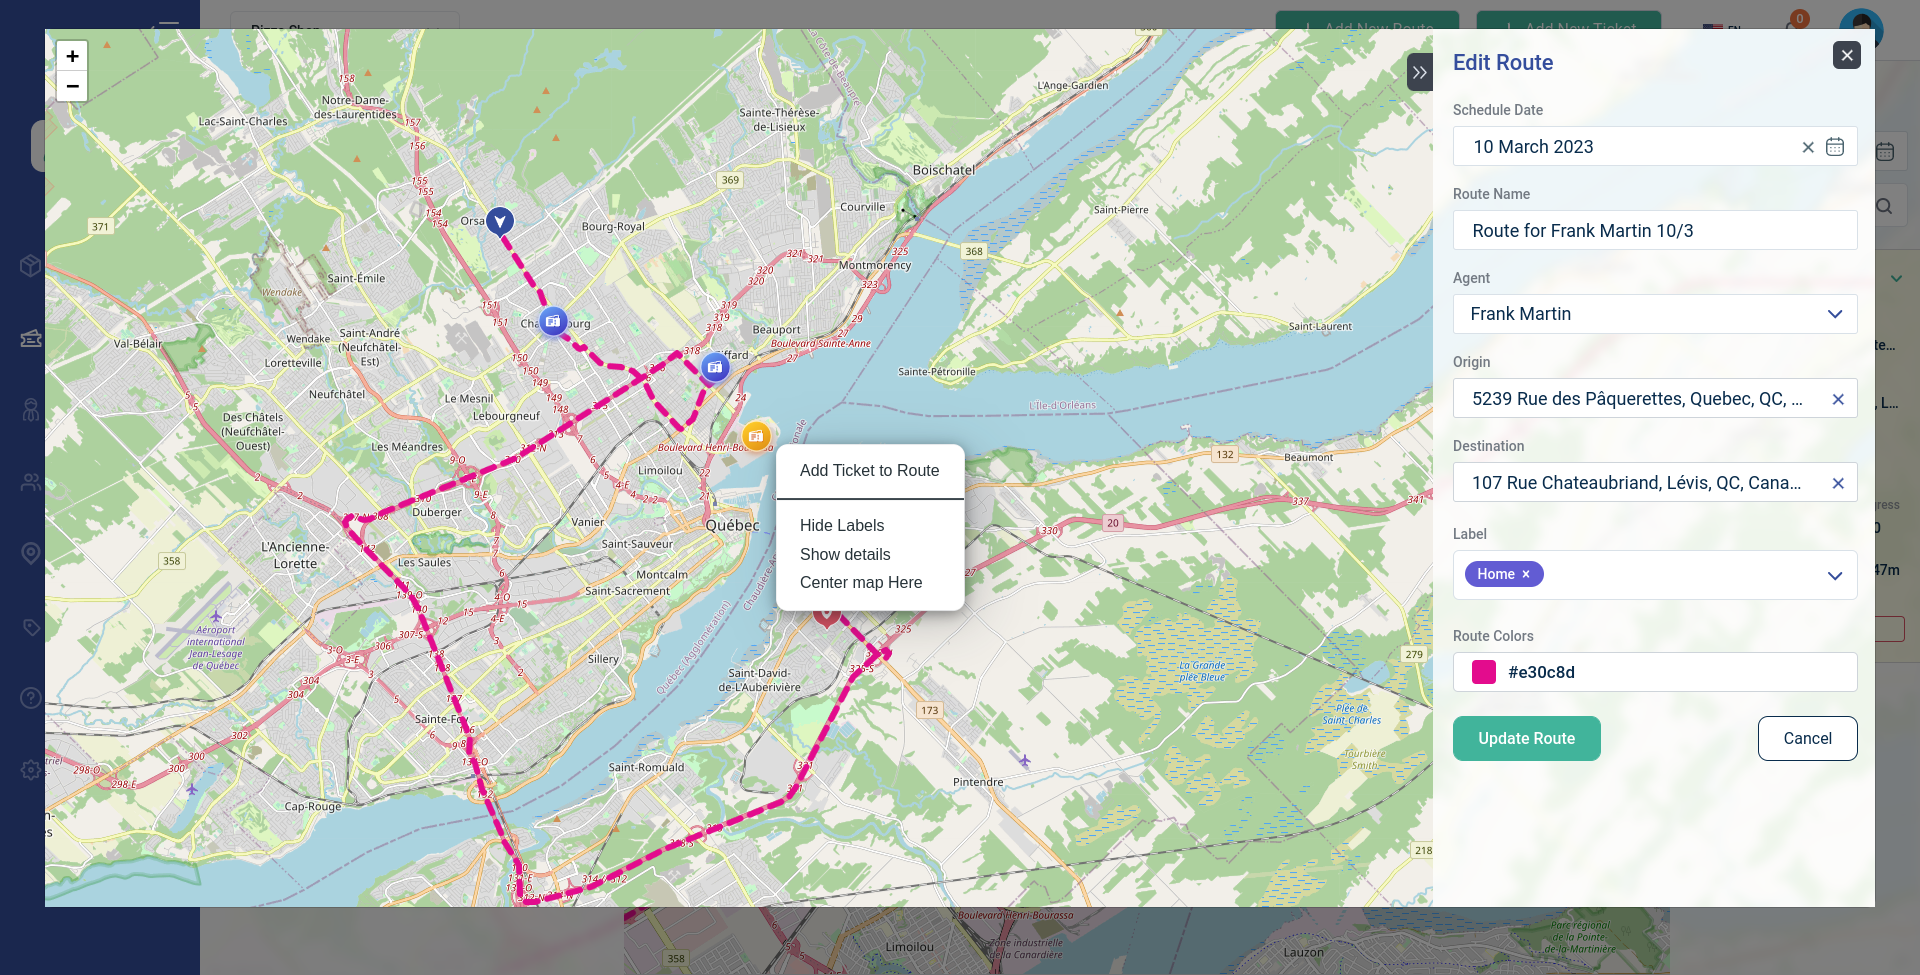
- Remove Ticket to Route
If you want to remove it from the route, just click on the ticket on the map and select Remove Ticket to Route
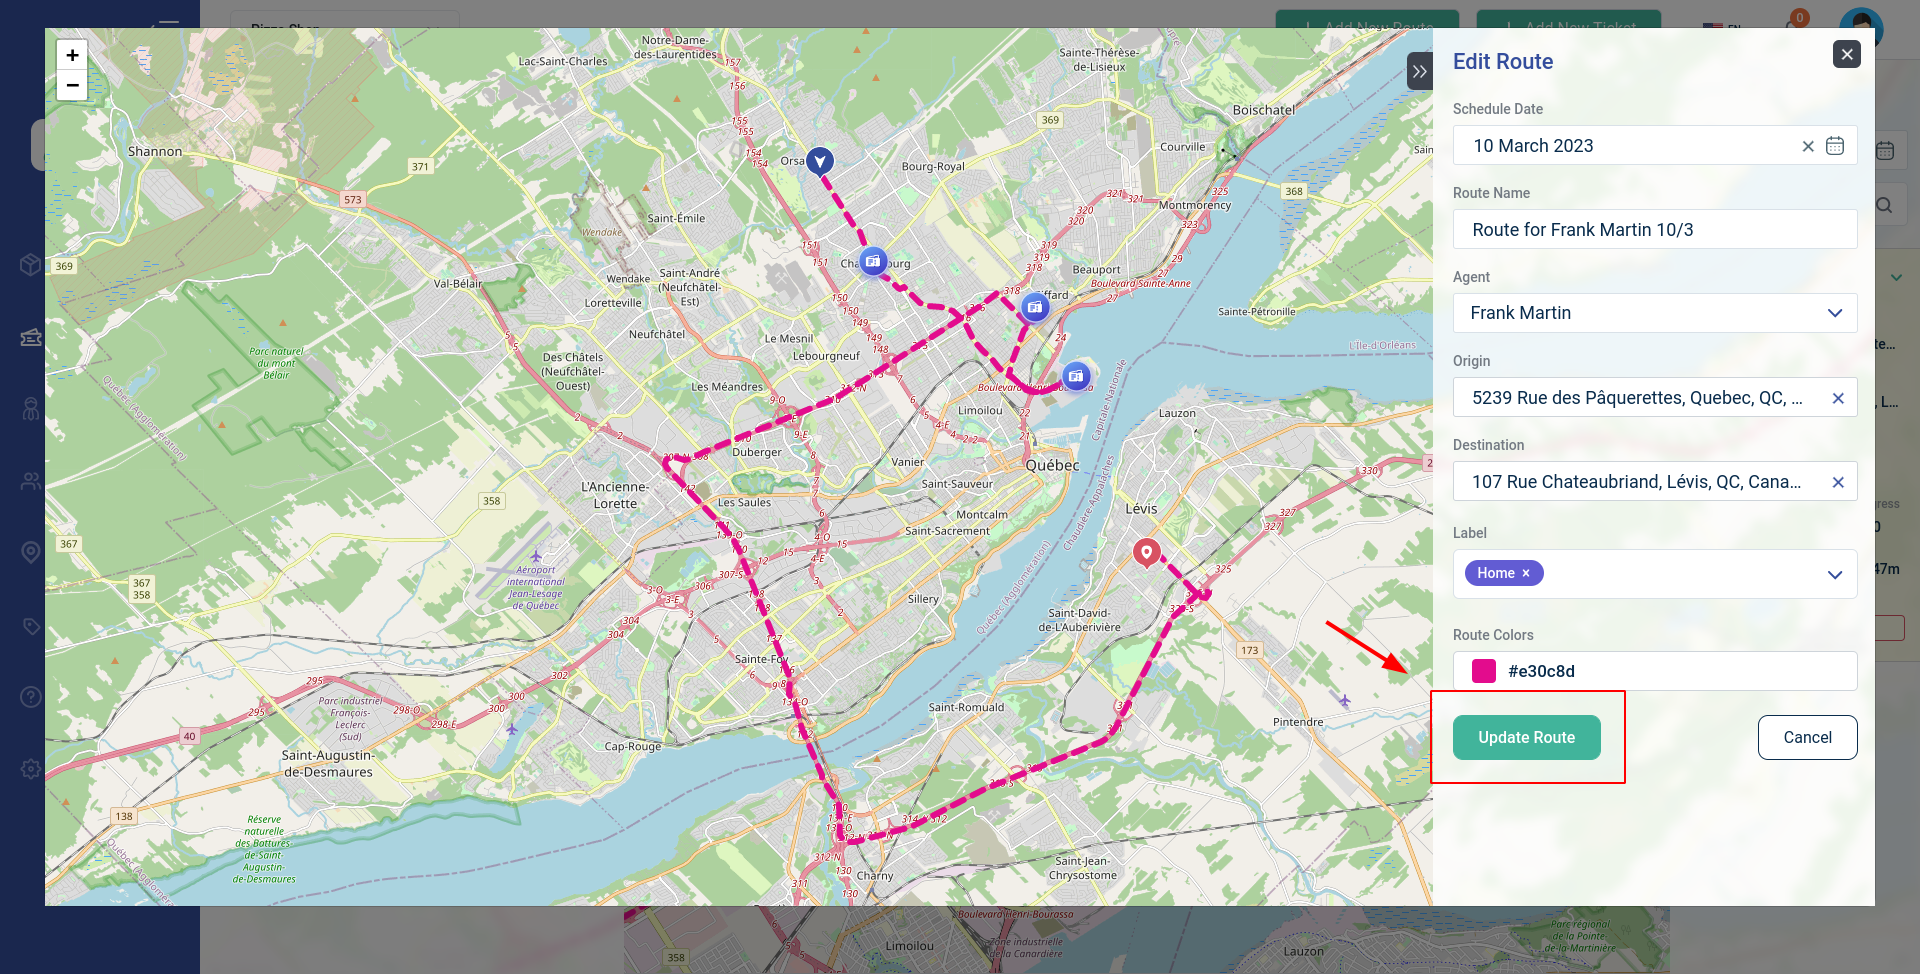
Step 4: Click 'Update Route' to save
3. Delete route
Once the route is deleted, it cannot be restored. The tickets assigned to the route will not be deleted but will only be transferred to the Unassigned state.
Step 1: Choose the date to display the routes


- Click on a route to view information

- Explain more information

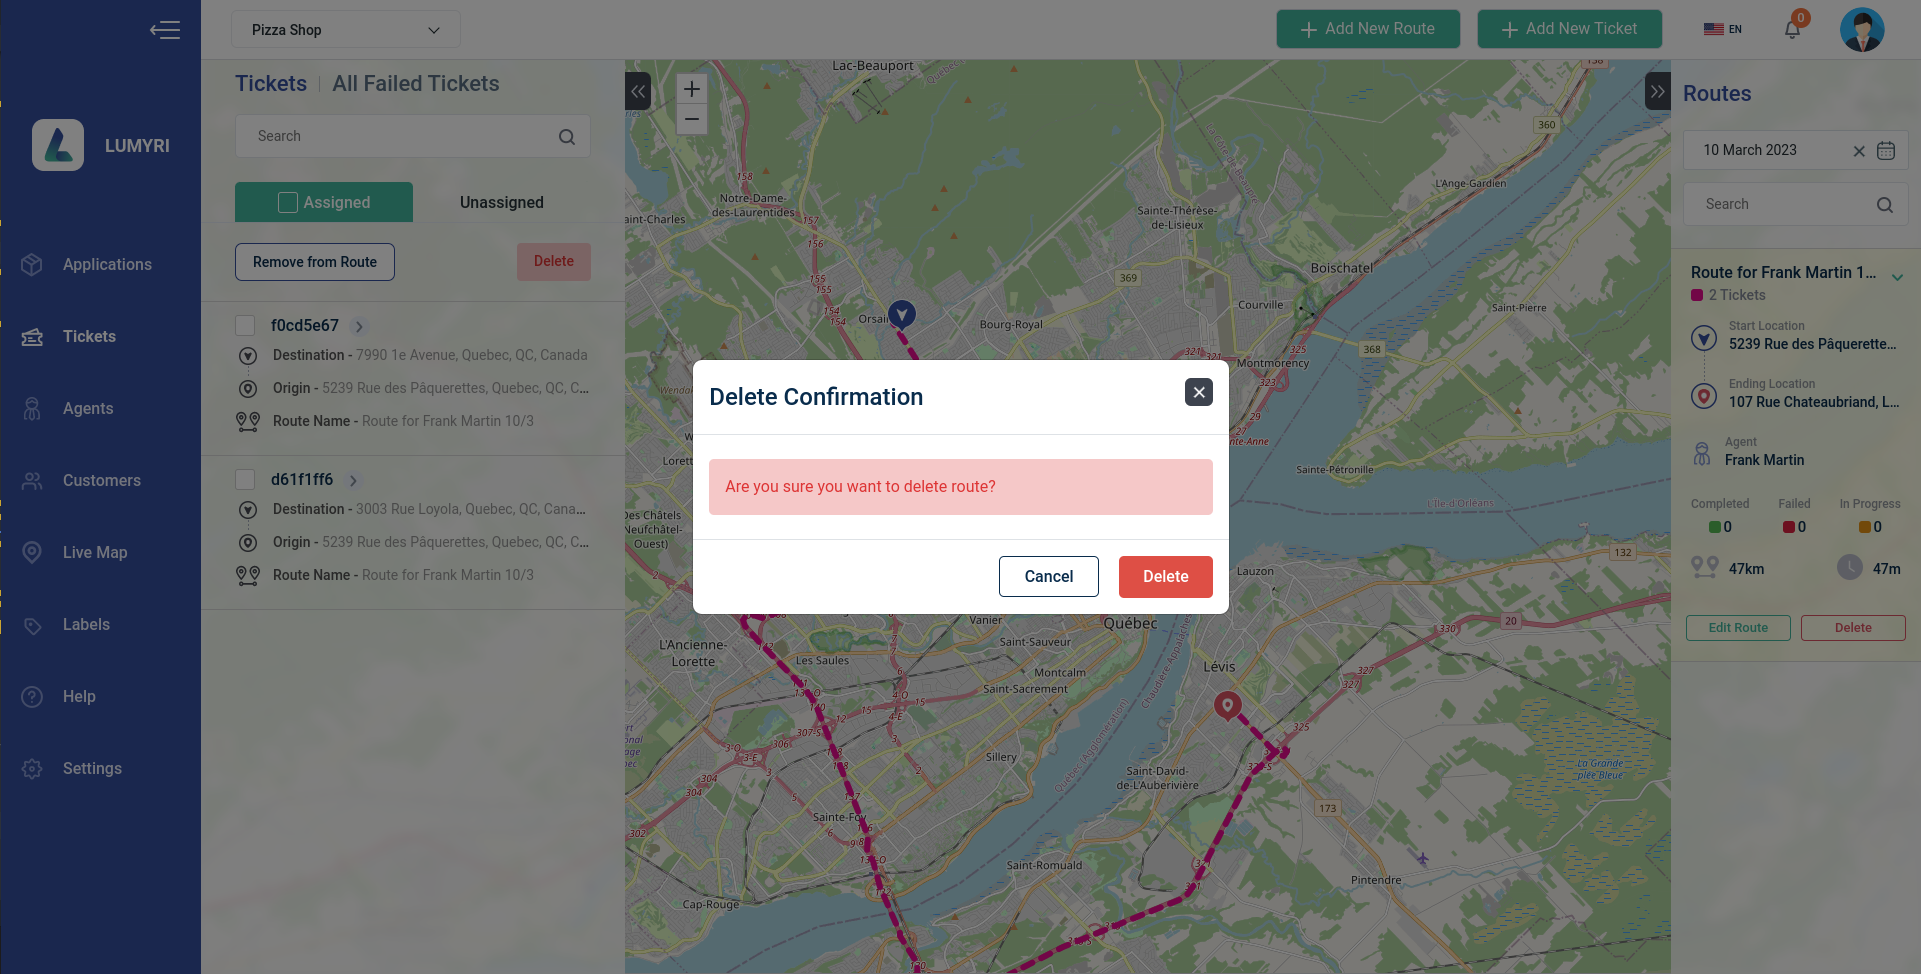
Step 2: Click Delete button, then route deletion confirmation window
