Agent
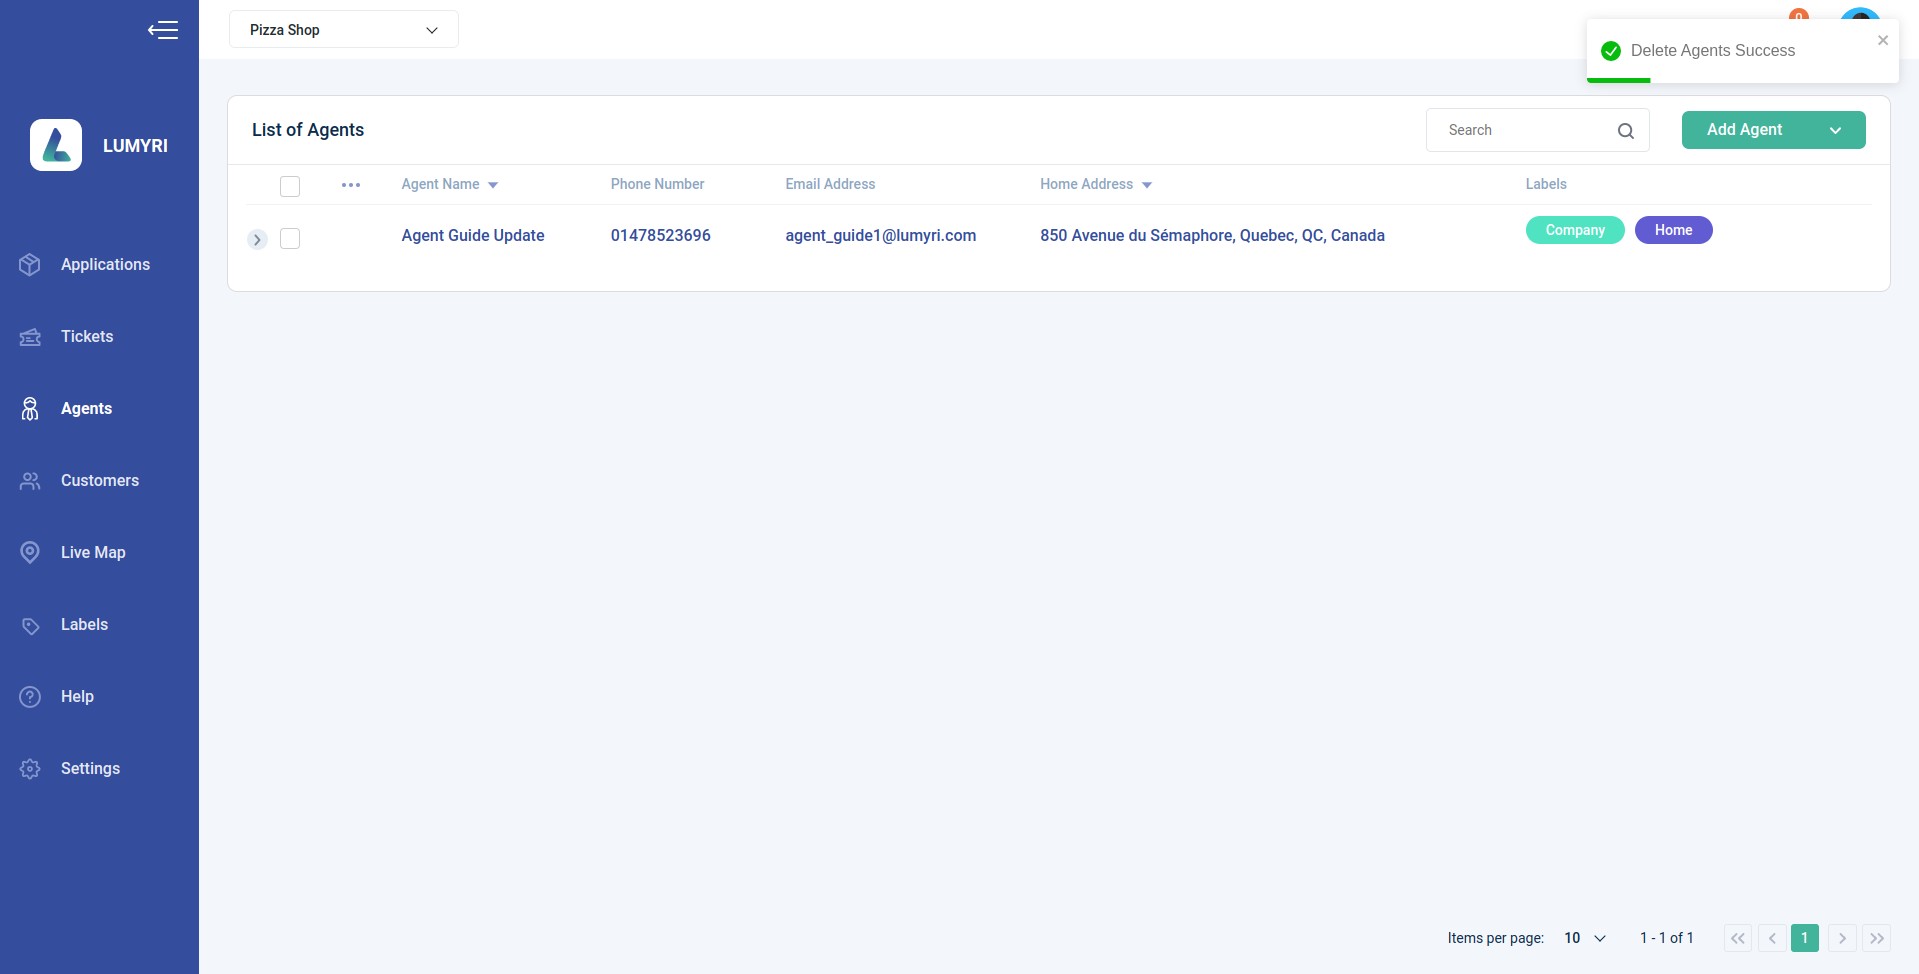
In our system, agents are a central part of all our apps. They play an important role in the ticket delivery process by following defined routes and ensuring timely deliveries. The agents can move on the pre-defined route to deliver the tickets to customers. In other words, agents are responsible for ensuring that customers receive their tickets and that any issues are promptly resolved.
1. Add Agent
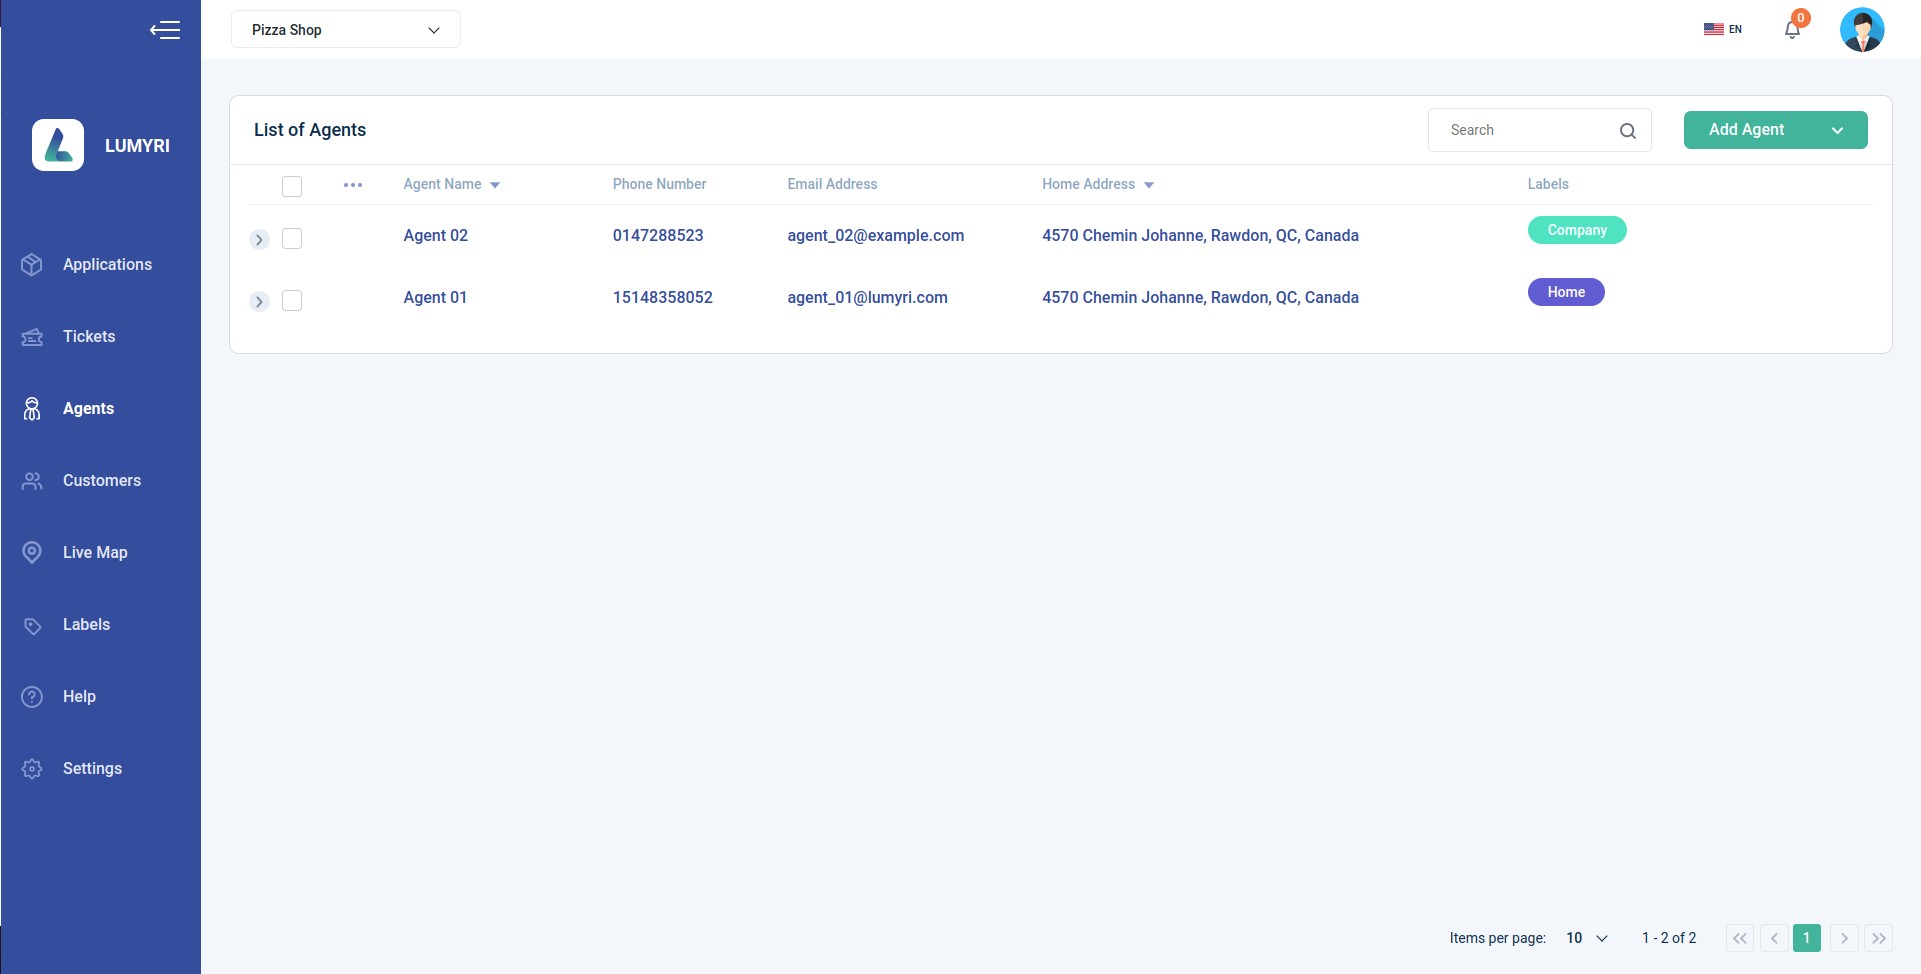
Creating an agent on the system is similar to creating a customer. You can either create each agent manually or load multiple agents from a .csv file.
1.1 To manually create an agent, follow these steps:
- Step 1: Click the "Add Agent" button, and the "Add Agent" form will appear.
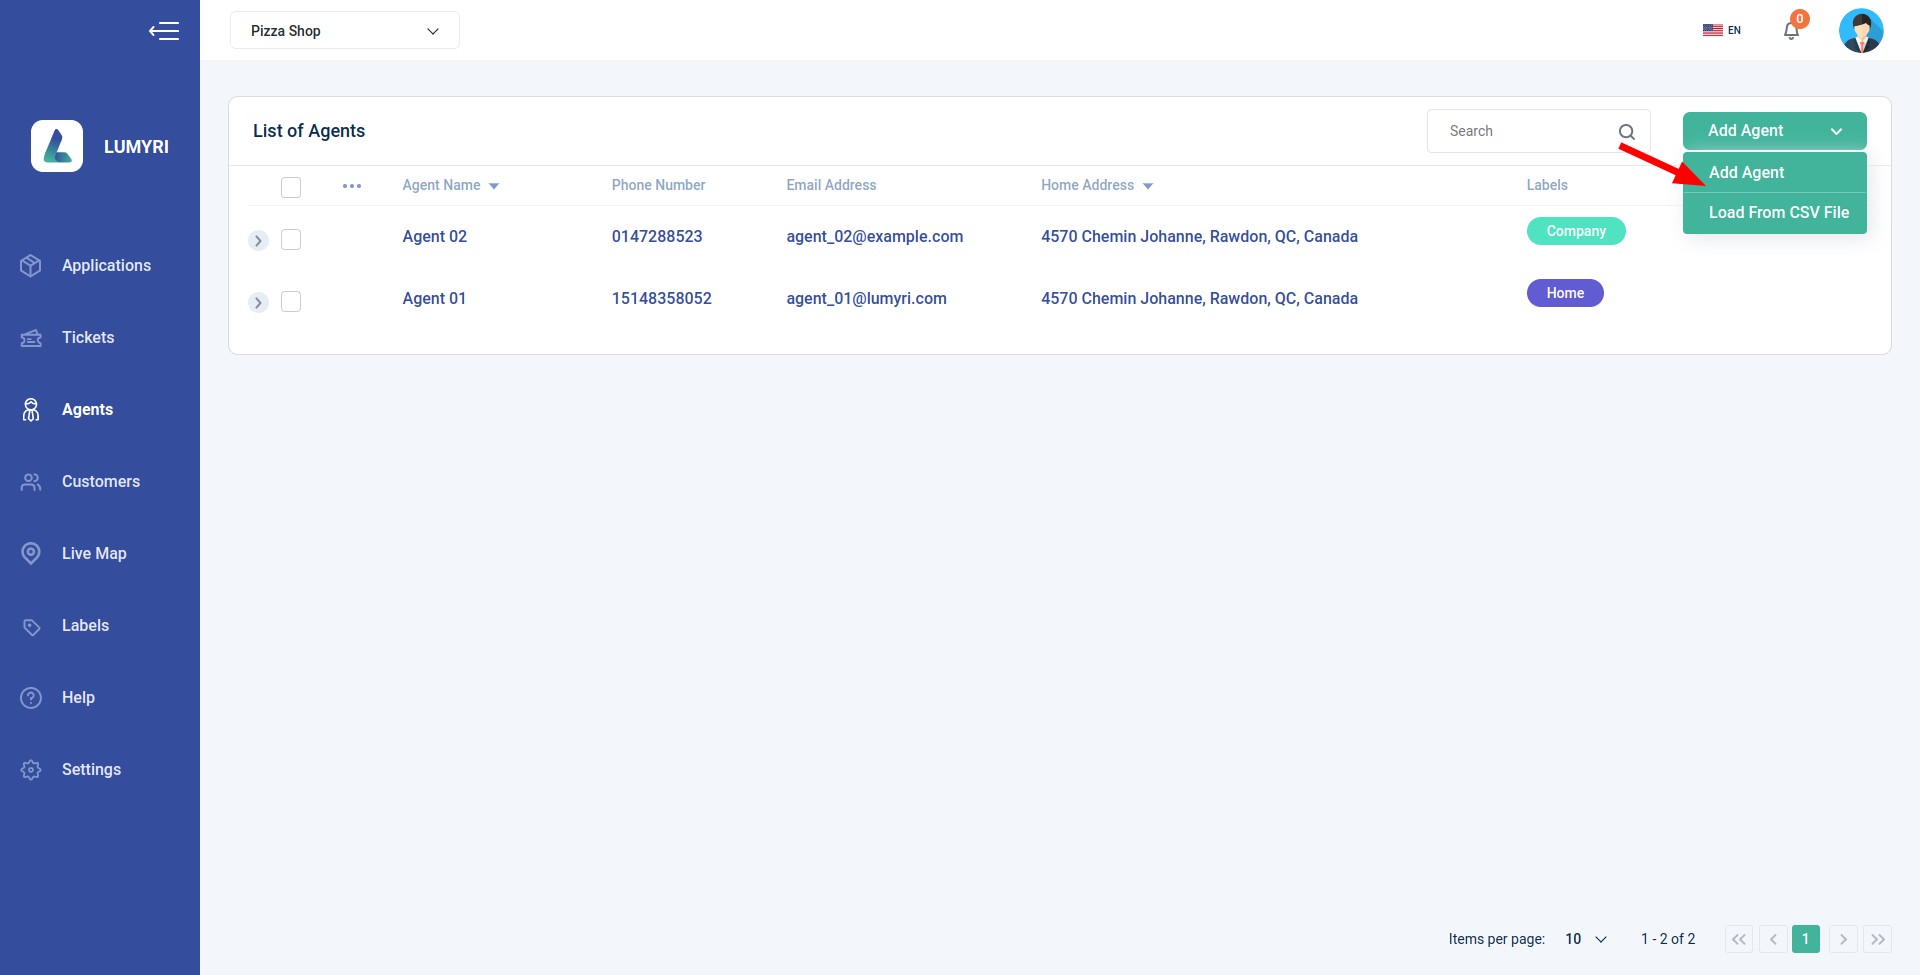
- Step 2: Enter the required information in the form.
You can enter the address by typing it into the "Address" fields, where suggestions will be provided, or you can zoom in on the map and drag the pin to the exact location you want, right-click the pin, and select "Set...address."
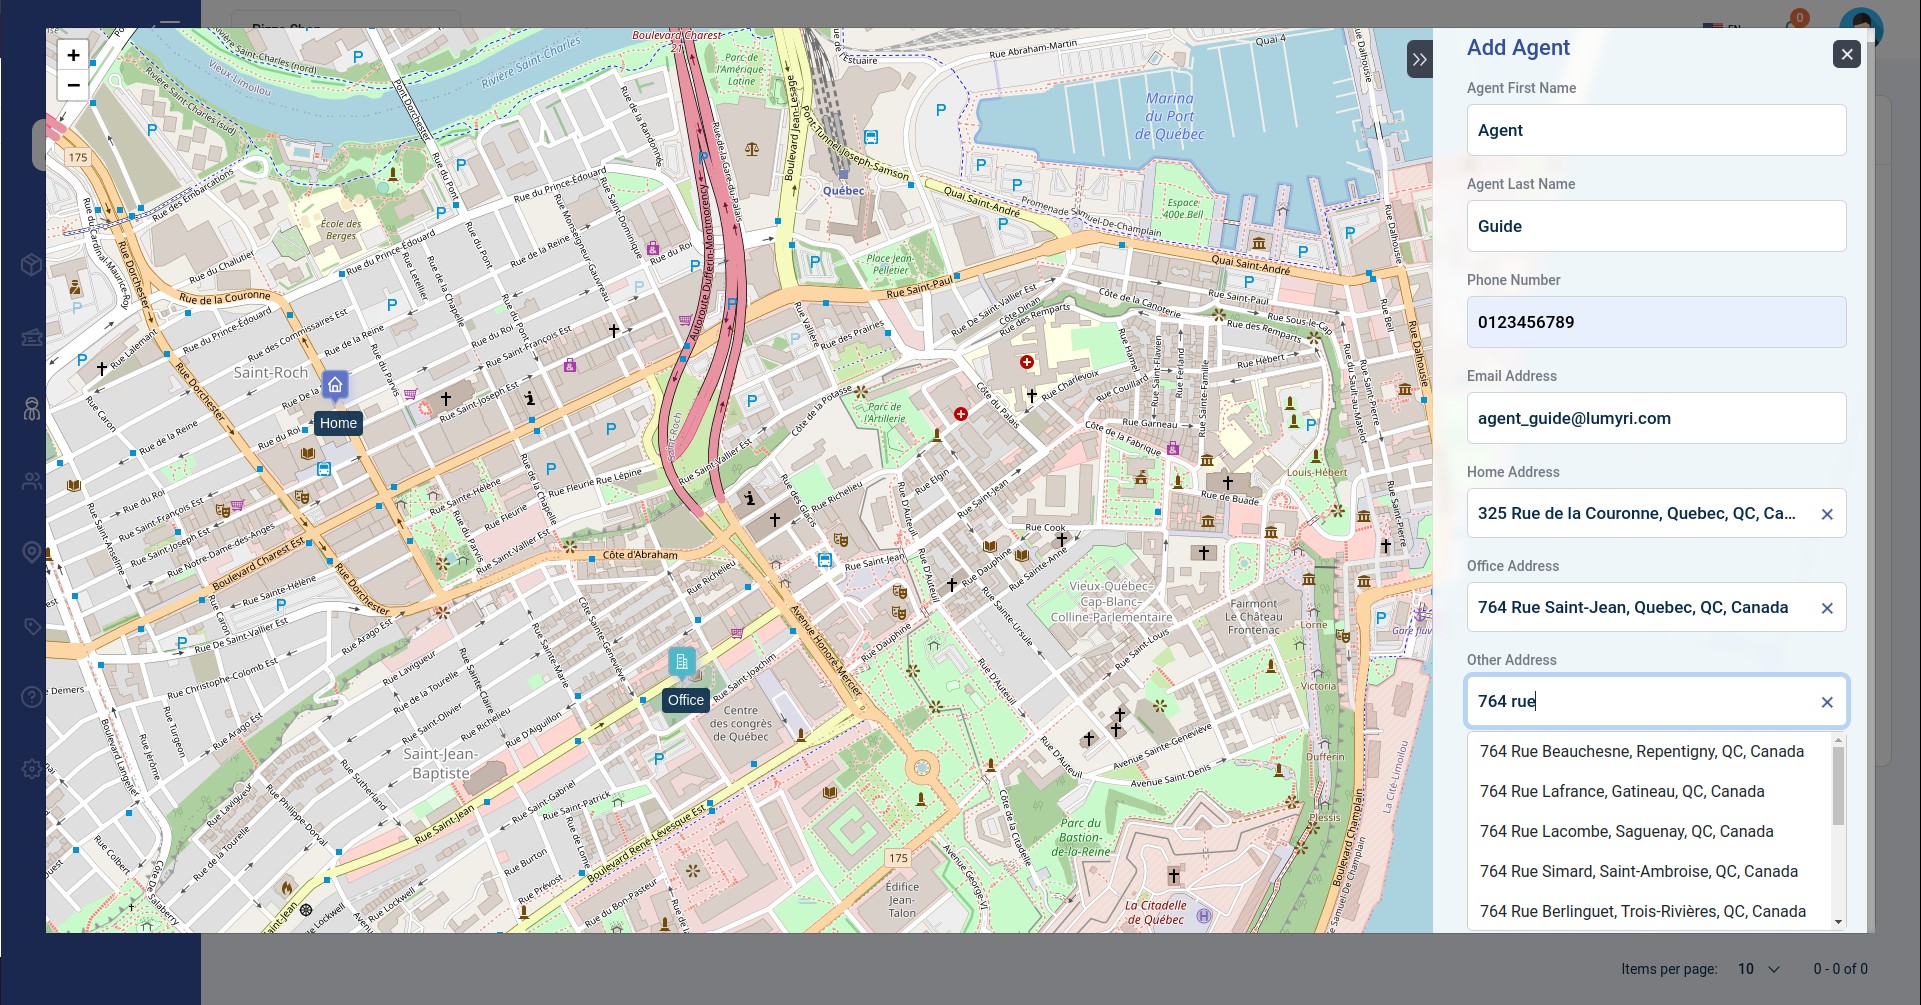
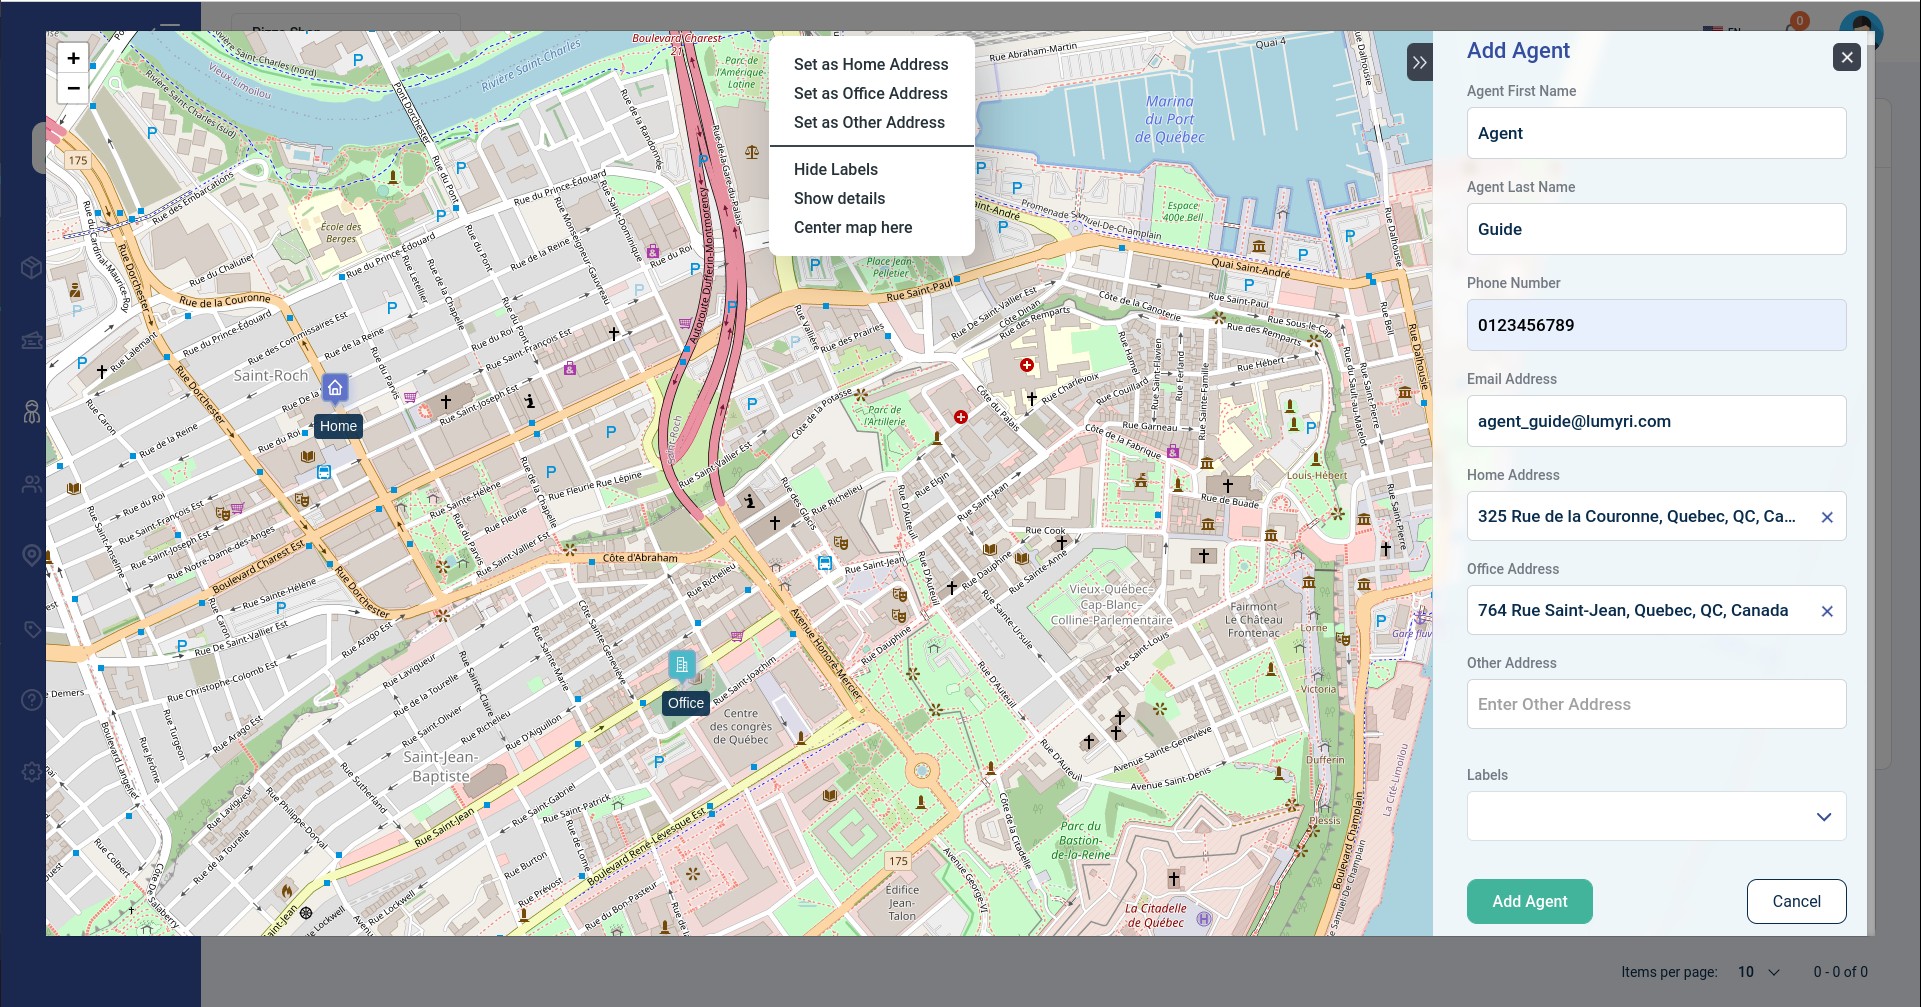
- Step 3: Click the "Add Agent" button to save the agent.
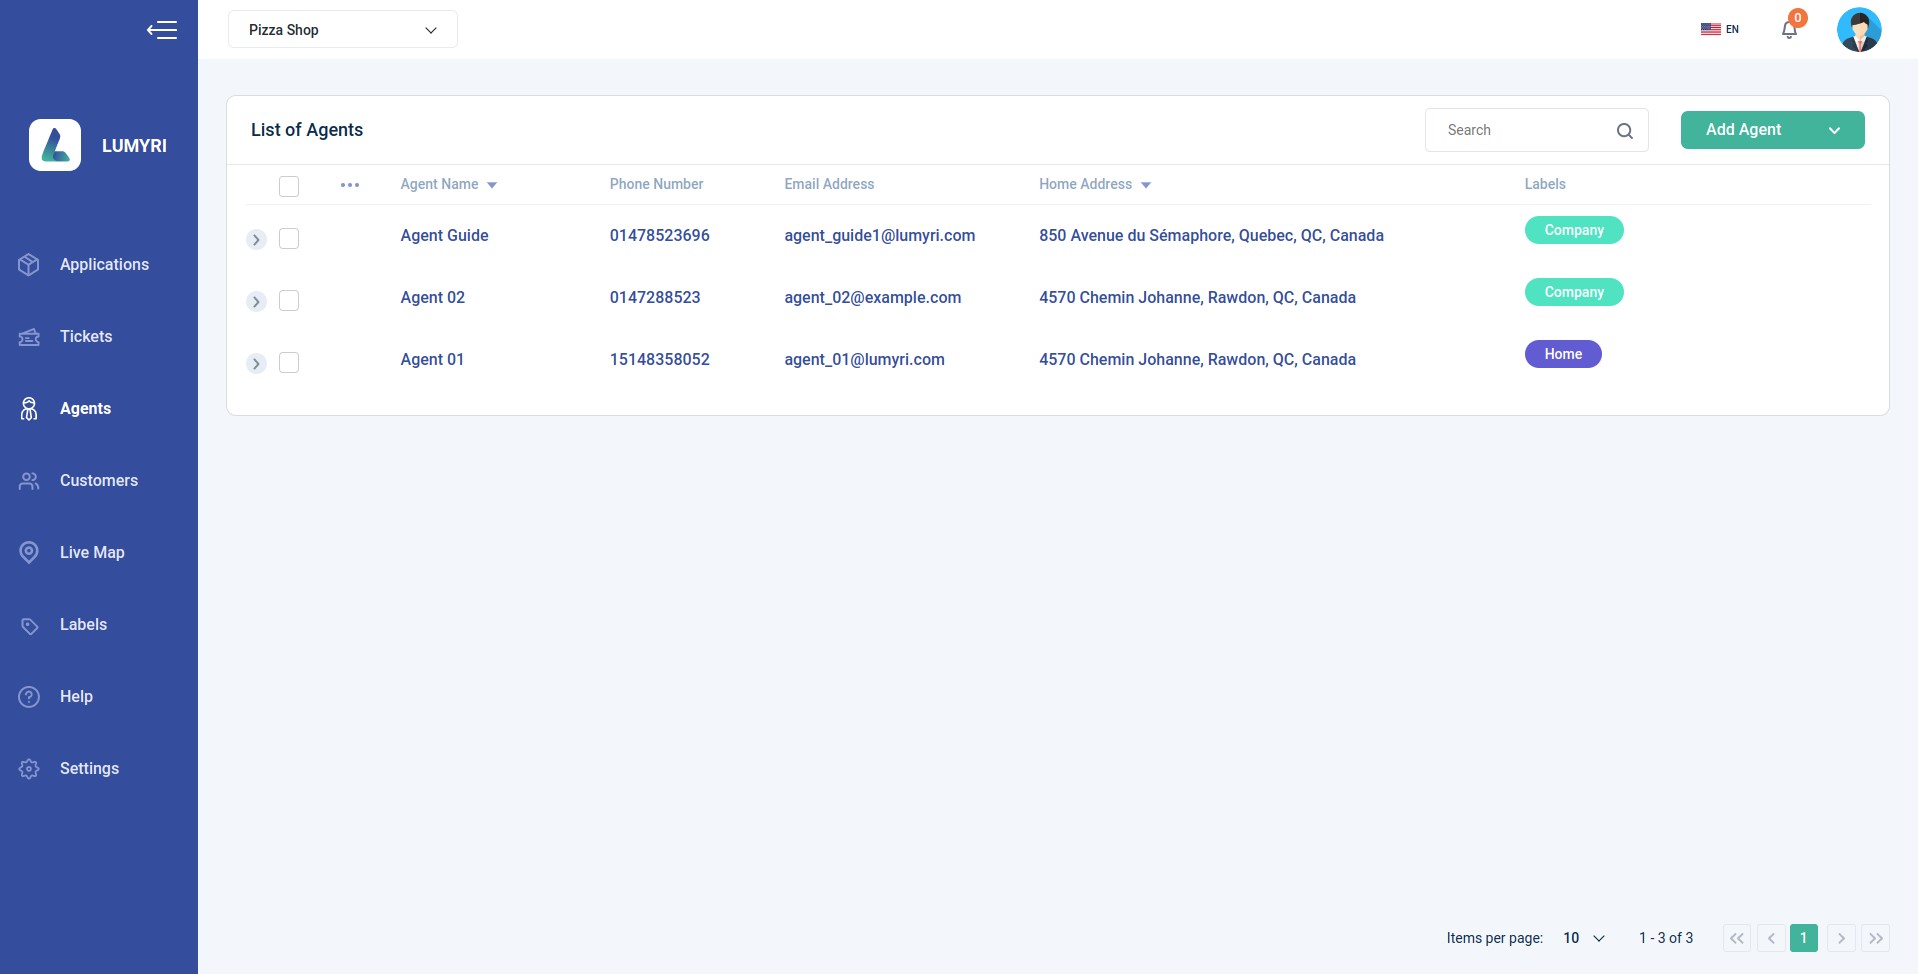
1.2. Load from CSV file
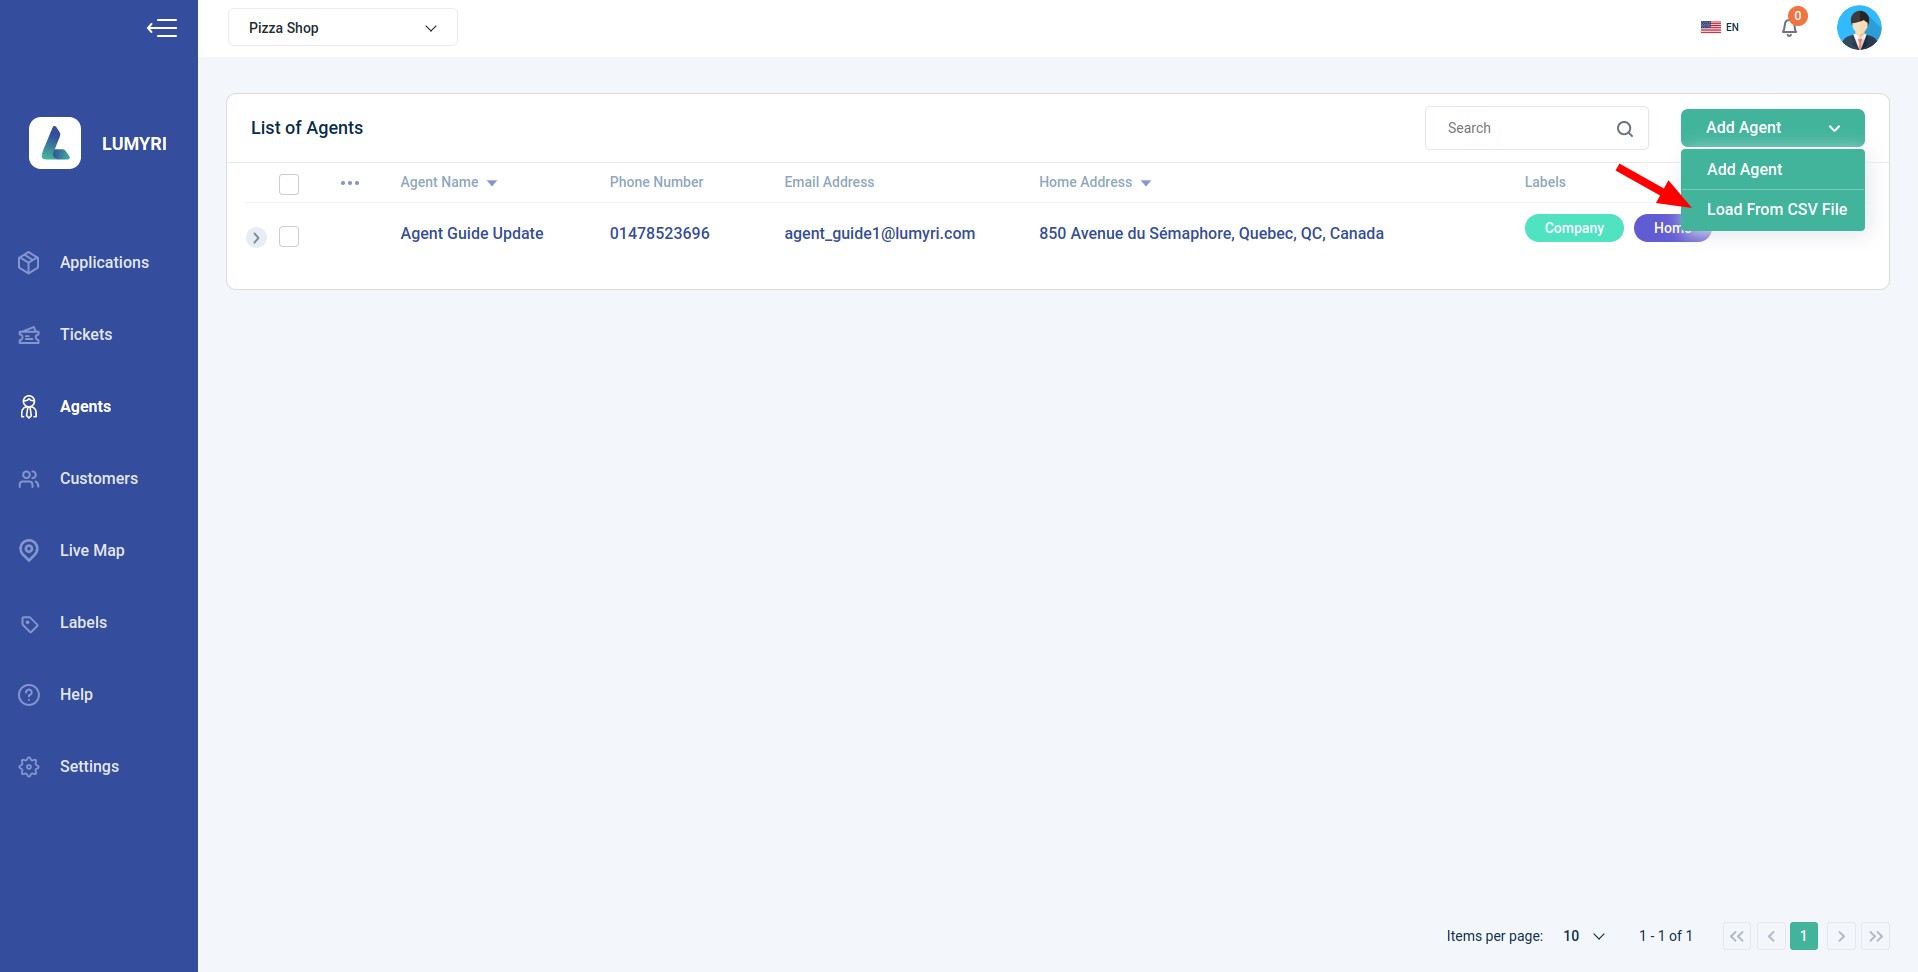
Loading from a .csv file is a quick and efficient way to create multiple agents at once. The .csv file you upload must be in the correct format CSV file Example. The steps are as follows:
Step 1: Click Load from CSV File button
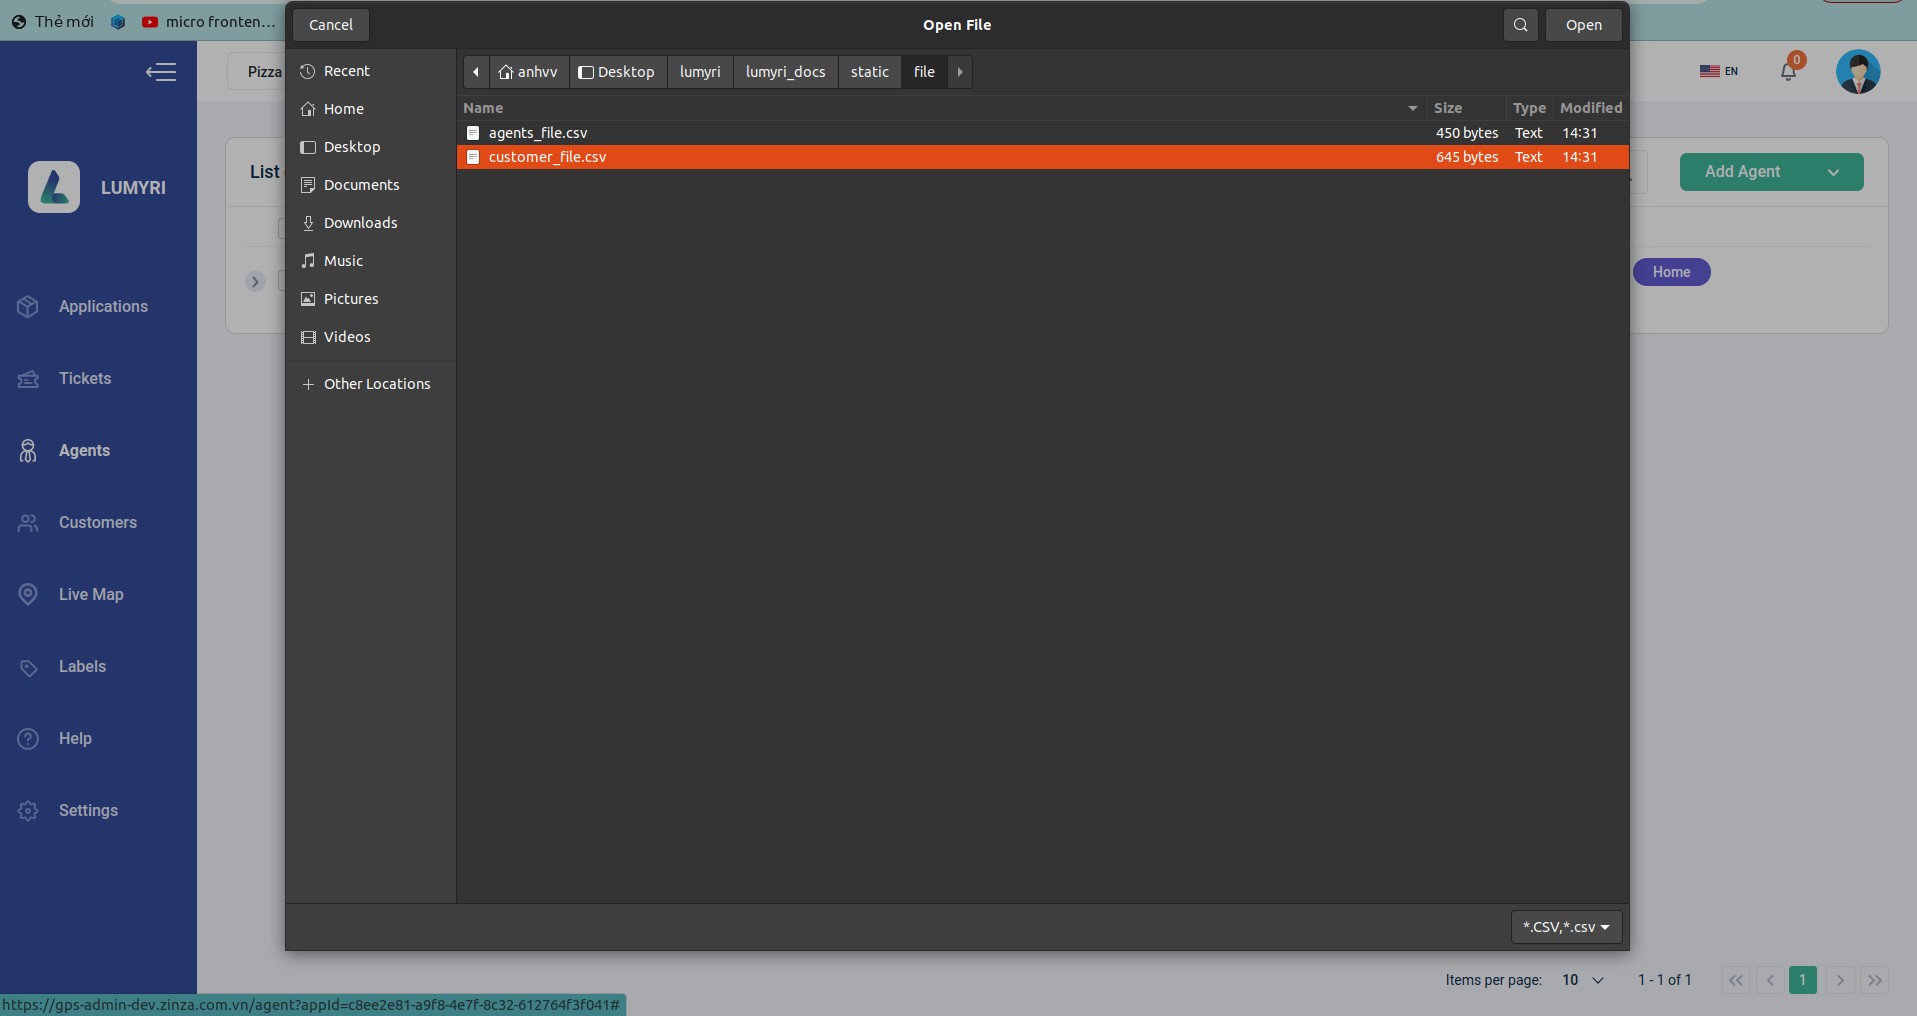
Step 2: Select the CSV file and wait for the window to pop up.
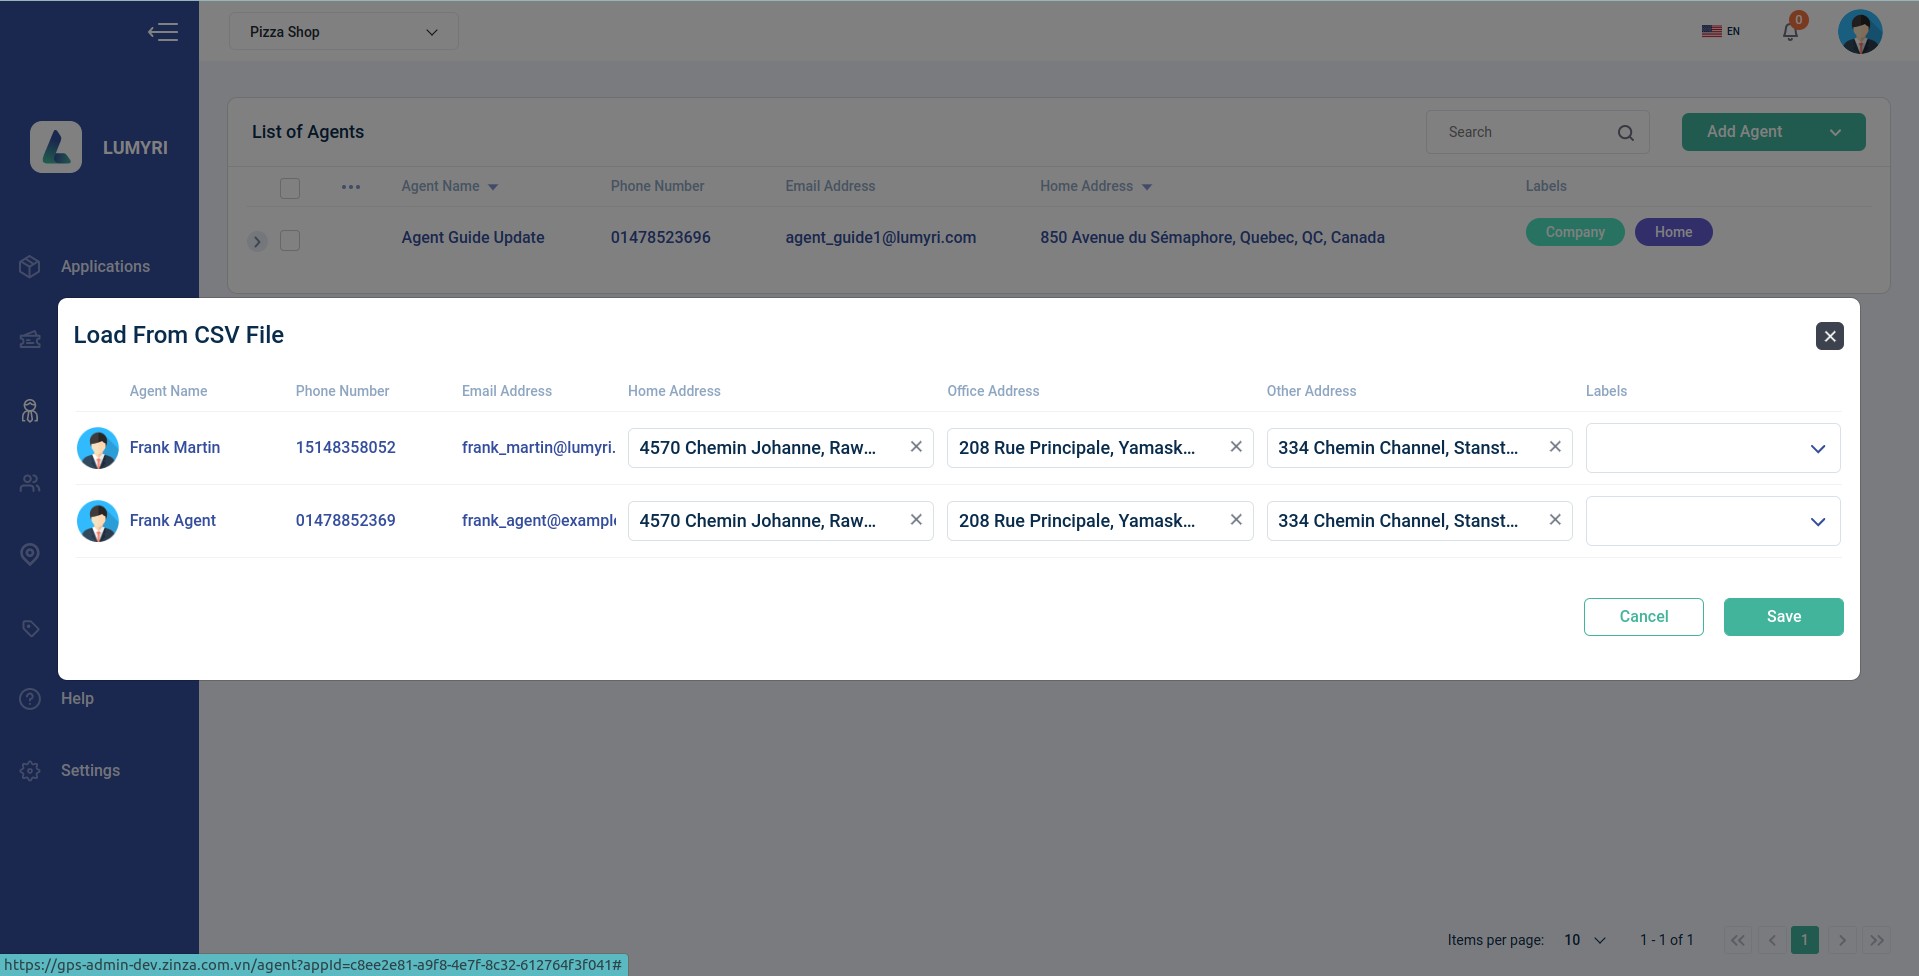
You can add labels to them for easy identification later.
Step 3: Click Save button.
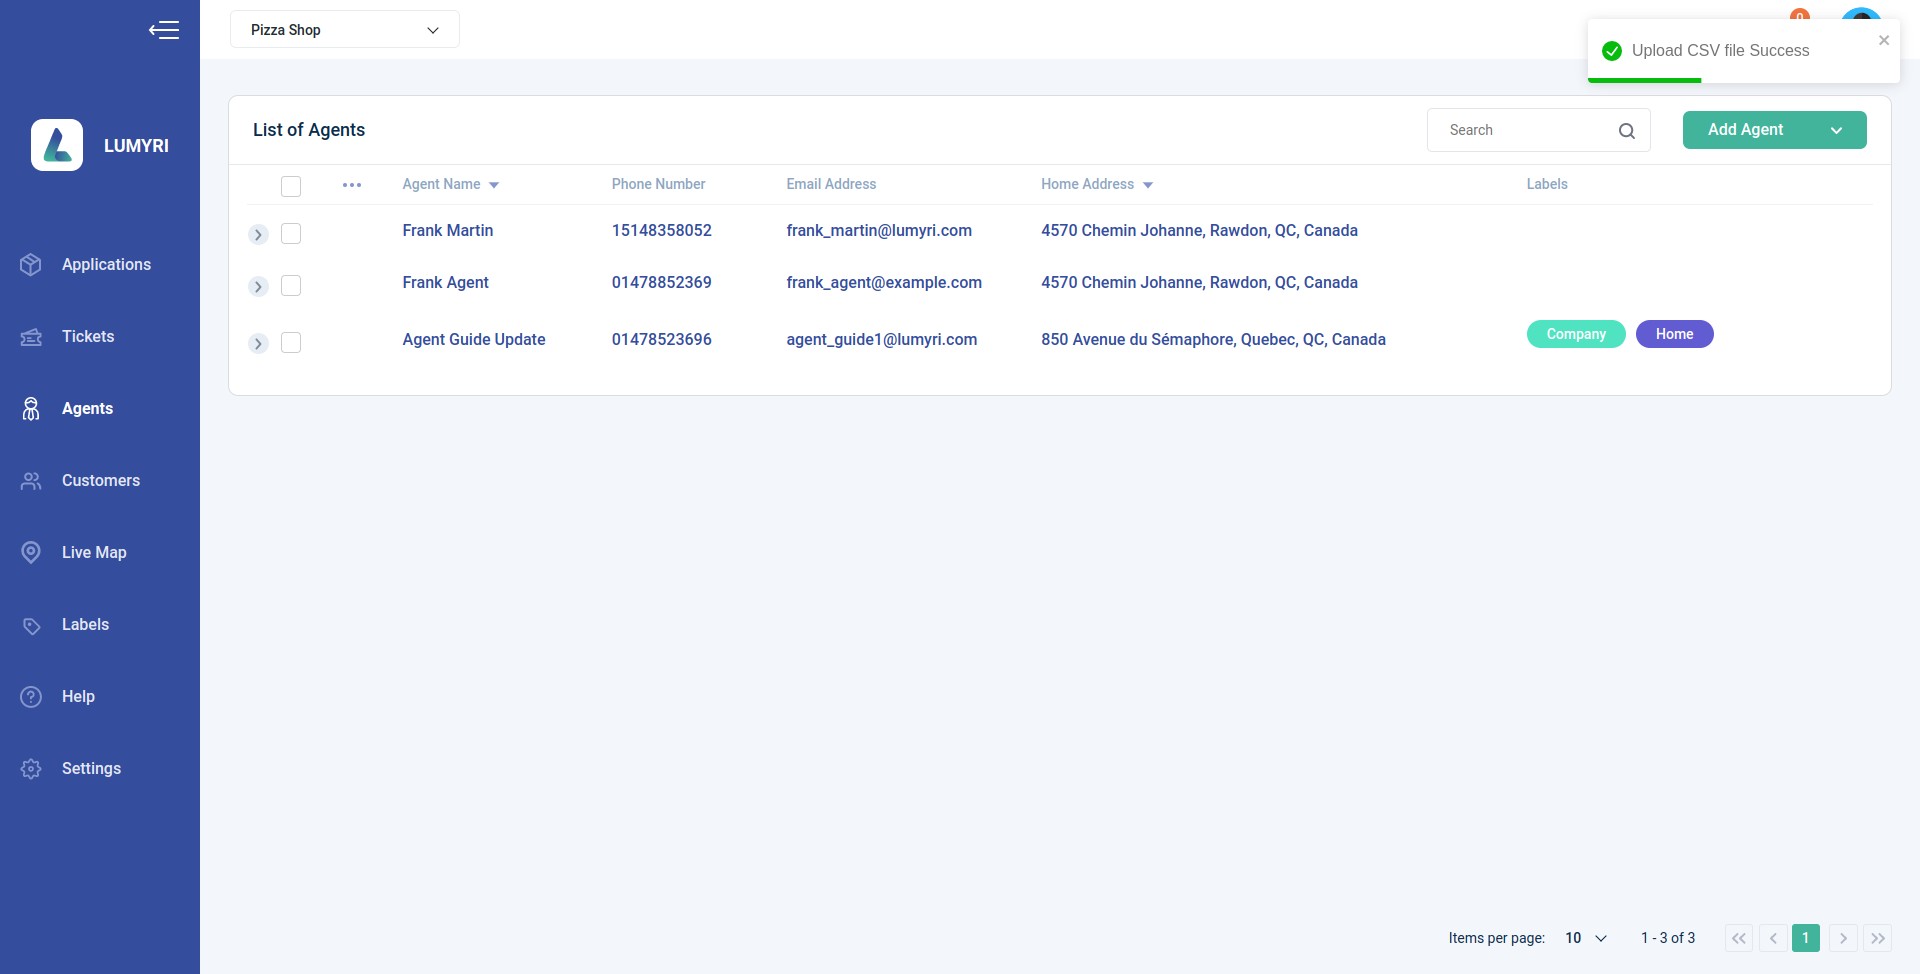
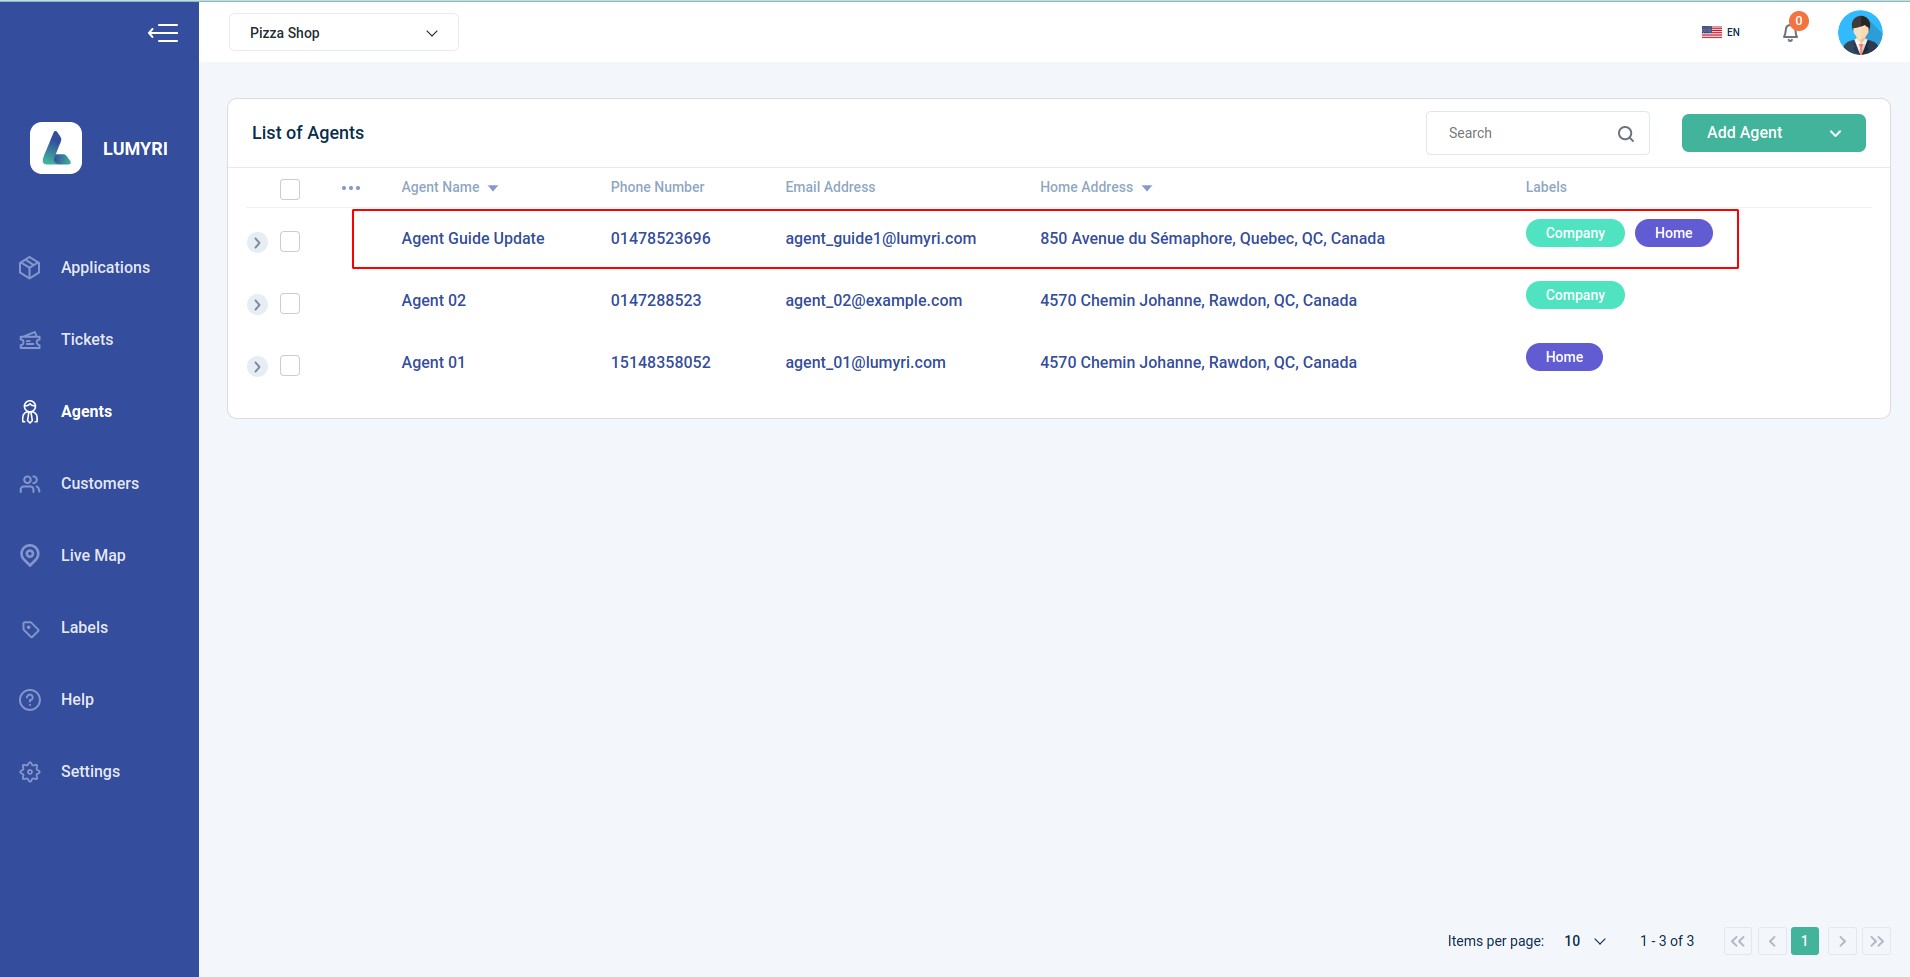
After successfully adding, you can view the agent's information.
2. Update Agent
To update an agent, follow these steps:
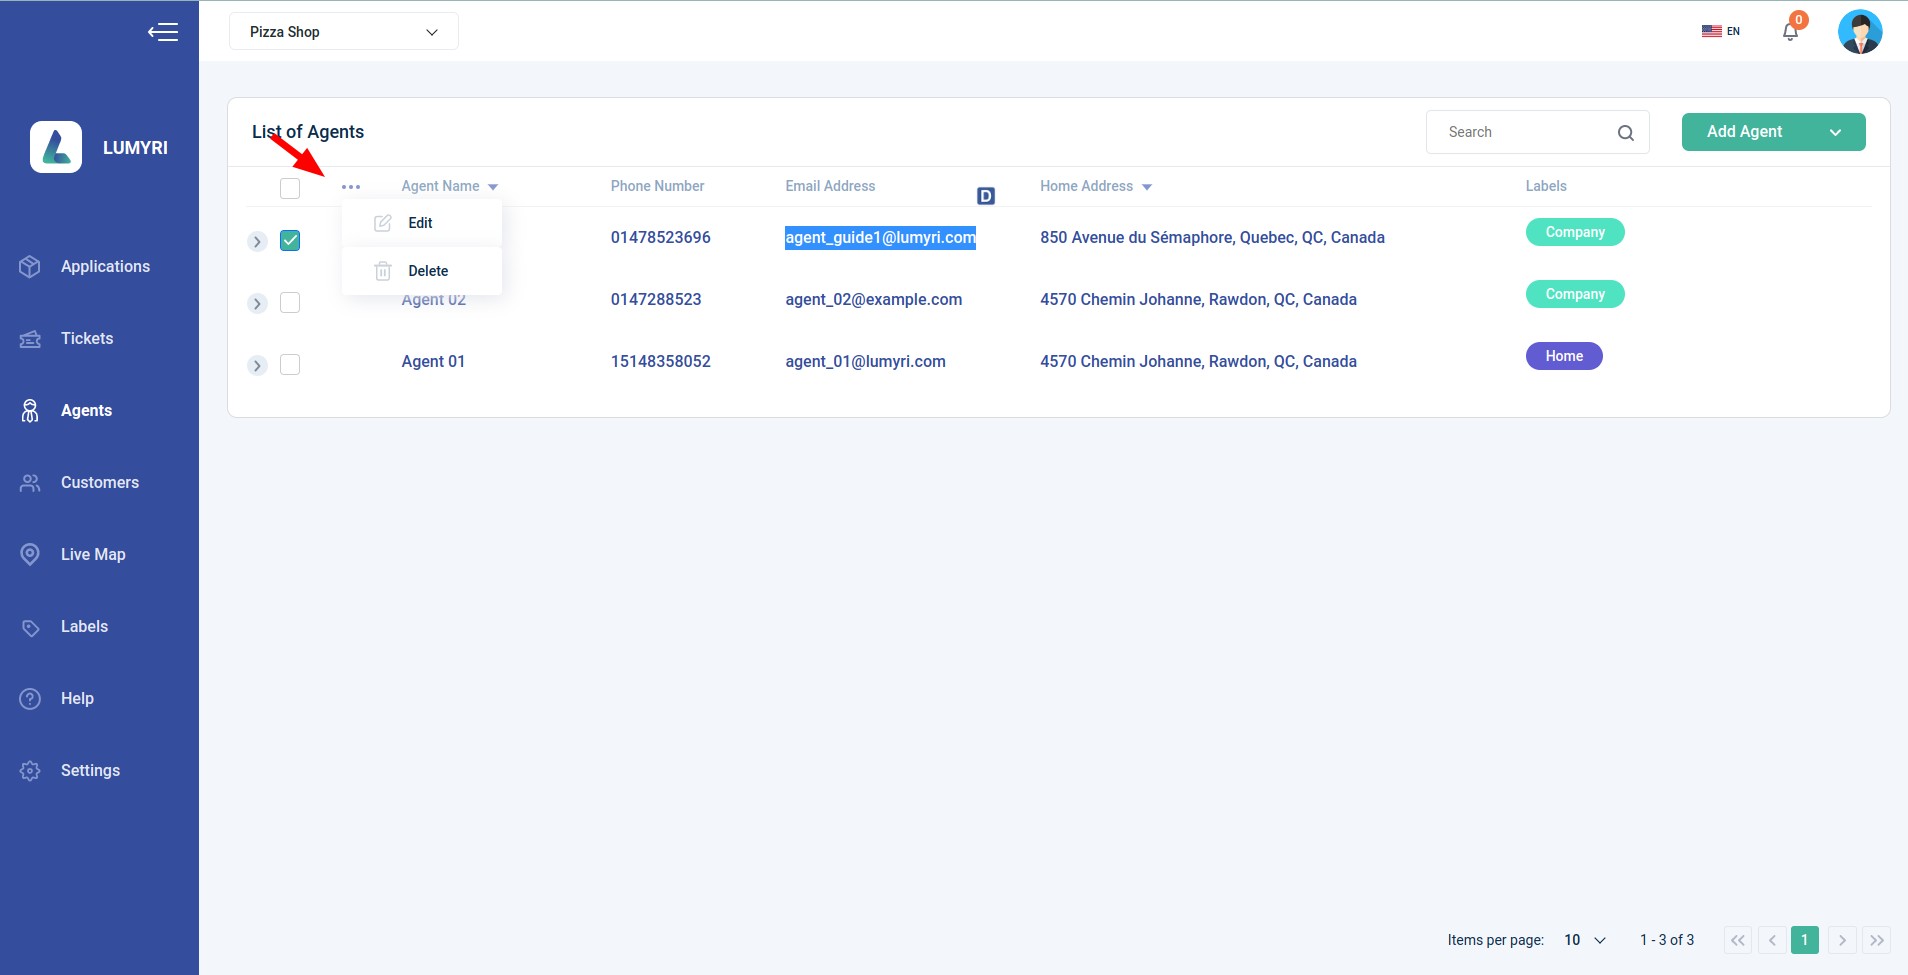
- Step 1: Check the box next to the agent you want to edit, then click on the three dots icon and select "Edit". This will bring up the agent editing form.
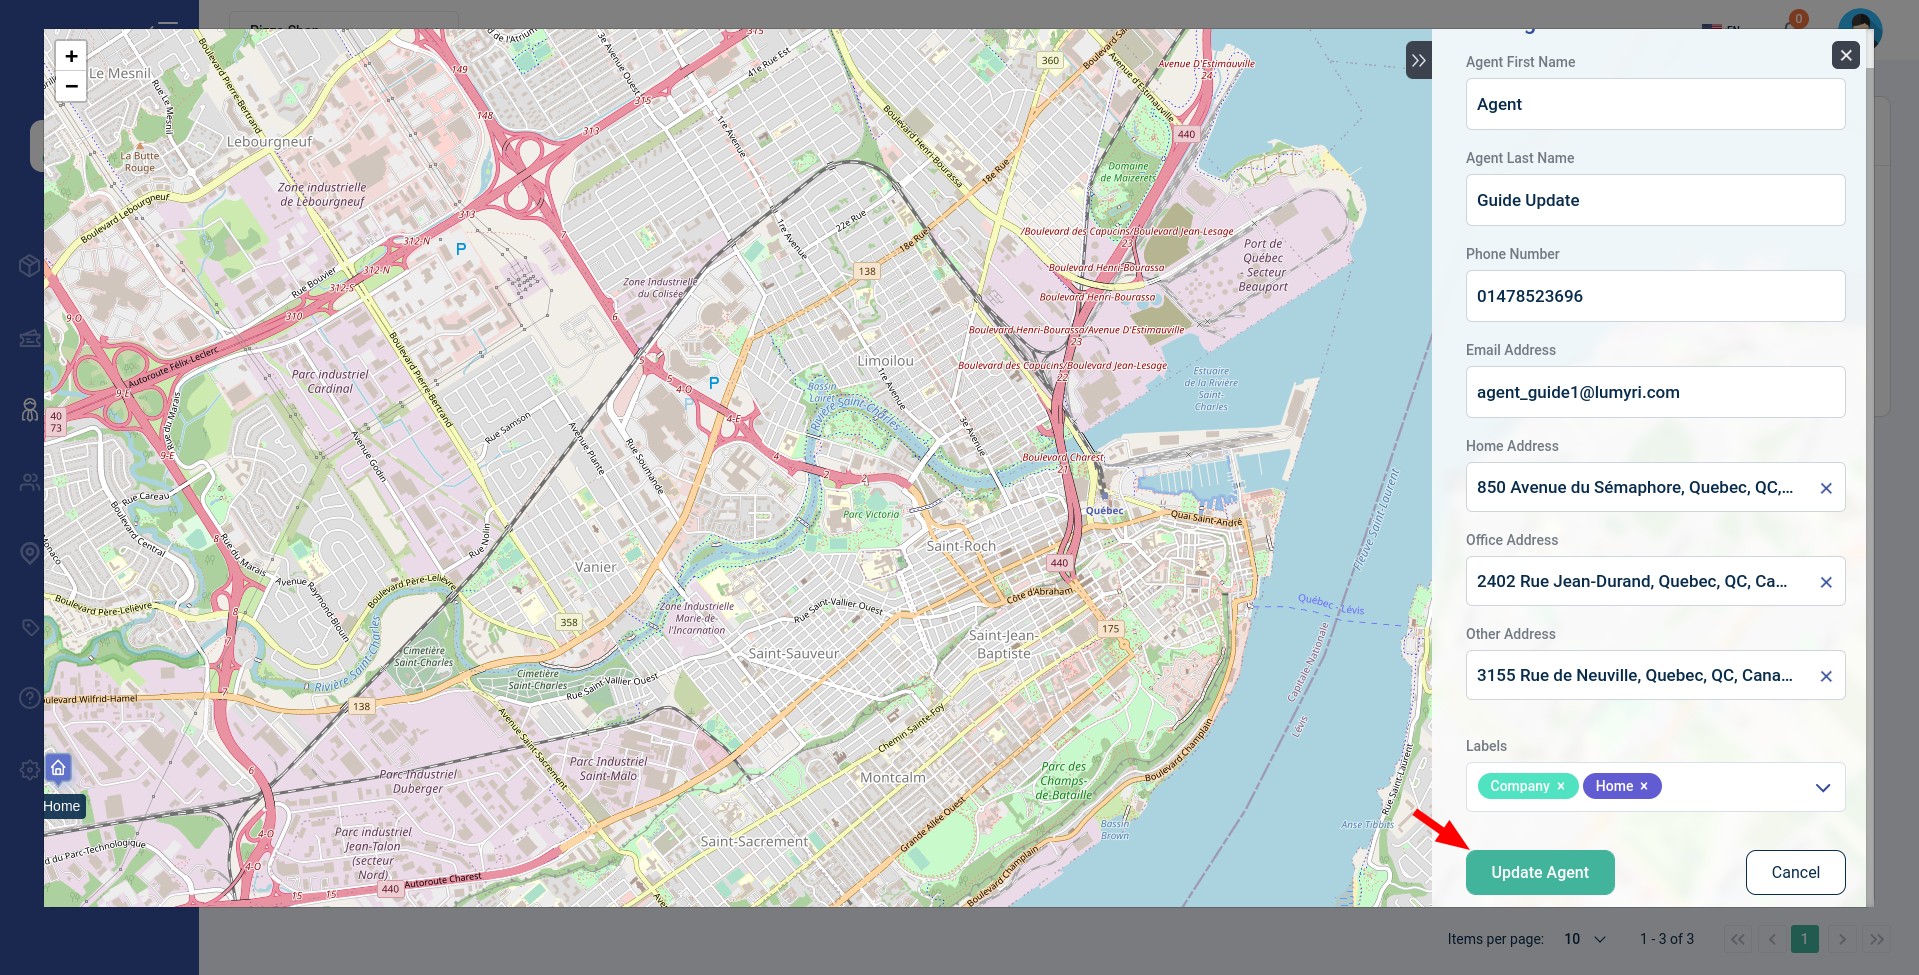
- Step 2: Enter the updated information in the form. You can also use the address suggestion feature or move the map to the location you want and right-click to set the address.
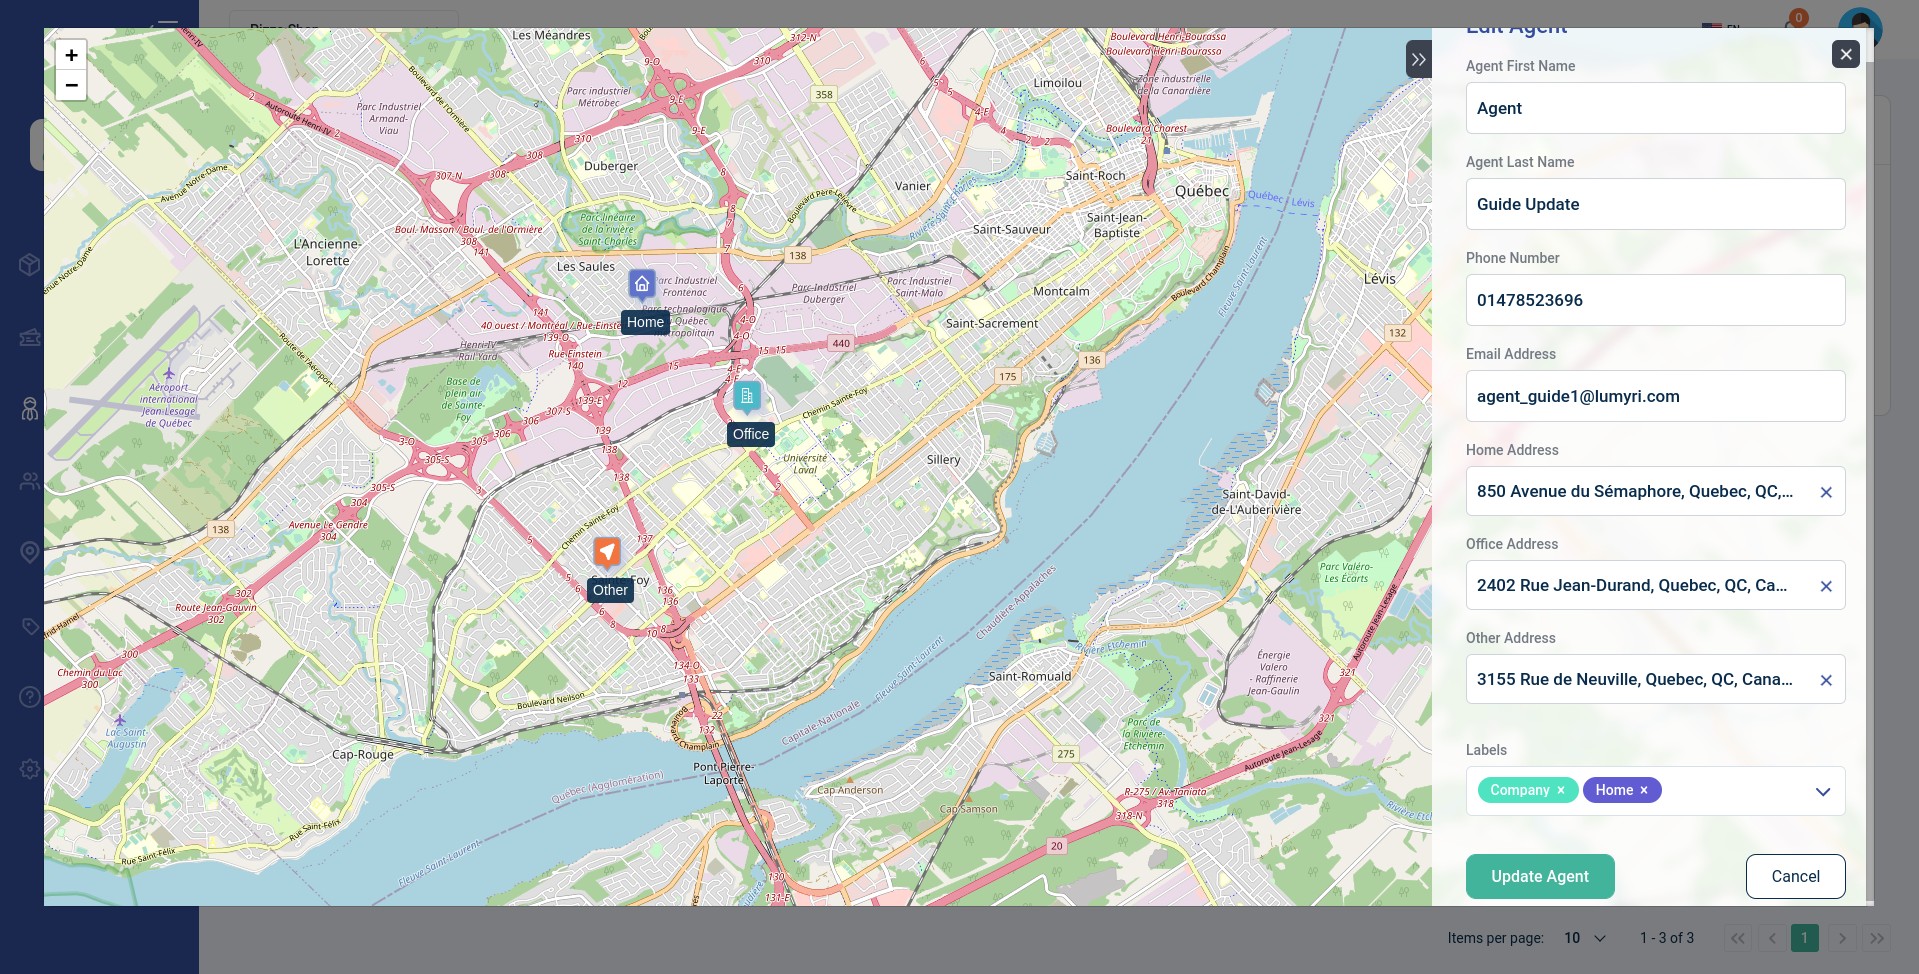
- Step 3: Click the "Update Agent" button to save your changes.
Updating agent information is important to ensure accurate delivery and communication with customers. Make sure to double-check all information before saving.
3. Delete Agent
Deleting an agent from the system is occasionally necessary due to various reasons such as resignation, termination of the contract, or other unforeseen circumstances. However, this action must be taken with caution as it may affect the workflow and performance of the team. Therefore, it's essential to keep track of all the relevant information before proceeding with the deletion process.
To delete an agent from the system, follow these steps:
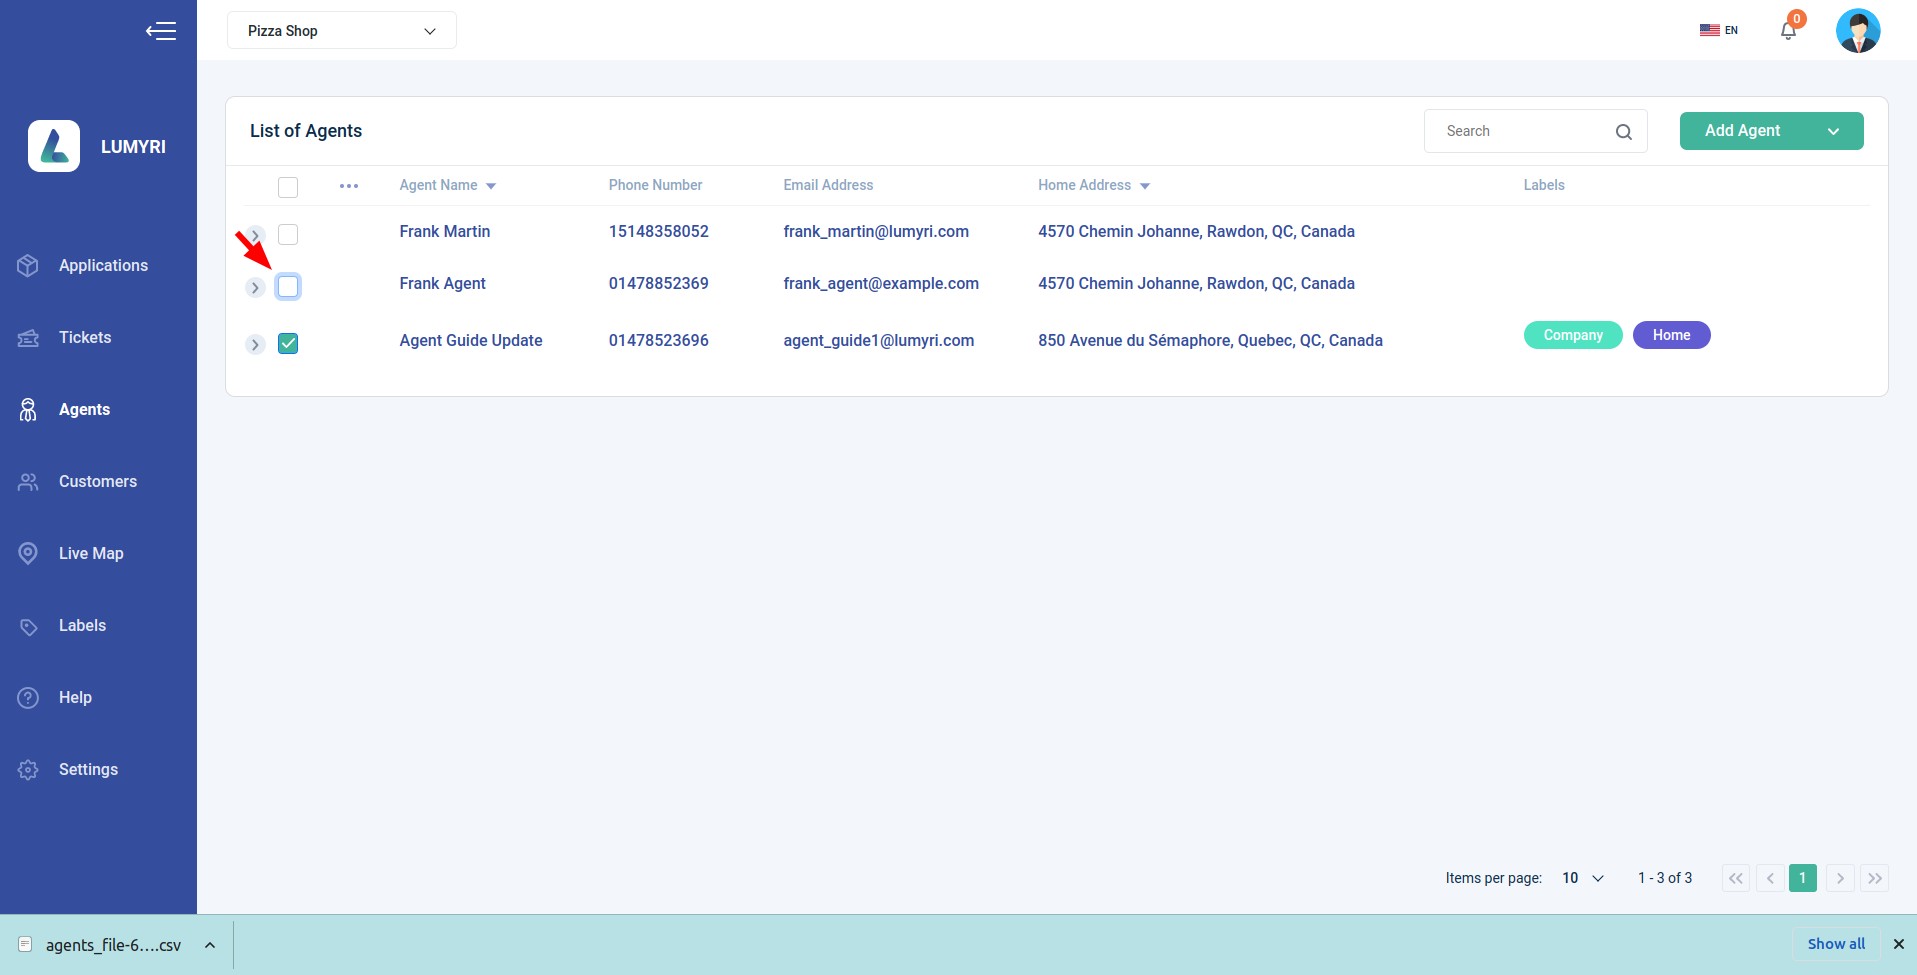
Step 1: Click on the checkbox next to the name of the agent to be deleted.
You can check more than 1 box to delete multiple agents at the same time.
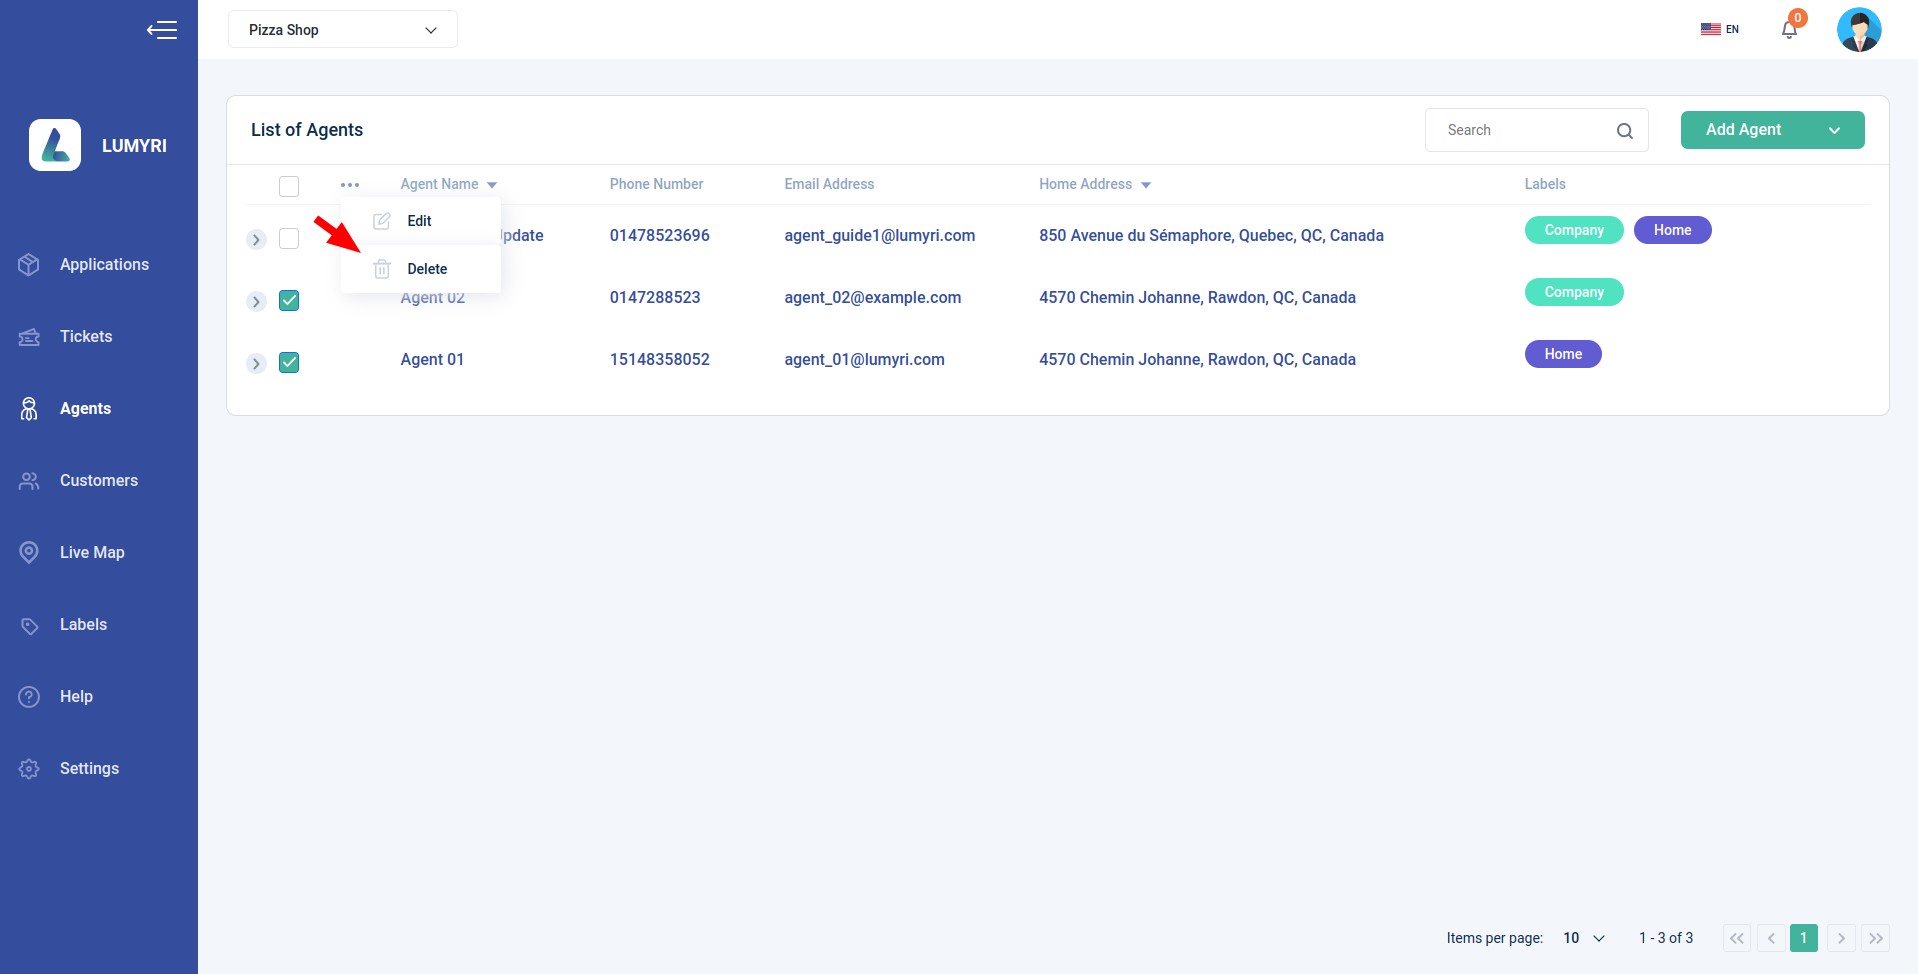
Step 2: Click on the three dots icon and select 'Delete'. A confirmation window will appear.
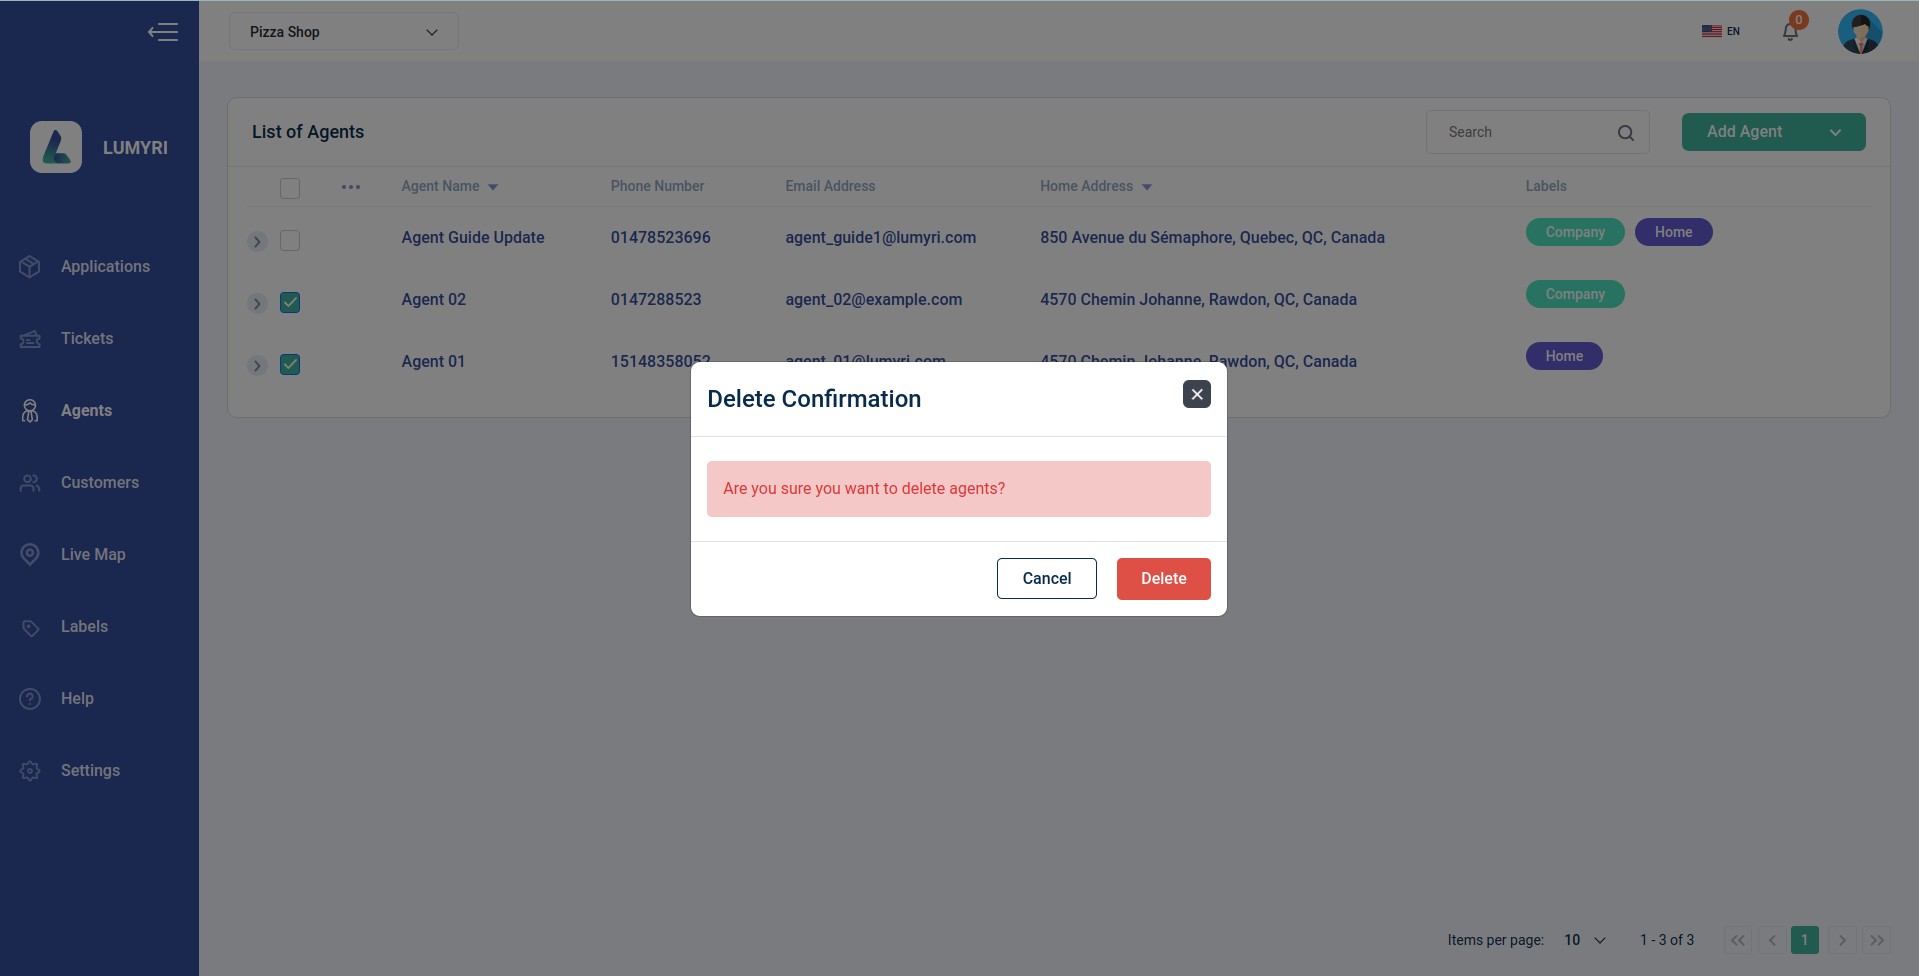
Step 3: Click on the 'Delete' button to confirm the action or click on the 'Cancel' button to abort the process.
